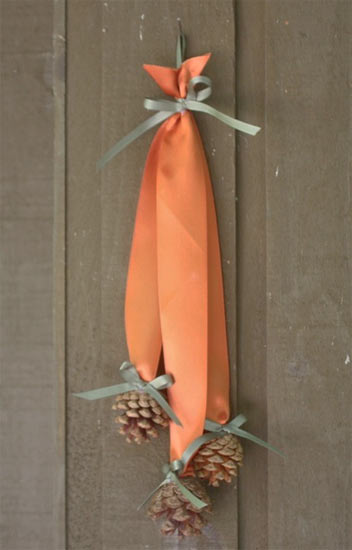
Pinecones are the perfect fall to winter addition to your decor projects. Simple and beautiful, they can be added to arrangements, wreaths, bowls and swags with ease. This pinecone swag can be scaled up or down to fit the space you need to fill by adjusting the number of pinecones used and the width of the ribbon they hang from. Be sure to check out our tutorial on adding scent to your pinecones and turn your swag into a beautiful room deodorizer!
Things you’ll need:
Pinecones
Wide and narrow ribbon
Scissors
Hot glue gun and glue sticks
Things to do:
1. Break the stems, if any, off of the pinecones to create the flattest possible gluing surface on the ends.
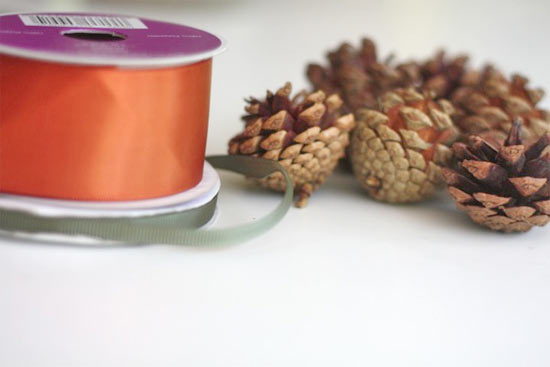
2. Cut your wide ribbon to slightly different lengths. Generally an odd number of ribbons works best.

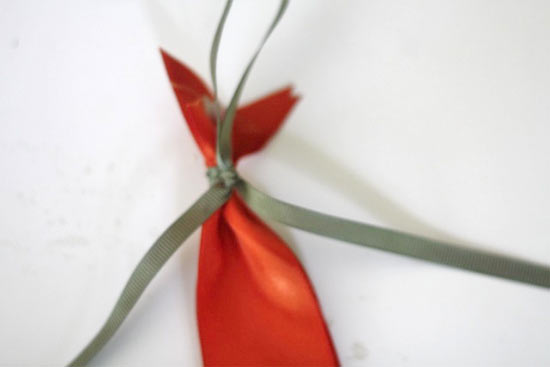
3. Trim the tops to a V and tie them together securely with the thinner ribbon, creating a hanging loop in the back and bow in the front.
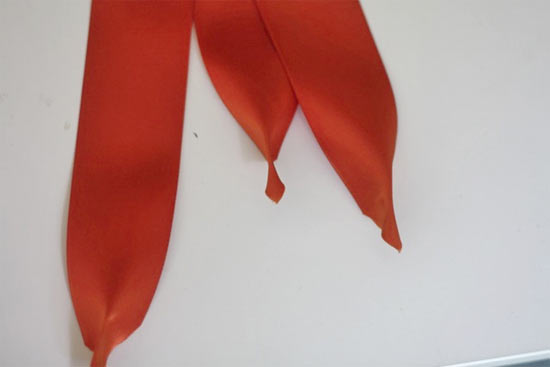
4. Pinching the loose ends of the ribbons together, apply a dot of glue to each to make a narrower surface on each at the end.
5. With a generous dab of glue on the end of each pinecone, press the folded ends of the ribbons into place so that they will hang straight down.
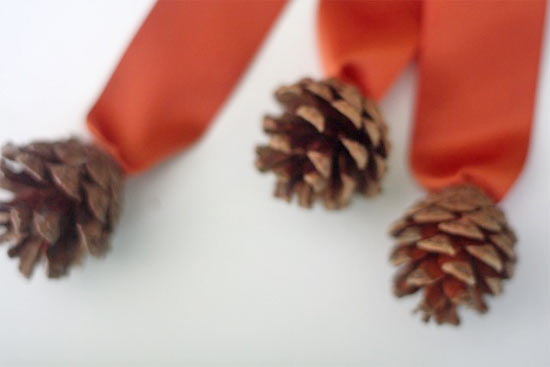
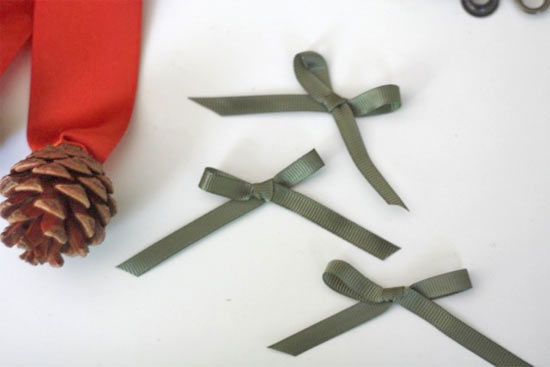
6. Tie a small bow for each pinecone with the narrow ribbon. Trim the ends neatly and glue them to the place where the wider ribbon is attached to the pinecone on each strand of the swag.
