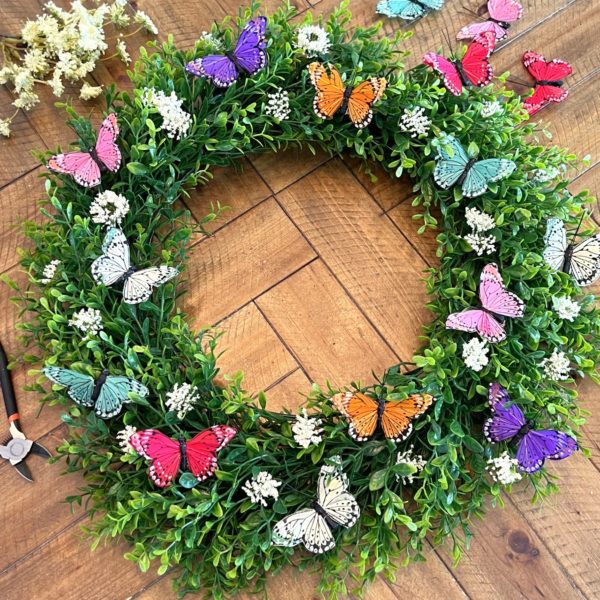
Creating a DIY Boxwood butterfly wreath is a fun way to bring a touch of natural beauty to your home decor for this spring season. With just a few simple materials, you can make a stunning wreath that will brighten up any room and front door entrance!
Difficulty level: Beginner
Time to complete:25 minutes
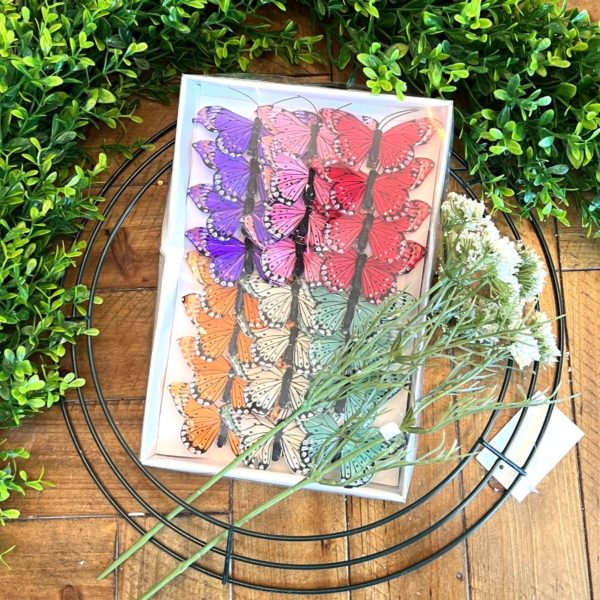
What is needed:
- 1 – 14″ Green Box Wire Wreath Frame
- 2 –Artificial Queen Anne’s Lace Spray
- 1 package –Assorted Artificial Monarch Butterflies
- Boxwood Garland
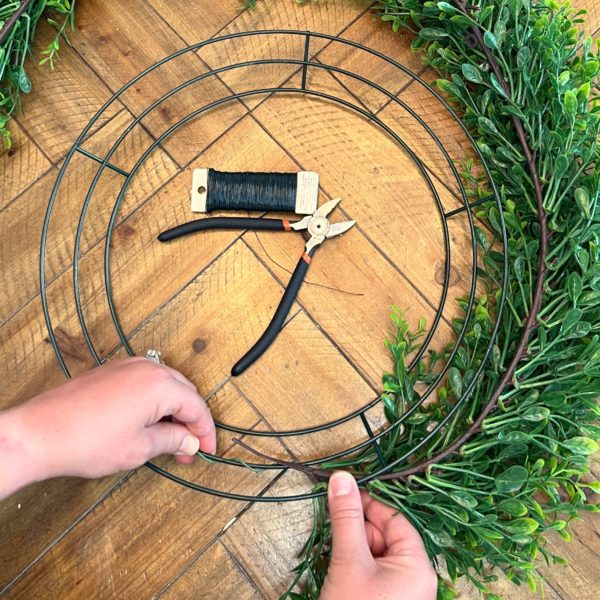
- Floral wire
- Wire cutters
- Hot glue gun
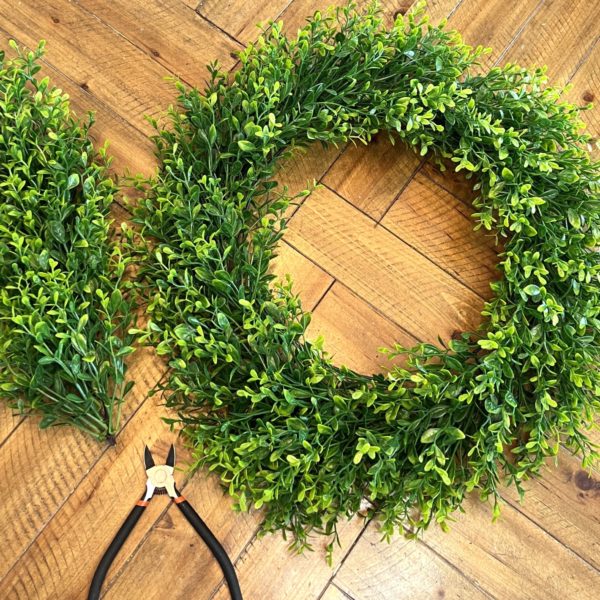
1. Start by wrapping the garland stem around the middle rim of the wreath form. Then help secure with wrapping a piece of floral wire.
2. From there, you will then continue attaching the garland to the wreath form with the floral wire. I I went about every 3 inches to secure and hold in place.
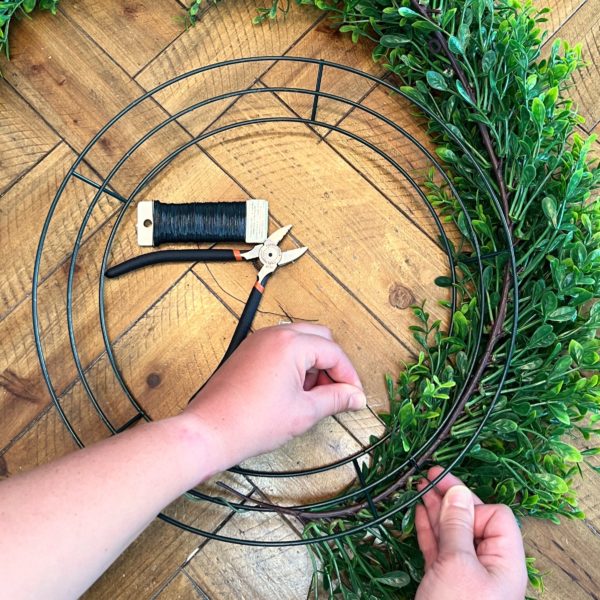
3. Once the garland is attached and covers the whole wreath form, cut the remaining off.
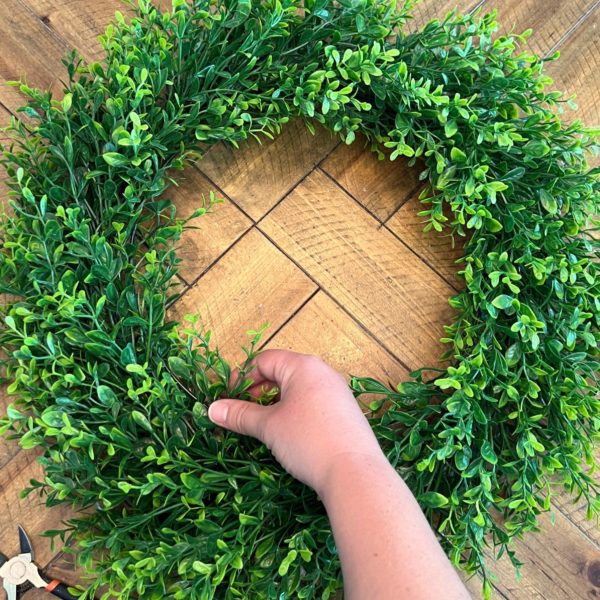
4. Next, fluff out the boxwood to help fill in the wreath form.
5. Start by arranging your butterflies on the wreath to determine the placement.

6. Once you’ve go the butterflies placed to your liking, use floral wire to attach them to the wreath. Cut a small piece of wire and wrap it around the body of the butterfly, then twist the wire together tightly to secure it to the wreath.
- You can also use butterflies with clips, which makes it a lot easier for attaching

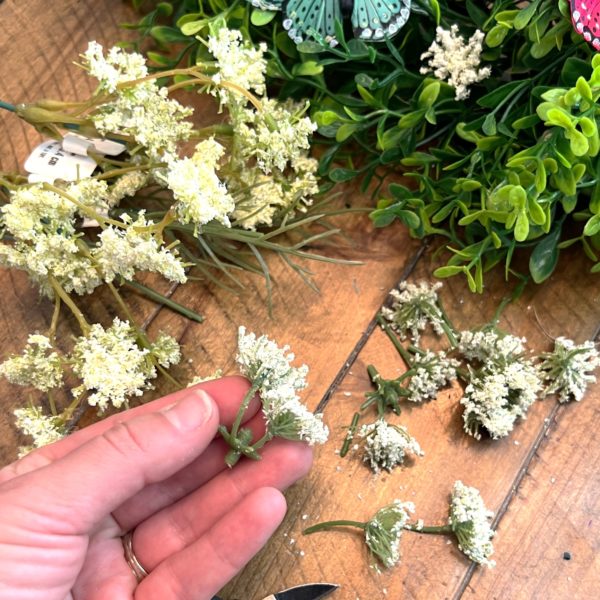
7. Once all the butterflies are attached, you will then add the Queen Anne’s lace. You will cut off the heads with a little stem. This will allow the hot glue to hold on to the boxwood easier.
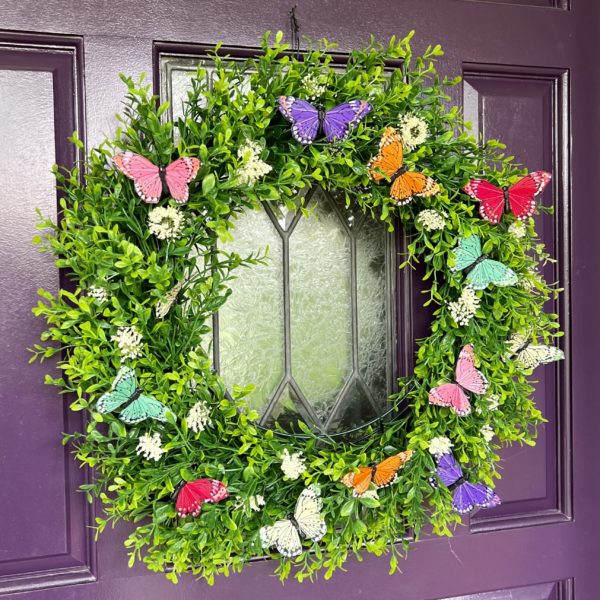
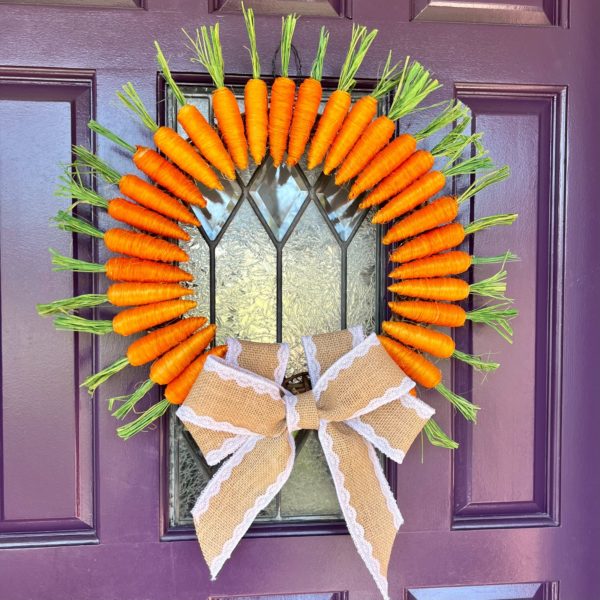
Hang your wreath on your front door, above your mantel, or anywhere else you’d like to add a touch of natural beauty and whimsy to your home decor.
How to video
Want to see more? Find more beautiful and unique projects by subscribing to our YouTube Channel here
- https://www.youtube.com/@FactoryDirectCraft