Skip to search Skip to navigation menu Skip to main content Selecting option will reload page

Category: Party and Special Occasion

DIY Simple Felt Ice Cream Cone Party Hat

Felt_Ice_Cream_Cone_Party_Hat
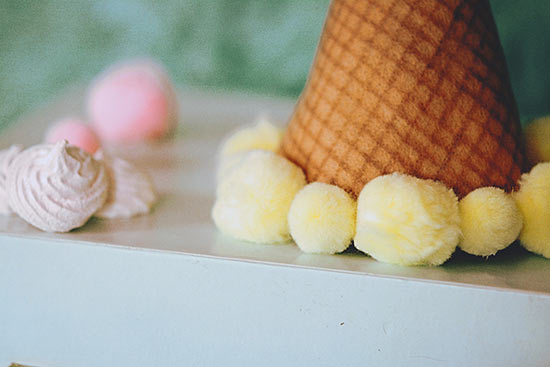
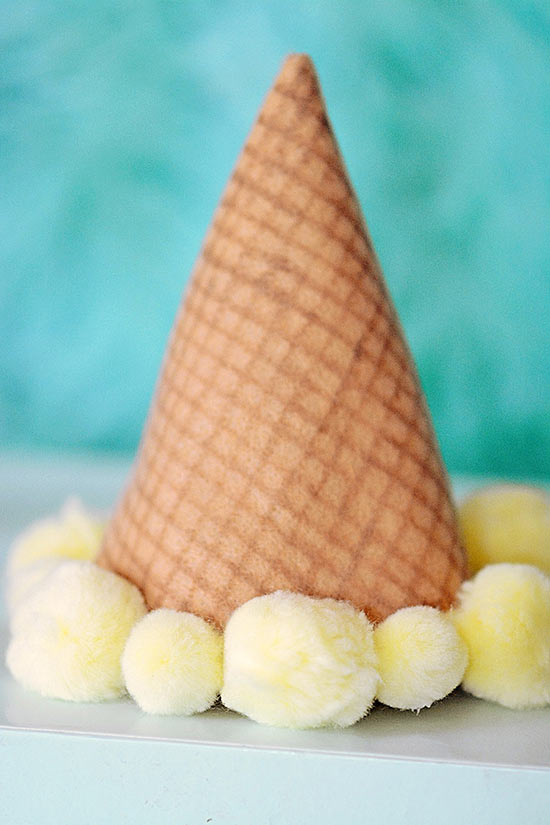
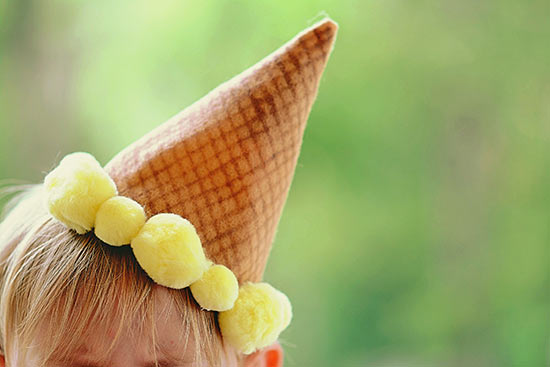
I scream, you scream, we all scream for ice cream and ice cream themed parties! Create an adorable, yet simple, ice cream cone party hat for ice cream themed parties, photo shoots or just to add a little sweetness to your life.

Difficulty level: Beginner
Time required: 30 mins
Age range: 10+

Things you’ll need:
Felt sheets
Large and small pom poms
Elastic
Lightweight Cardboard/Poster board
Hot glue gun
Hot glue sticks
Scissors
Marker
Ruler

Things to do:
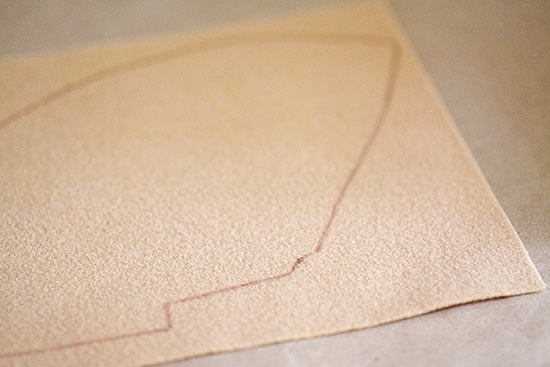
1. Make a template for your hat, lightweight cardboard works well for this. Measure down 8 inches on two sides ( this is for a smaller, typical sized party hat, adjust depending on head size ) and then connected those points with a curved line.Using a plate helps create a nice curved line, and keeps it simple. You can create a tab on your template, but this isn’t necessary.
2. Trace the shape onto your sheet of felt.
Felt_Ice_Cream_Cone_Party_Hat2
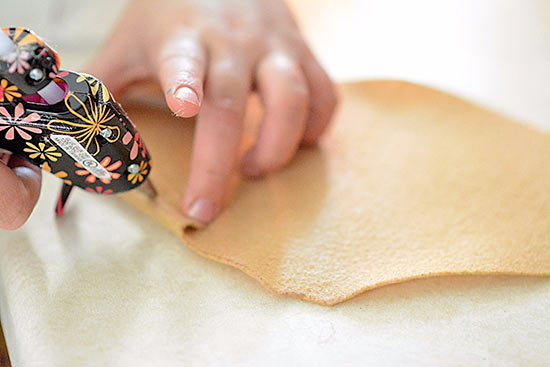
3. Cut out the felt. Glue along the straight edge and shape the hat, gluing the edges together.
Felt_Ice_Cream_Cone_Party_Hat3
4. Use your ruler and marker to create your cone print, using intersecting lines. Felt_Ice_Cream_Cone_Party_Hat4
5. Using hot glue, glue your pom pom balls on to the base of your hat.Felt_Ice_Cream_Cone_Party_Hat5
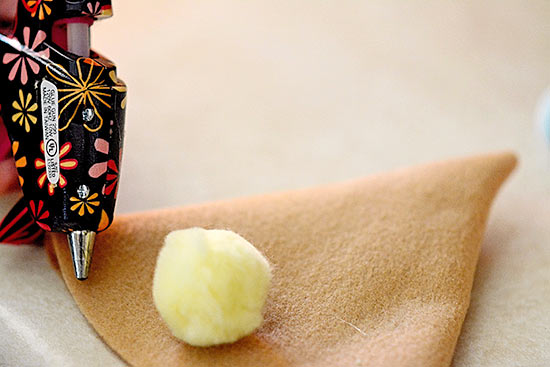
6. If you so choose, attach elastic to each side of your hat, to create a chin strap.
Felt_Ice_Cream_Cone_Party_Hat6
Felt_Ice_Cream_Cone_Party_Hat7

Continue Reading

Faux Succulent Boutonniere Tutorial

Faux_Succulent_Boutonniere_Tutorial
With succulents being all the rage this wedding season, create a simple, yet elegant, faux succulent boutonniere that will last forever, just like your love!

Difficulty level: Beginner
Time required: 30 mins
Age range: 12+

Things you’ll need:
Faux succulents/ Faux Flowers
Crafting wire
Ribbon and/or twine
Boutonniere/Corsage pins
Scissors/Wire cutters
Hot glue gun
Hot glue sticks
Faux_Succulent_Boutonniere_Tutorial2

Things to do:
1. Select your succulent picks and flowers that you wish to be a part of your boutonniere, and arrange them to your liking.
2. Once the picks are arranged, use your crafting wire to tightly secure them together. Keep the wire tight and neat, to prevent your boutonniere from coming apart. Faux_Succulent_Boutonniere_Tutorial3
3. Cut any stray wires or ends of your picks, to keep a clean, less bulky look, as well as to prevent poking. Faux_Succulent_Boutonniere_Tutorial4
4. Wrap your stems and wire. Use your ribbon or twine (or whatever you wish), to cover up the wire and stems of your boutonniere. Wrap tightly to prevent the ribbon from coming loose and exposing any of the wire. Use hot glue to hold the end of the ribbon in place (this should be on the back of the boutonniere). You can also add any accent ribbons or embellishments as you see fit.Faux_Succulent_Boutonniere_Tutorial5
5. Attach your pin by sticking it in the ribbon or twine, on the back of the boutonniere.
Faux_Succulent_Boutonniere_Tutorial6
Faux_Succulent_Boutonniere_Tutorial7

Continue Reading
Change Your Country
Please select your country, this will change the site to your country's currency:

Cancel