Skip to search Skip to navigation menu Skip to main content Selecting option will reload page

Category: "How to" Videos

DIY Rustic Log Slice Chalk Clipboard


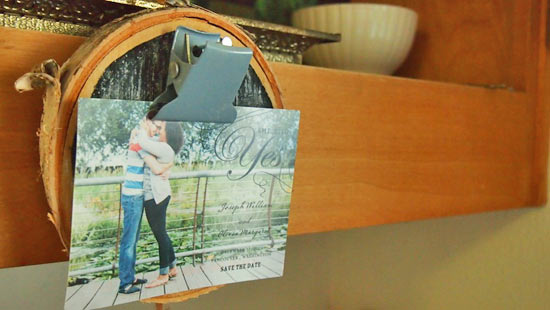
This adorable DIY makes the perfect display for a fun print or sweet message. Find cool clips and create custom clipboards for your loved ones. This is a great gift or fun project for your own home. You’re sure to love the finished results!

Time to complete: 1 hour
Age range: 10 and Up
Difficulty level: Beginner

Things you’ll need:
Large Clip
Chalkboard Paint
Foam brush
Paint brush
Medium log slice
Picture hanger
Hammer

Things to do:
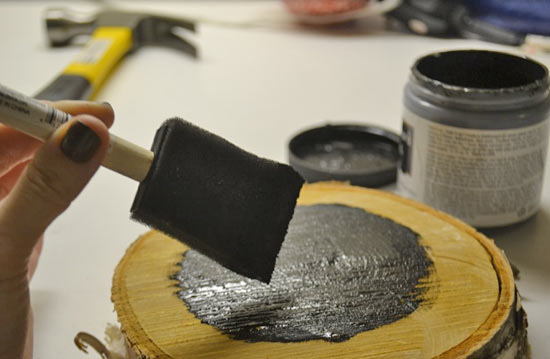
1. The first step is painting the front of the log slice. Use a foam brush to cover the surface in a thick, but even, coat of chalk paint. Leave 1/2 inch empty space around the edges of the slice.
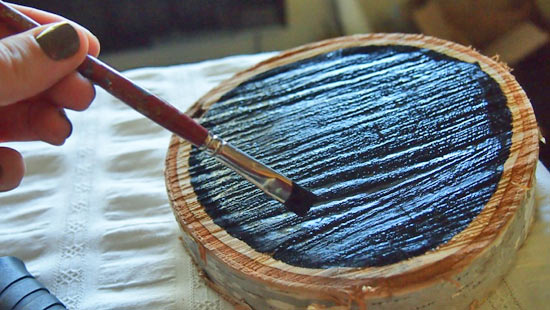
2. Use a small paintbrush to paint a smooth line around the edge of the log slice. Let the first layer of paint dry completely.
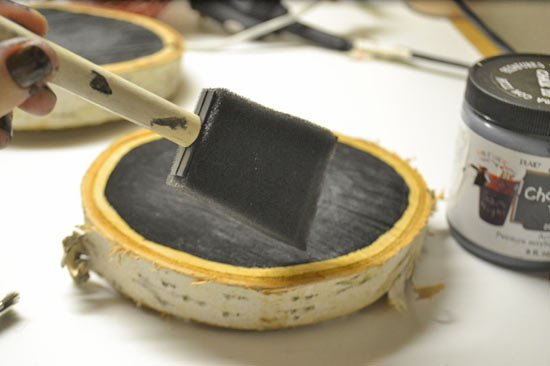
3. Apply a second layer of chalk paint using a foam brush and allow it to dry completely.
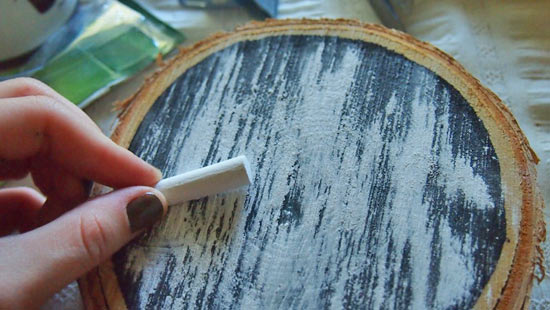
4. Once the paint has dried completely, rub a piece of chalk across the surface of the log slice. Use a damp cloth to clean the surface.
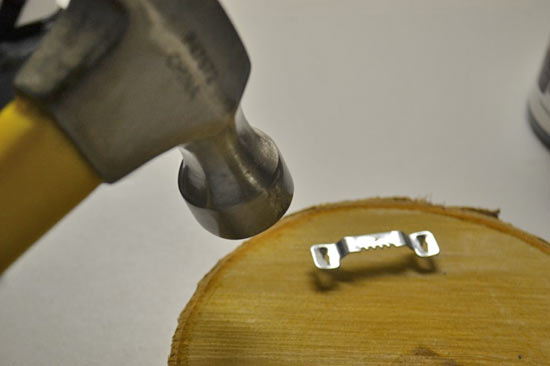
5. Attach a push-in photo hanger to the back of the log slice.
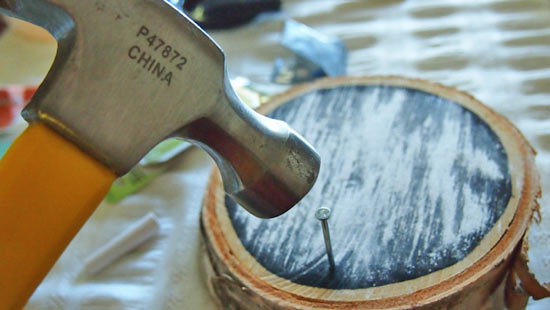
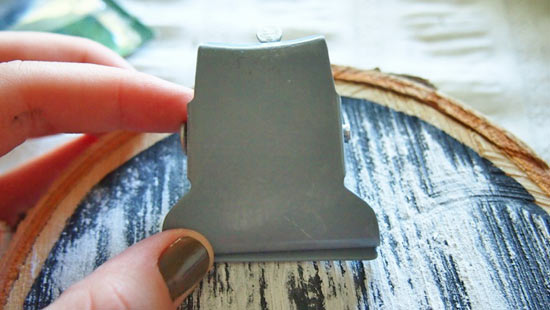
6. Use a nail to secure the large clip to the front of the log slice.
Continue Reading

DIY Magnet Fishing Game


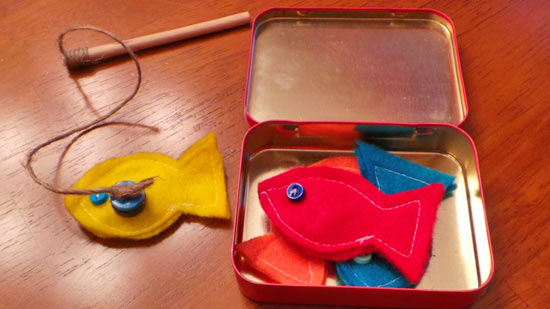
Give the gift of hours and hours of fun! This is adorable toy is the perfect thing to take along on road trips or airplane rides. The little one in your life is sure to love this fishing game.

Difficulty level: Intermediate
Time to complete: One Hour
Age range: 13 and Up

Things you’ll need:
Felt
Dowel
Buttons
Needle
Thread
Mint metal tin
Magnets
Twine
Scissors
Paper
Hot glue gun and glue sticks

Things to do:
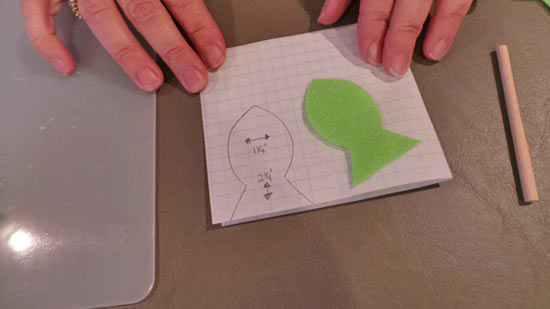
1. The first step is making your pattern. Cut a rectangle that is 2 1/4 tall and 1 1/4 inch wide. Draw a fish shape that fits inside this rectangle.

2. Lay the pattern on your felt and trace the shape. Cut out two fish shapes in each color of felt.
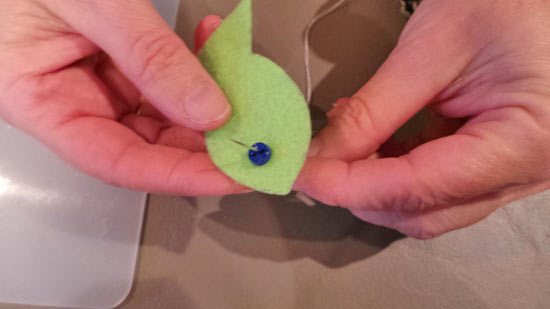
3. Use a needle and thread to attach button eyes to the fish.

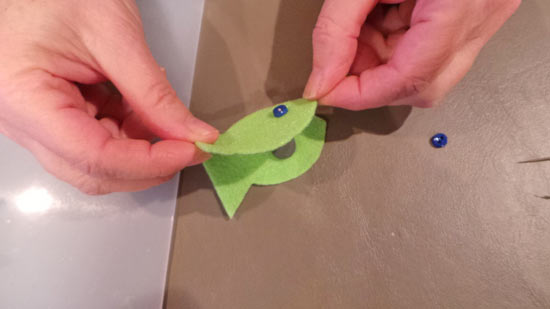
4. Place a magnet in the center of the two fish shapes and sew them together. You can sew them on a machine, or by hand.


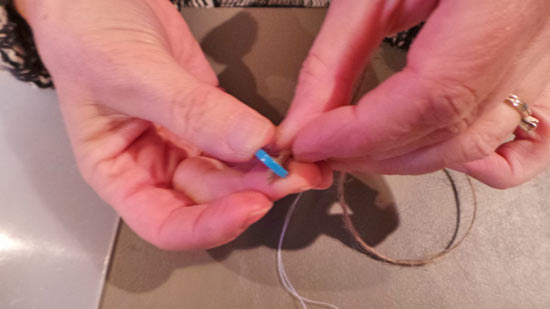
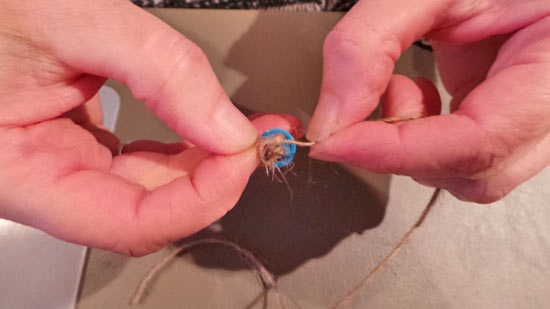
5. Attach a button to a piece of twine, tying it in place at the end.


6. Hot glue a magnet to the button.

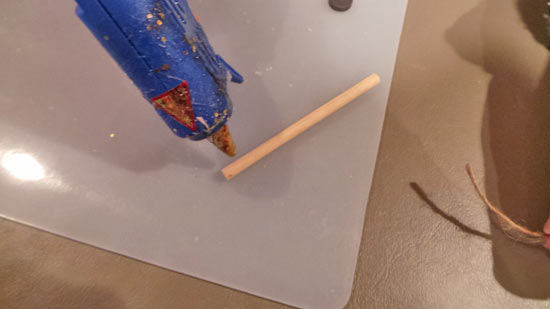
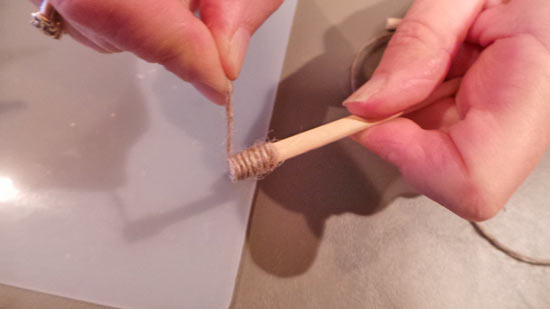
7. Apply a thin line of hot glue to the end of the dowel and wrap the end of the twine around it until the top 1/2 inch is covered.


8. Put your fish and pole in a metal tin and you’re ready to play!

Continue Reading
Change Your Country
Please select your country, this will change the site to your country's currency:

Cancel