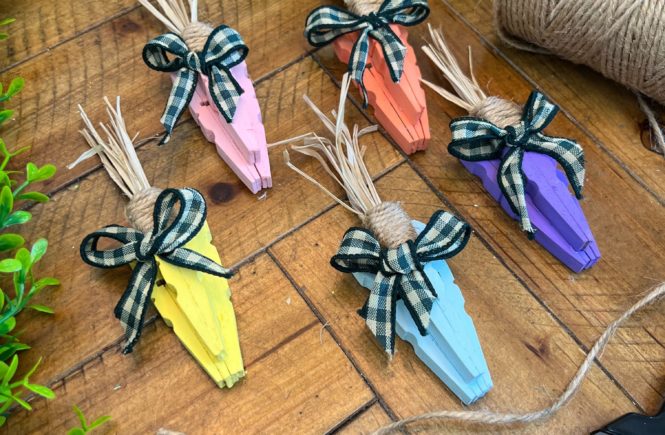
Spring is the perfect time to create some cute and fun DIY crafts to brighten up your home, and a clothespin carrot is the perfect project to start with! This craft is easy to make and requires only a few materials. Great for kids and adults!
Difficulty level:Beginner
Time to complete: 30 minutes
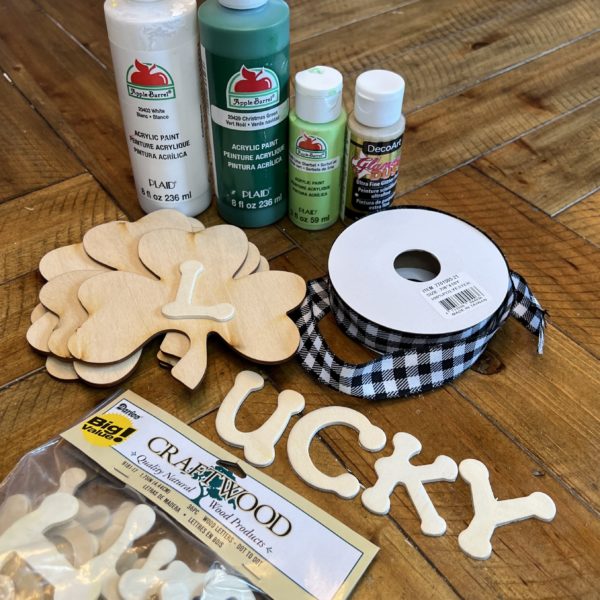
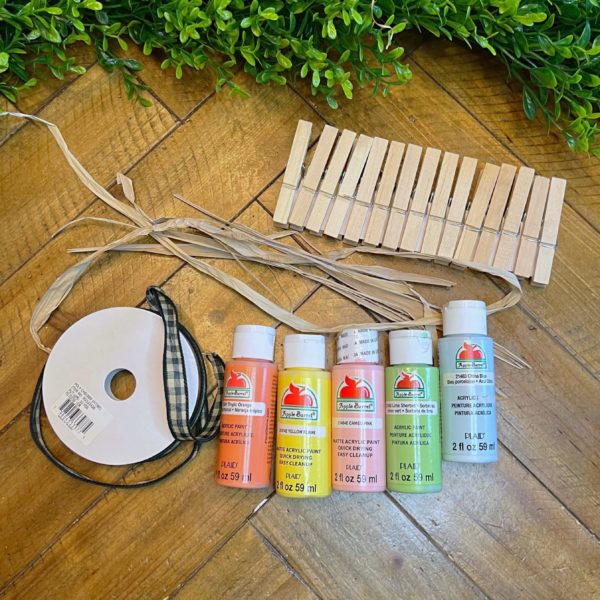
Supplies needed:
- 1 package of Wood Clothespins
- Natural Dried Raffia Ribbon
- Natural Jute Twine
- Green Gingham Check Wired Ribbon
- Lime Sherbert Apple Barrel Acrylic Paint
- Petunia Purple Apple Barrel Acrylic Paint
- Canary Yellow Apple Barrel Acrylic Paint
- Cameo Pink Apple Barrel Acrylic Paint
- Tropic Orange Apple Barrel Acrylic Paint
- Glue gun
- Scissors
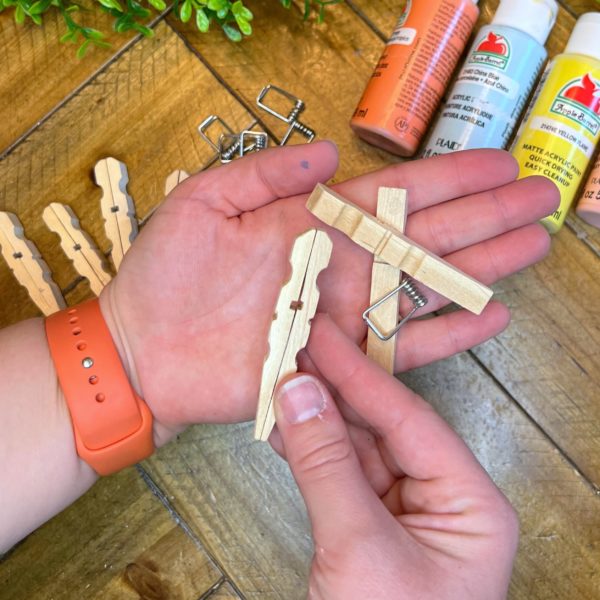
Step 1: Take apart the clothespins
First you will want to remove the metal piece from each clothespin. Once removed, you will then glue two pieces together using the flat ends.
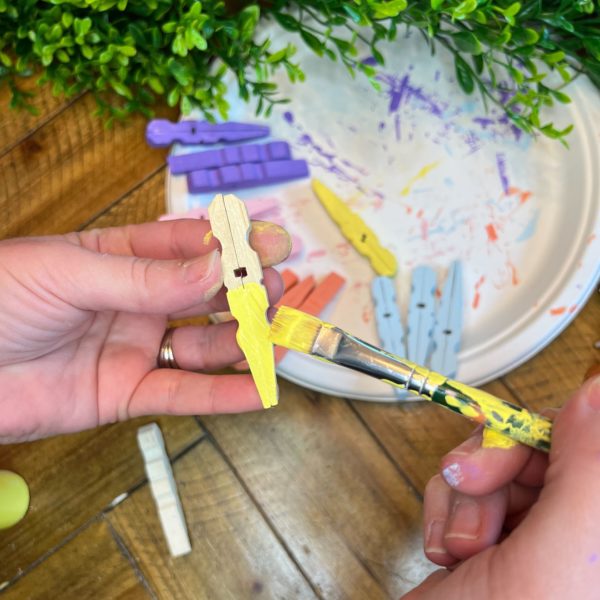
Step 1: Paint the Clothespins
Start by painting the wooden clothespins with any color acrylic paint you desire. I chose to do a more springtime, bright colors, but feel free to stick to the traditional orange color. You’ll want to paint both sides of the clothespins and let them dry completely before moving on to the next step.
- You will need 3 sets of glue clothespins to make 1 carrot. So if you choose to do multiple colors, make sure you have 3 clothespins that one color before going to the next color.
Step 3: Add your Dried Raffia Ribbon
Once reaching this stage, you will gather a bunch of 6-8 strands of the raffia and cut to length of approximately 2.5 inches. Grab one of the clothespins and hot glue the raffia to the top above the notch.
- At this step, make sure you have a popsicle stick or something to help hold the raffia in place as glue dries. This will help keep your fingers safe and not burning.
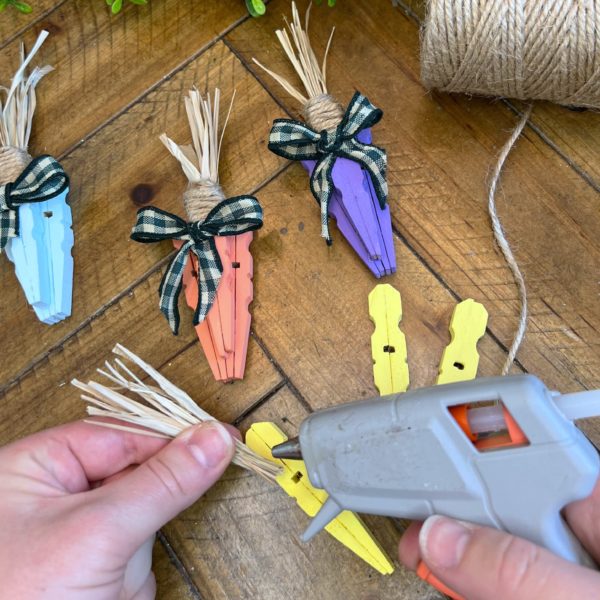
Step 4: Wrap the top with twine
Once glue is dried for the raffia, you will then want to glue and wrap the top with the twine.
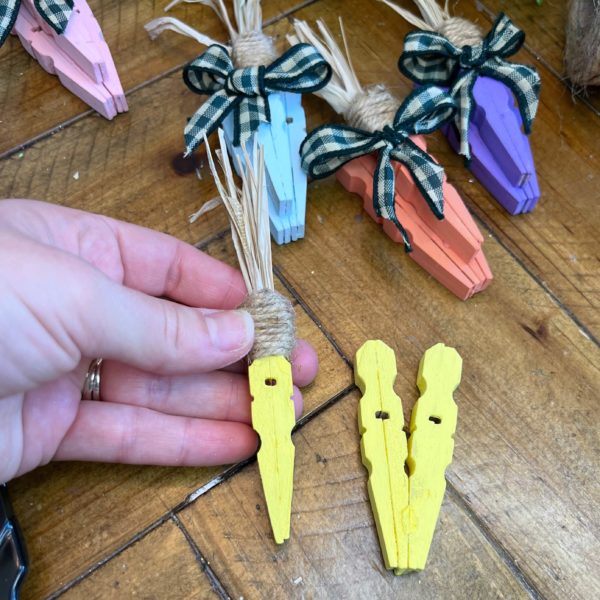
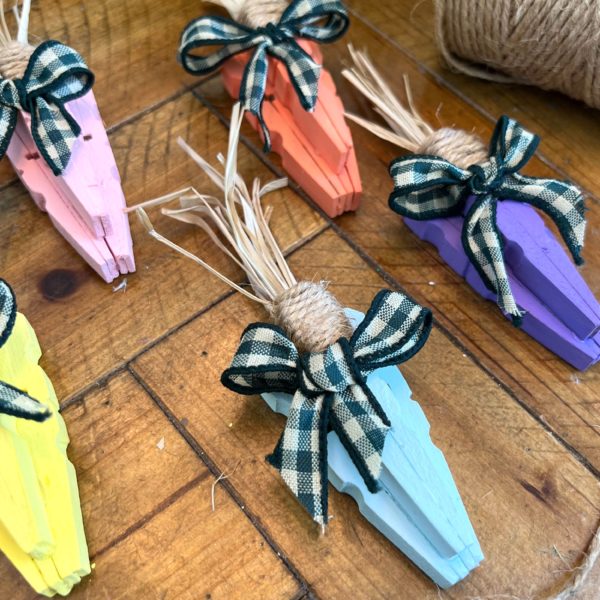
Step 5: Put together the carrot
We are now to the part to start putting together the carrot. You will take the 2 clothespins already glued together and you will attach them using the flat surface towards the bottom of the clothespin post. Once those dry, you will take the same colored clothespin with the raffia and twine, then glue this on top of the 2 like colored clothespins. This will form the “bunch” look of carrots.
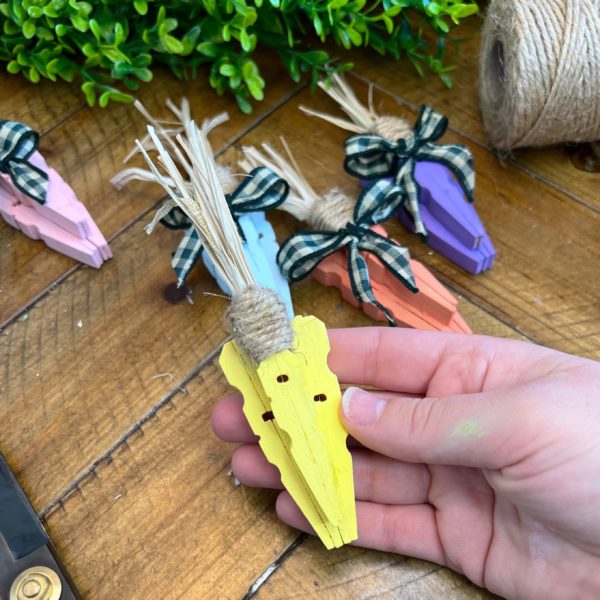
Step 6: Make your bow
Here you will pick the ribbon that you desire for this project. I chose to pick a cute Gingham Check Wired Ribbon. Once i have formed the small bow, i then cut the tails off to the desired length. Glue them on the formed carrot. I choose to glue to the top carrot, off to the side slightly.
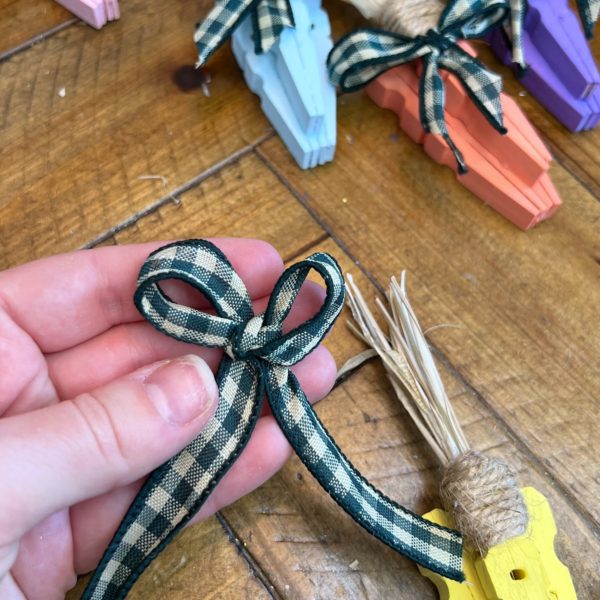
Glue them on the formed carrot. I choose to glue to the top carrot, off to the side slightly.
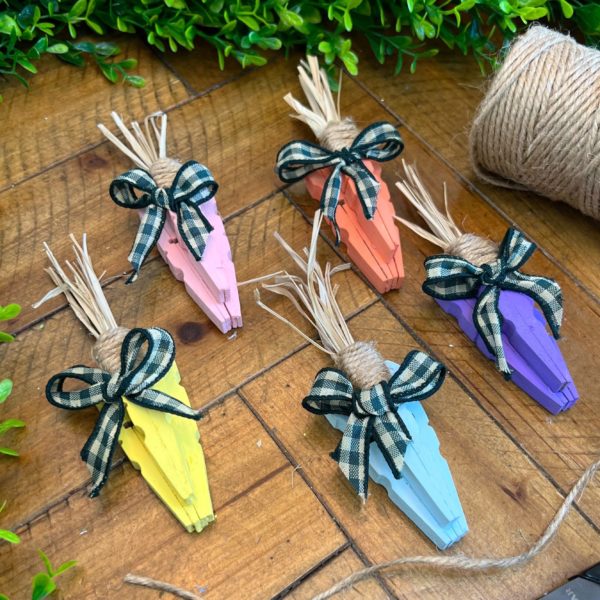
Your DIY clothespin carrot is now complete and ready to be displayed! You can use it as a decoration for your home, or you can even glue/tie it onto a gift bag or basket for an extra special touch. This craft is easy to make and perfect for kids and adults alike. Have fun creating your own clothespin carrot and bringing a touch of springtime to your home!