Skip to search Skip to navigation menu Skip to main content Selecting option will reload page

Category: General Crafts

Ruffle Necklace

Ruffle_Necklace
You might spot a necklace like this at a high-end boutique or one of the fancier chain clothing stores but creating your own couldn’t be simpler and you probably have what you need in your closet right now!

Things you’ll need:
Long thin scarf, about 2 feet by four inches or a piece of lightweight material of those dimensions
Sewing machine and thread
Necklace chain, this can be thick or thin, whichever you prefer

Things to do:
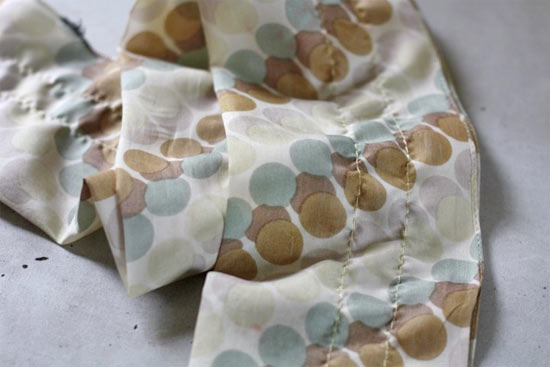
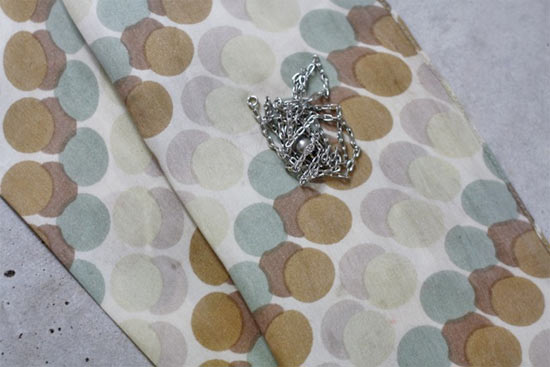
1. Fold the scarf in half, lengthwise, wrong sides together. Sew along the edge with a 3/4 inch seam allowance using your longest stitch. Do not backstitch!
Ruffle_Necklace2
Ruffle_Necklace3
2. Sew along the other side, also with a 3/4 inch seam allowance and also using your longest stitch length. Again, do not backstitch. (Make sure the space between the two stitch lines can easily fit the width of your chain)
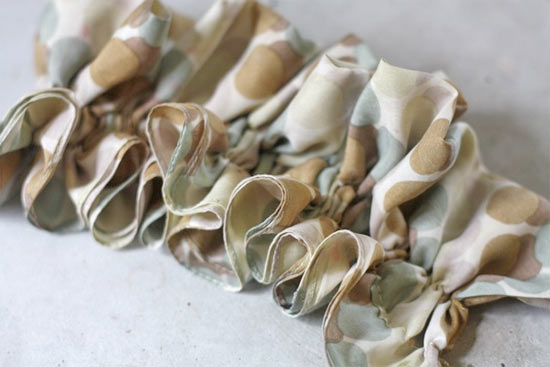
3. Carefully pull the bobbin threads to gather from each end until the fabric is about 6-8 inches long. Tie the threads at each end and trim.
Ruffle_Necklace4
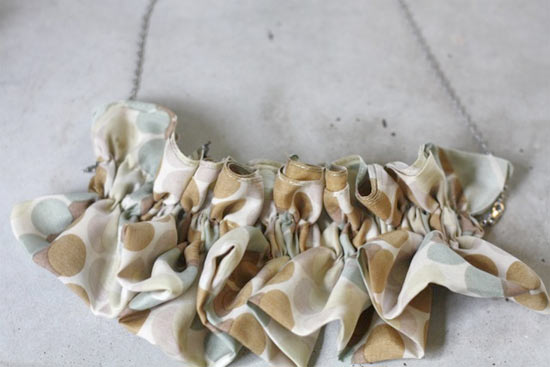
4. Run the chain through the necklace and fasten in place.
Continue Reading

Modge Podge Wood Bangles

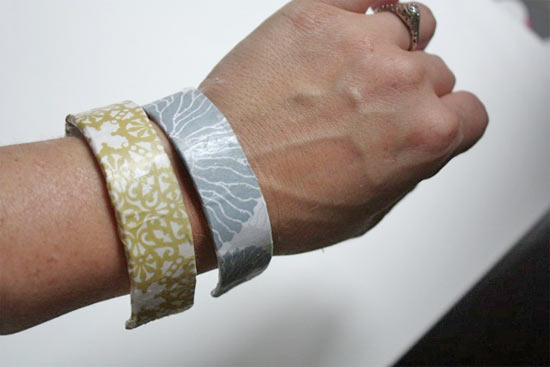
Modge_Podge_Wood_Bangles
You would never guess by looking at these bracelets that they can be made with three craft staples. Simple and fun! Try different glasses for drying your sticks to find one that fits your wrist well and then make them by the dozen. A perfect summer project!

Things you’ll need:
Wide craft sticks (tongue depressors)
Scrapbook paper
Modge Podge
Foam paintbrush
Craft knife
Water
Glasses or mugs
Container longer than the sticks

Things to do:
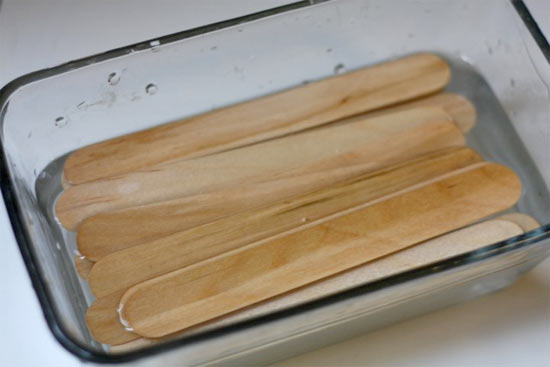
1. Fill the long container with a dozen or so sticks and cover with water. Allow the sticks to soak for several hours (probably overnight or at least 8 to 10 hours) to soften them. You can also try boiling them in water for about 15 minutes.
Modge_Podge_Wood_Bangles2
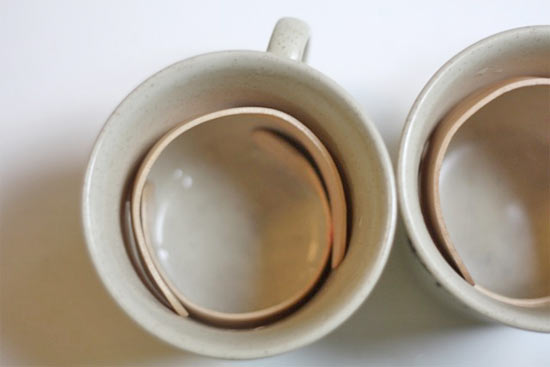
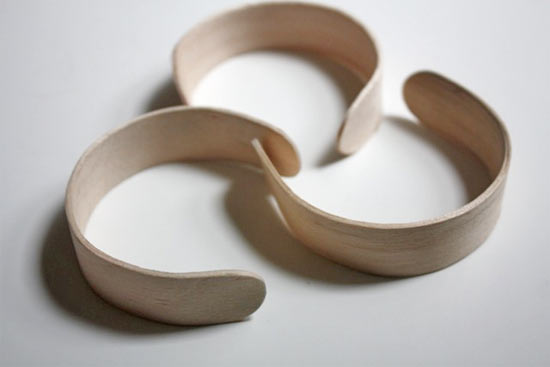
2. Remove one stick from the water and gently work it into a circular shape, Slide the stick into a cup to hold it’s shape. Allow the stick to dry in the cup. Repeat with the remaining sticks.
Modge_Podge_Wood_Bangles3
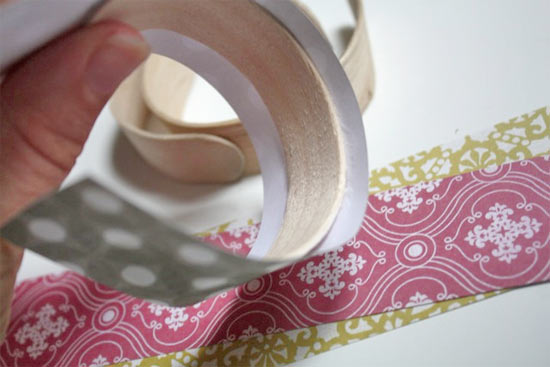
3. Once the sticks are dry and shaped. Cut strips of paper slightly longer and wider than the sticks.
Modge_Podge_Wood_Bangles4
4. Coat the top of one of the bracelets with a thin layer of Modge Podge and then smooth the paper on, rubbing out any bubbles.
5. Using the craft knife, trim away the excess paper.
Modge_Podge_Wood_Bangles5
6. Allow the Modge Podge to dry for a moment and then add a coat over the paper to seal. Smoothing any wrinkles that form.
7. Once the outer coat is dry, coat the inside of the bracelet with two or three coats of Modge Podge to create a smooth surface and allow it to dry before wearing.

Continue Reading
Change Your Country
Please select your country, this will change the site to your country's currency:

Cancel