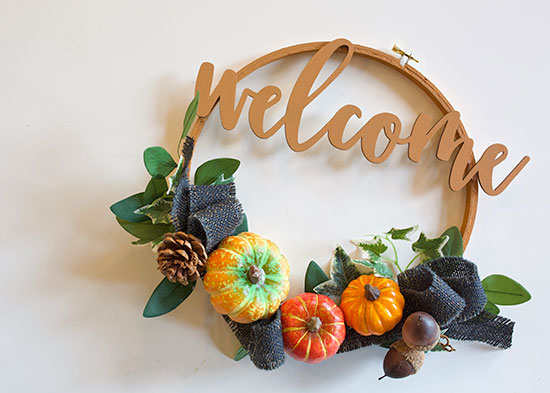
Celebrate the season with this shabby chic wreath! This project looks lovely displayed on a front door or inside on a gallery wall.
Difficulty level: Beginner
Time to complete: 30 minutes
Age range: 12 and up
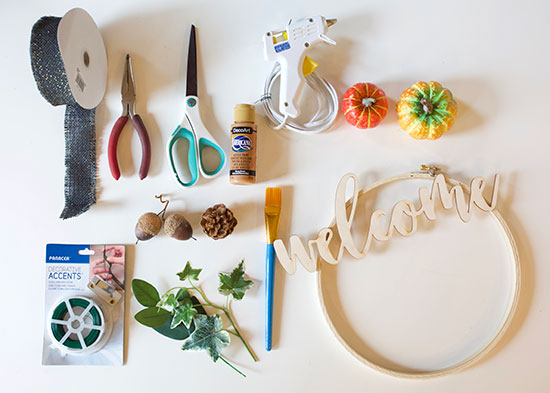
Things you’ll need:
Embroidery hoop
Welcome cutout
Greenery
Pumpkins, pinecones, and acorns
Ribbon
Hot glue gun and glue sticks
Scissors
Floral wire
Wire cutters
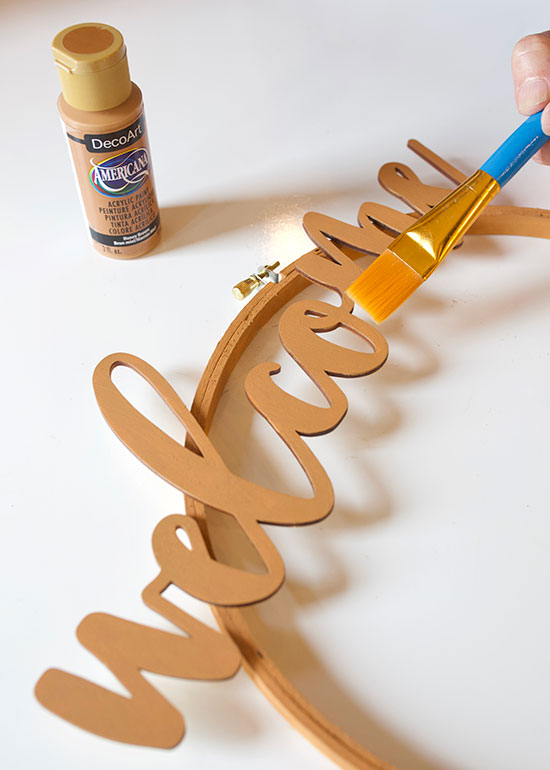
Honey Brown acrylic paint
Paint brush
Things to do:
- Paint your embroidery hoop and wood cutout.
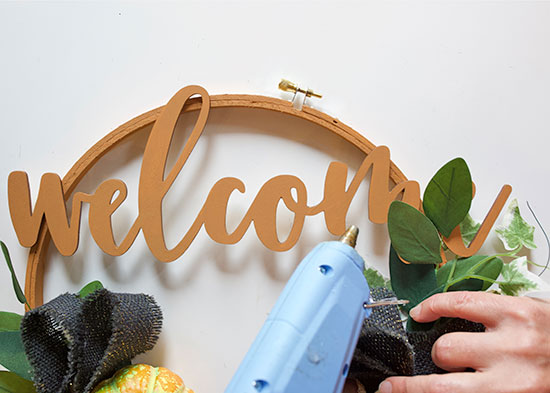
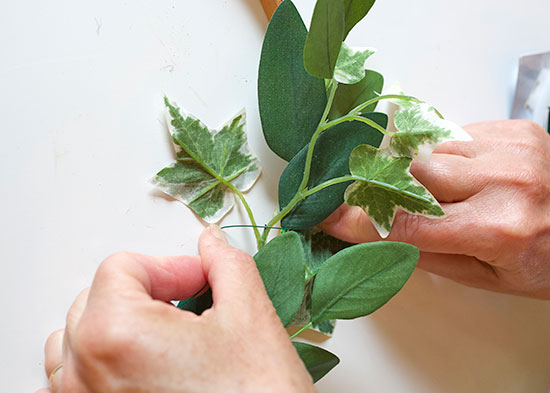
- Use floral wire to attach green leaf stems to the hoop.
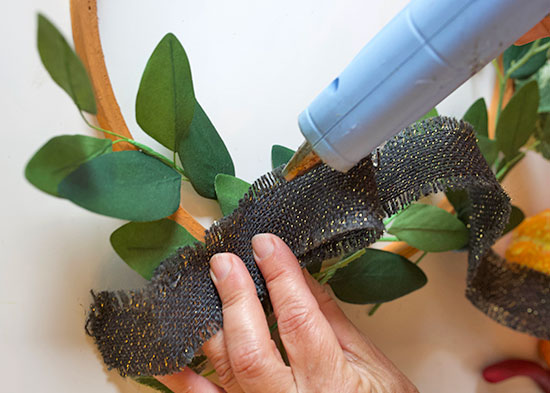
- Unroll your ribbon and create two loops with a 4-inch tail. Use hot glue to secure the loops.
- Use hot glue to attach a pumpkin next to the two loops.
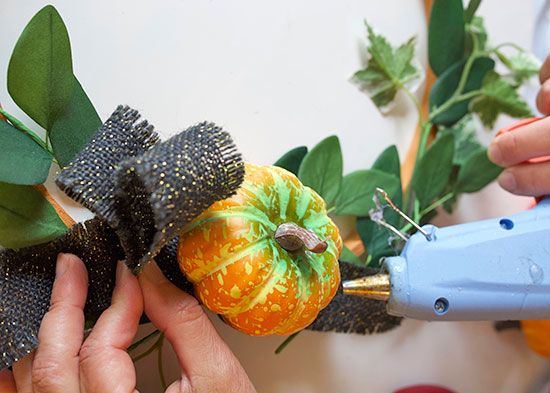
- Continue alternating between ribbon loops and pumpkins until the base of the wreath is full.
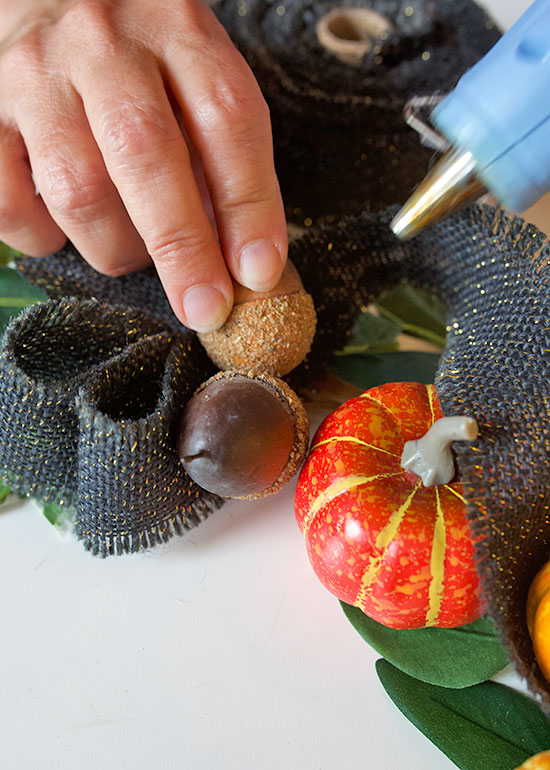
- Use hot glue to attach a few acorns and pinecones between the ribbon loops and pumpkins.
- Use hot glue to attach the wood cutout word to the top of the wreath.