
Difficulty level: Beginner
Time required: 1 hour, including drying time
Age range: 8 and up
Things you’ll need:
Wax paper or other covering for work surface
Assorted wood eggs
Various colors of tissue paper
Foam brush
Mod Podge
Chunky Glitter
Scissors
Spray adhesive
Things to do:
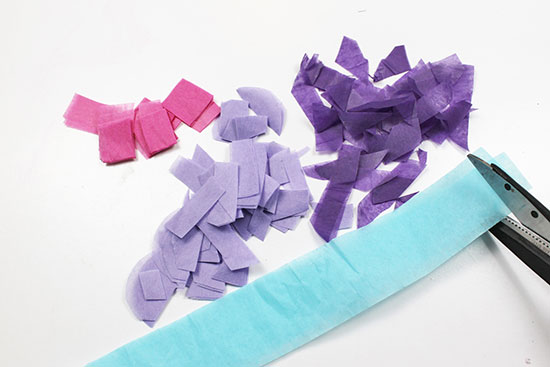
1. Cut the tissue paper into small squares. Don’t worry about getting the perfect shape.
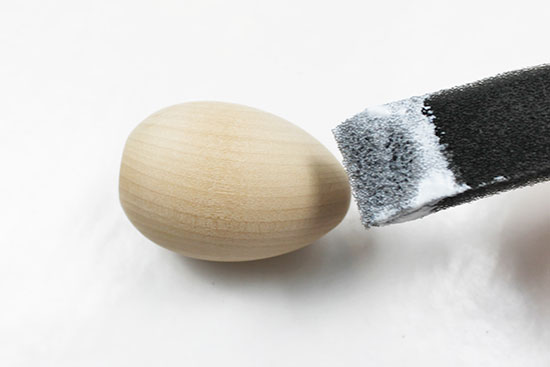
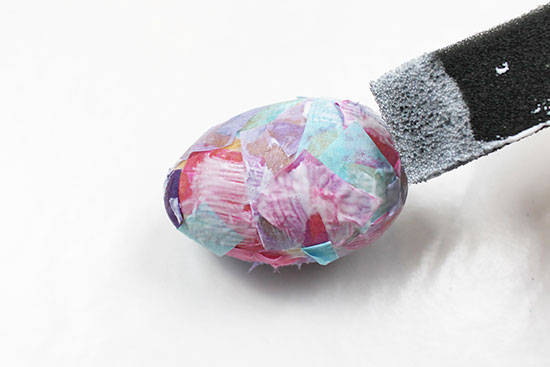
2. Cover the work surface with wax paper or another covering. Using a foam brush, apply a thin layer of Mod Podge to the wooden egg.
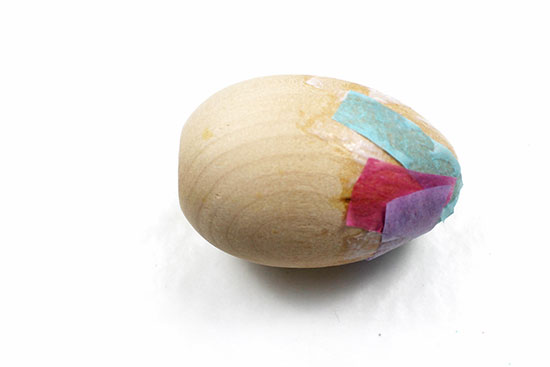
3. Immediately add tissue paper squares one at a time to the egg.
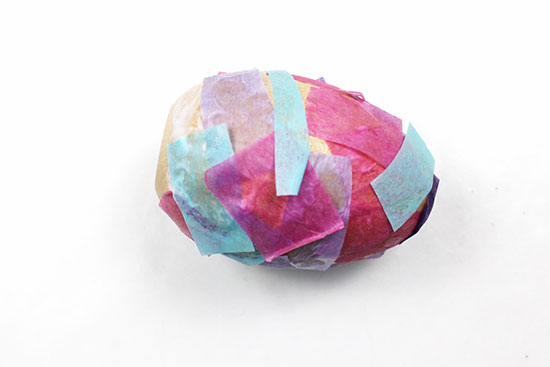
4. Once most of the surface of the egg is covered, you can add Mod Podge in the empty spaces, then add more tissue paper on top to layer it. Continue until the entire egg is covered in tissue paper. Allow 20 minutes for the Mod Podge to dry.
5. To smooth down any tissue paper edges, apply another layer of Mod Podge, gently pushing the edges down as you apply it. Allow another 20 minutes for the Mod Podge to dry.
6. Once the egg is dry, add a small pile of chunky glitter to the work surface. Spray the wooden egg with spray adhesive.
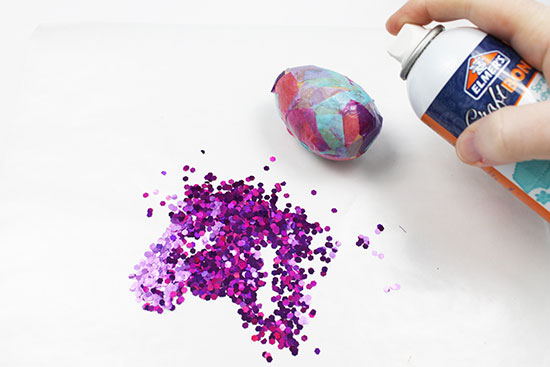
7. Immediately roll the egg in the glitter, turning the egg to distribute the glitter evenly. Allow the egg to dry.