Difficulty level: Intermediate
Time required: 1 hour
Age range: 12 and up. Note that needle felting does involve working with sharp needles, so use discretion when deciding whether the project is age appropriate.
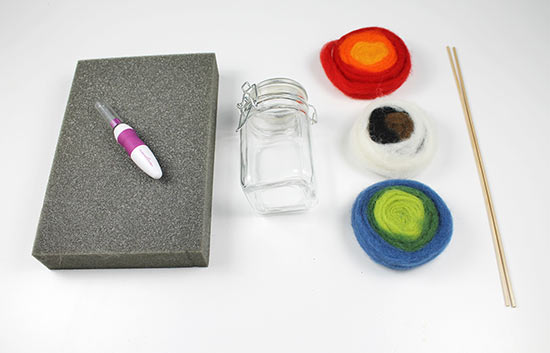
Things you’ll need:
Dimensions Feltworks Single Needle Felting Tool
Dimensions Feltworks Replacement Felting Needles (optional, but recommended in case your felting needle breaks)
Dimensions Feltworks Multi-Color Roving Rolls
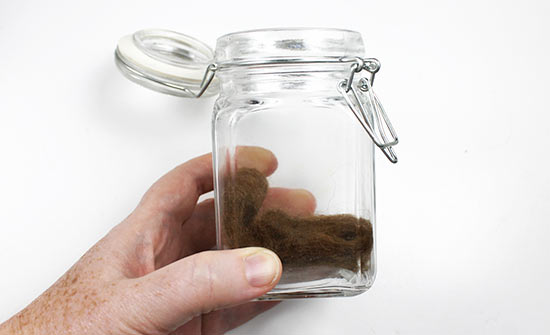
Clamp Lid Glass Jar
Foam pad
Two 1/8″ diameter wood dowels
Things to do:
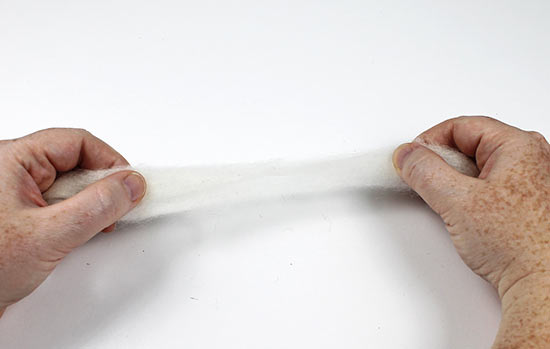
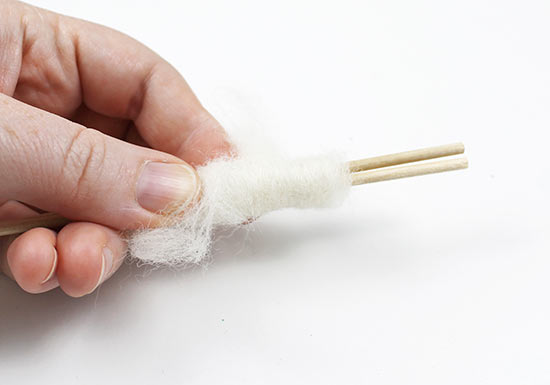
1. To make the mushroom stem, gently pull away a small amount of white roving that’s about 5″ long. (Never cut roving; instead, gently pull it apart with your hands.)
2. Wrap the roving tightly around the dowel to form a long cylinder shape that’s about 1 1/2 ” long.
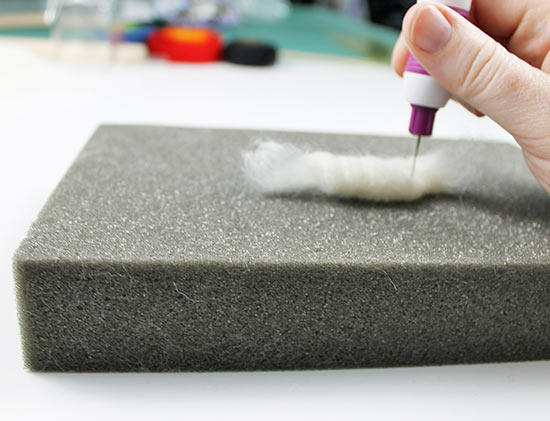
3. Slide the roving off the dowel, then place it on the foam pad. (You may need to use your fingers to pinch the roving in place as you begin.) Begin felting the stem, gently inserting the needle into the roving. Use a straight up and down motion; felting at an angle may break your felting needle. Avoid felting the top 1/4″ and bottom 1/4″ of the stem, leaving the roving loose. Rotate the stem as you work, evenly felting it all the way around.
Tip: You can also roll the felt back and forth between the palms of your hands to felt it a bit faster.
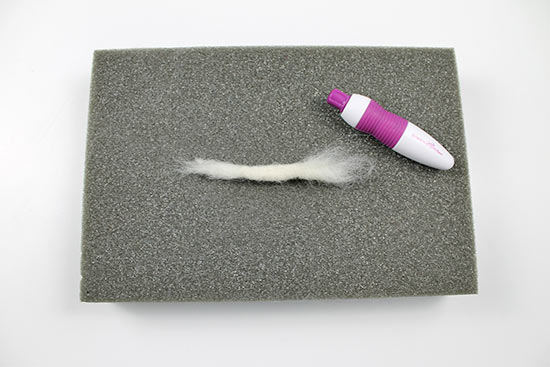
4. When your stem is dense and feels sturdy, you are finished felting. You’ll find that the needle doesn’t poke into the felt as easily at this point. Be patient as sometimes the process can take a while, especially for beginners.
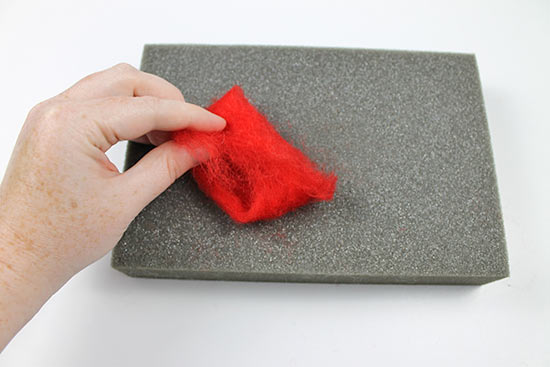
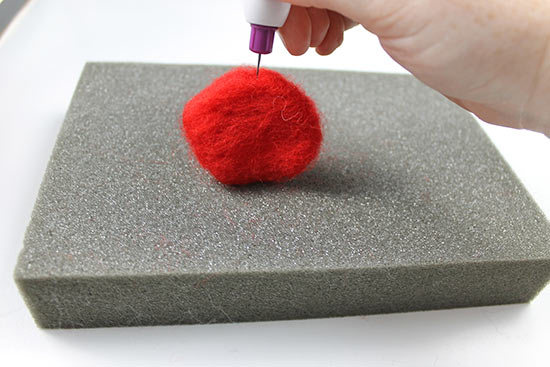
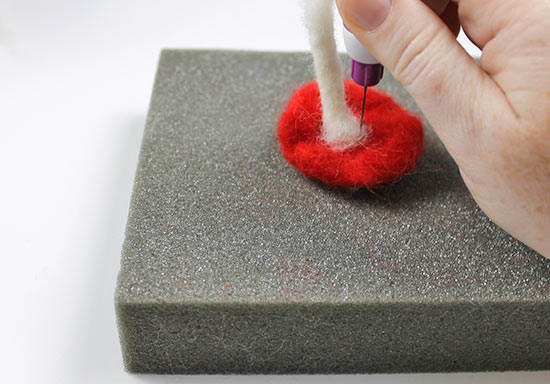
5. To make the mushroom, gently pull away a length of red roving that’s about 5″ long. Place the roving on the foam.
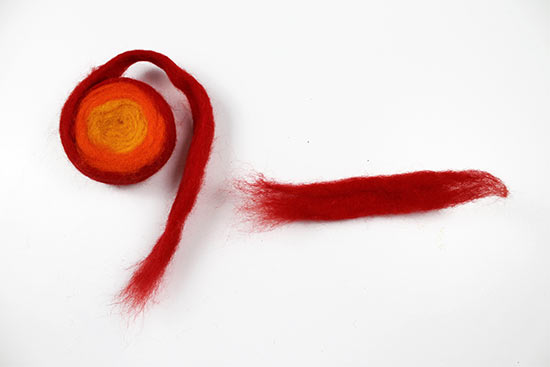
6. Fold the ends in toward the center.
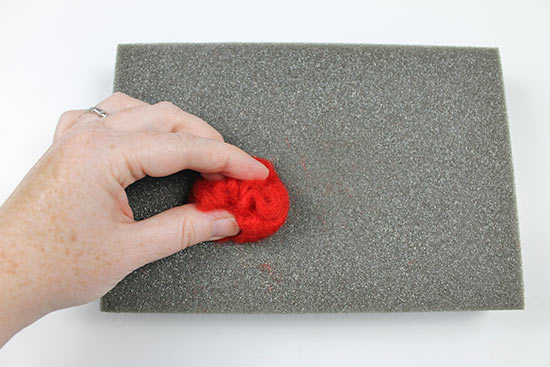
7. Fold the sides in toward the center, pinching the roving to create a little pouf. Hold the fibers in place with your non-dominant hand.
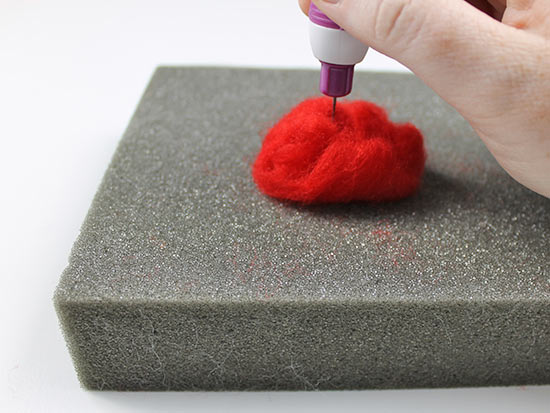
8. Begin felting the mushroom, inserting the needle into the folds of the roving over and over. Insert the needle carefully, and don’t insert the needle all the way through the roving. Just a gentle poke on top of the roving will do. If you insert the needle too far in, the mushroom cap will start to flatten and lose its sphere shape.
9. Once the bottom of the mushroom looks solid, flip it over and begin felting the top of the mushroom. Keep an eye on the mushroom as you work, making sure you’re not felting it into a flat disc.
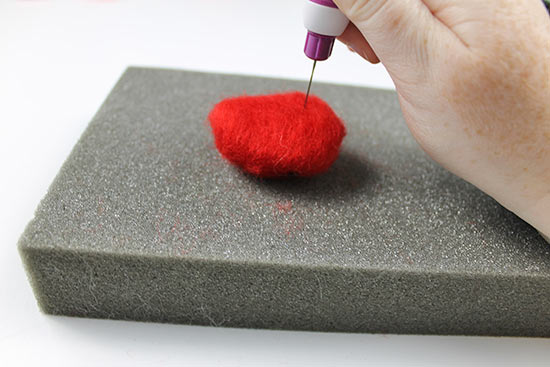
10. To give the mushroom a clear defined outline, felt the sides of the mushroom cap, securing stray fibers as you work.
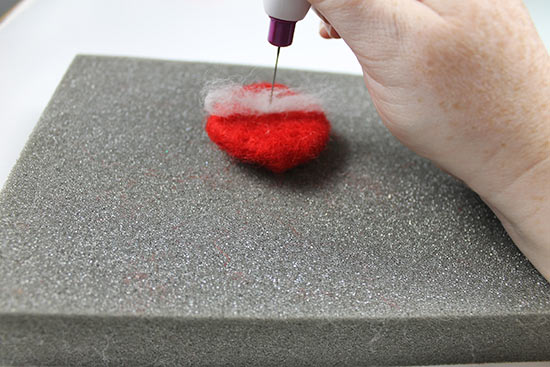
11. To make the white spots on the mushroom, flip the mushroom so that the top of the cap faces you. Pull away a small amount of white roving. Place the roving on top of the mushroom and begin felting the center of the fiber into place just enough to secure it.
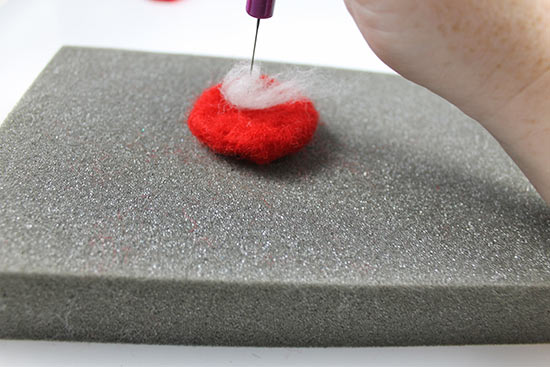
12. Using your needle, swirl the roving around the needle, then continue felting it onto the mushroom. Continue to swirl and felt until there are no stray fibers.
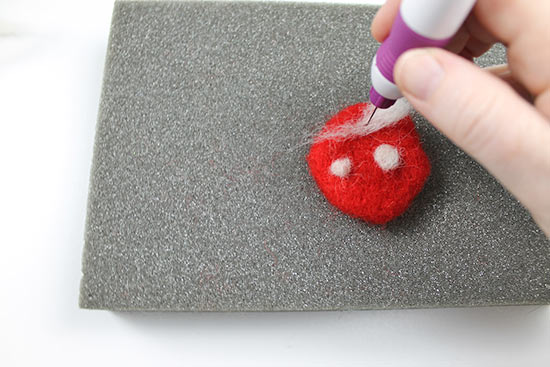
13. Repeat steps 11-12 to create as many mushroom dots as you’d like.
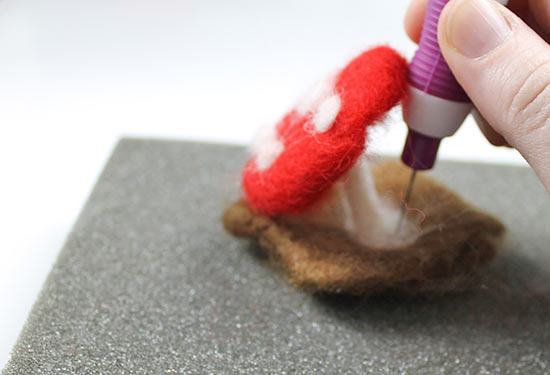
14. Attach the mushroom top to the stem by spreading the loose fibers of the stem around the bottom of the mushroom cap. Gently felt the stem to the mushroom, being careful not to push the needle too far into the mushroom.
15. To create the base layer of the terrarium, pull off several inches of brown roving. Fold the roving over, aiming to make the roving the same size as the inside of your container. Begin needle felting.
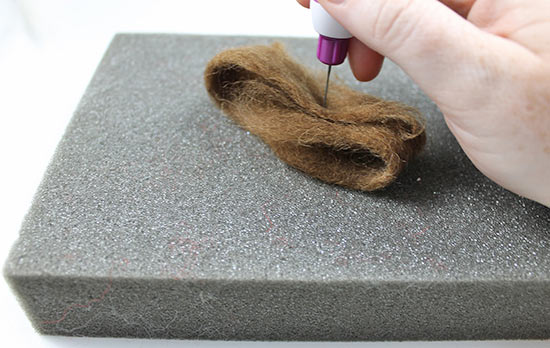
16. Continue felting the base layer, checking occasionally to make sure it fills the bottom of the container. If your base layer is too small, add more roving to make it larger. If it is too large, continue felting to shrink it more or fold it over and felt the edge. You can felt this layer more loosely than other layers since we want it to resemble dirt.
17. Felt the bottom of the mushroom stem to the brown base layer by spreading the loose fibers across the brown base layer.
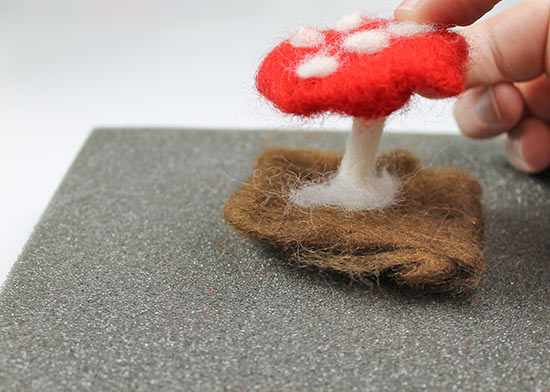
18. Needle felt the mushroom fibers to secure the mushroom on the base layer.
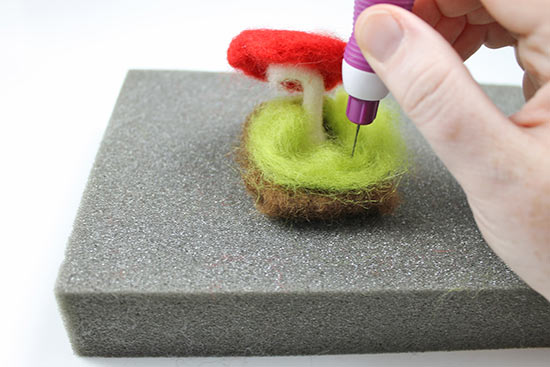
19. Pull off several inches of green roving. Wrap the roving around the mushroom loosely, laying it flat on top of the base layer.
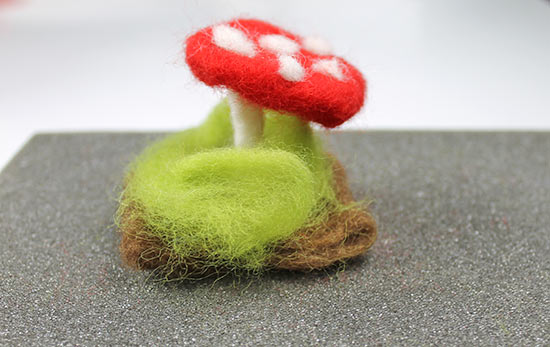
20. Felt the roving to the base layer, aiming for a very loose felt rather than a dense felt. Fluff up the roving if necessary so that it looks like moss.
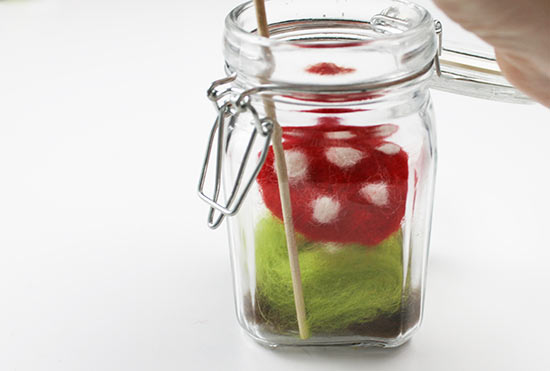
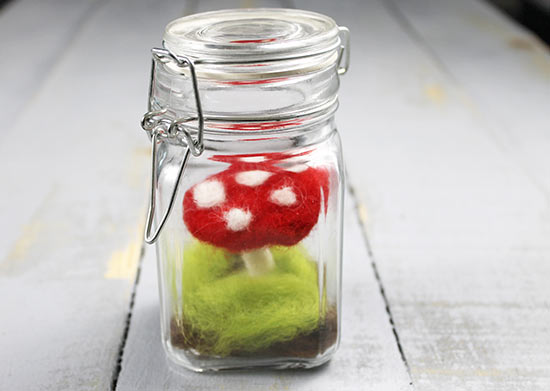
21. Place the mushroom along with its layers inside the container. If you can’t get the layers to lay flat, you can use one of your dowels to put everything in place.