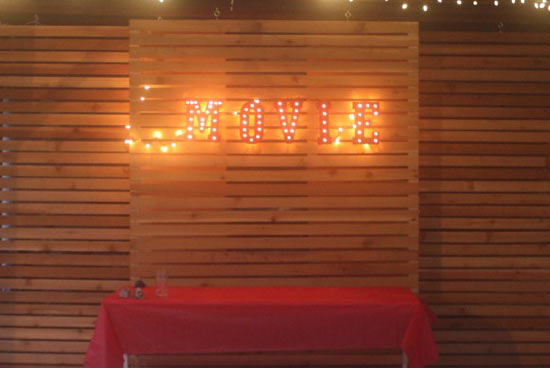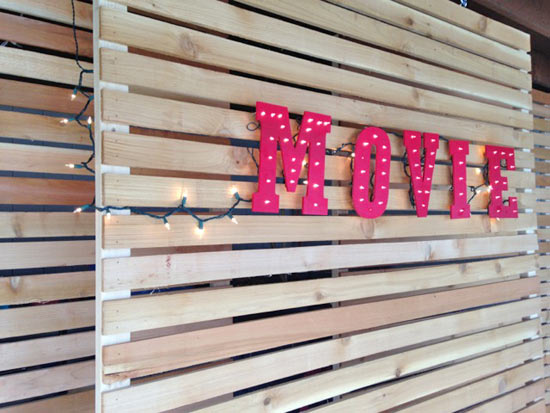
Sometimes, a sign is just not enough. Sometimes you need things to be big and flashy and Hey! Look over here!”. And for those times, really, only a lighted marquee will do. While somewhat involved to create, the end result packs a whole lot of WOW factor, making it the perfect finishing touch for big events, parties or special spaces in your home.
Difficulty level: Advanced
Time required: 1 hour, plus dry time
Things you’ll need:
12 inch or higher wooden letters spelling out your word (here are have used ‘M‘ ‘O‘ ‘V‘ ‘I‘ ‘E‘)
Drill with a bit about the same size as the bulbs on your lights
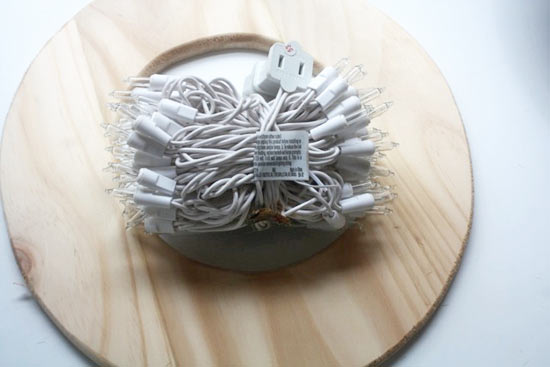
String of mini lights
Acrylic paint
Sawtooth hangers and nails
Ruler
Things to do:
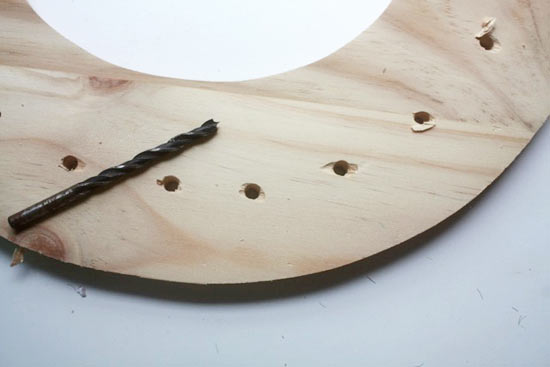
1. Drill holes along the center of each letter, spacing them about 2 inches apart, but dividing them evenly across the letter. The space between each hole needs to be less than the distance between each bulb on the light string.
2. Once all the holes are drilled, paint the letter with several coats of paint until you have a nice, solid layer of color. Allow the paint to dry.
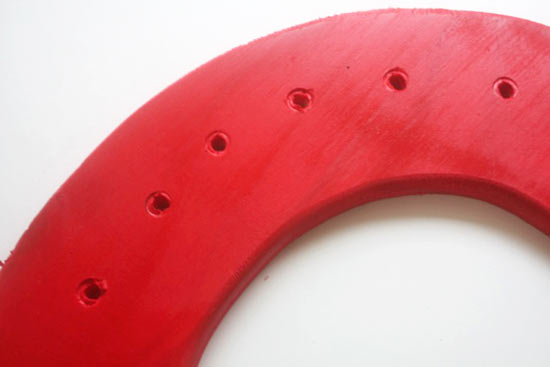
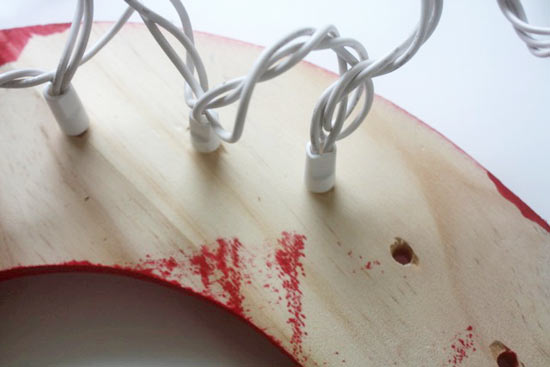
3. When the paint is dry, insert the lights into the holes. When you have filled one letter, allow for a few bulbs to run between and start filling the holes on the next letter. The lights in between will add to the fun look but if you don’t want lights in between letters, you’ll need to use a separate string of lights for each letter, balling up the remaining lights on the back side to hide them. This is best done with very short strings of lights.
4. Using hangers or hooks, hang the letters in order on your wall or surface. Plug in the lights and enjoy your marquee!
