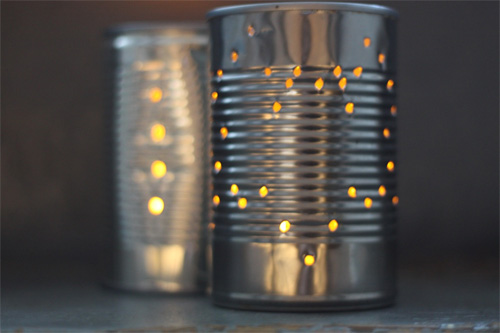
Lighting the way to your door on a dark Halloween night doesn’t have to be just a pumpkin affair. These little punched lanterns make use of the cans in your recycling and can be made to suit whatever shape you like. Use your Halloween cookie cutters to trace pumpkins, bats and black cats for your lanterns or draw your templates by hand.
Things you need:
Cookie cutters
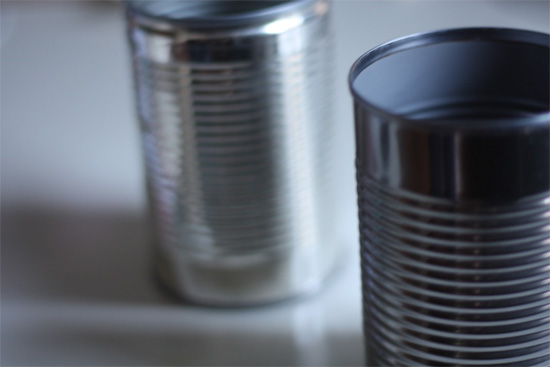
Clean tin cans
Sharp nails
Hammer
Paper
Pen
Tape
Vice
Things to do:
1. Make sure the edges from your cans aren’t sharp. Many can openers these days take the tops off while leaving a smooth safe edge.

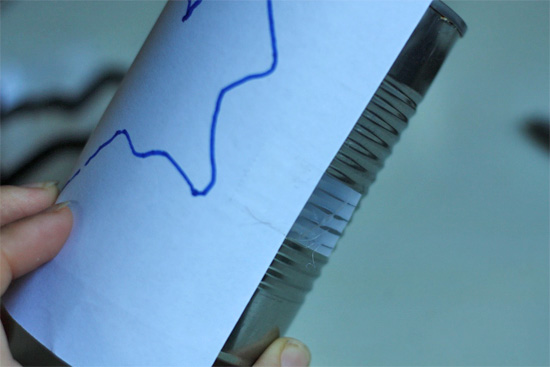
2. Trace your shapes onto paper and tape them onto the can to guide your holes.


3. Insert the cans into a vice or clamp to hold them still while you work.
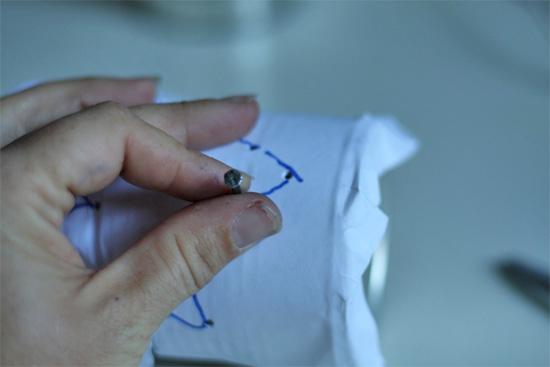
4. Using the hammer and nail, punch holes along your template lines about every 1/4″ – 1/2″.

5. Remove the paper and tape from the cans and pop in a battery operated tealight candles.
2 Comments
great idea ,i will try it)
I have made these a few times. Snowflakes and other Christmas patterns are really cute too. To make the hole punching process much easier, try this Once you have taped your pattern on the can, fill the can with water leaving about 1/2 to 3/4 inch space at the top. Place the can(s) in the freezer over night so that the water freezes hard. (This may take a little longer depending on your freezer.) Then punch the holes in the can while the ice is still hard. NOTE You may want to wear gloves for this part. The ice will offer just the right resistance behind the nail to prevent the can from bending. You can also punch two holes, one opposite the other near the top rim of the can and attach a loop of wire, cord, or sturdy string to hang your creation after completion. Think tree branches and such around the patio, rungs of a pergula, or a shepherds crook usually reserved for hanging plants.