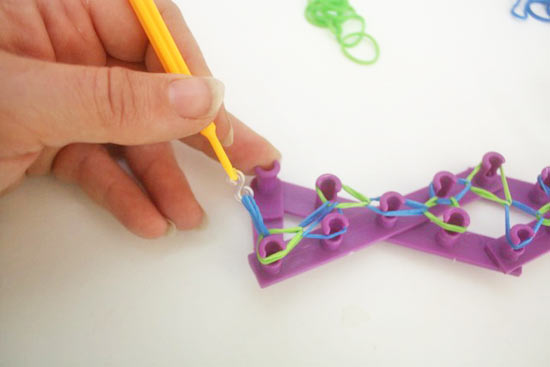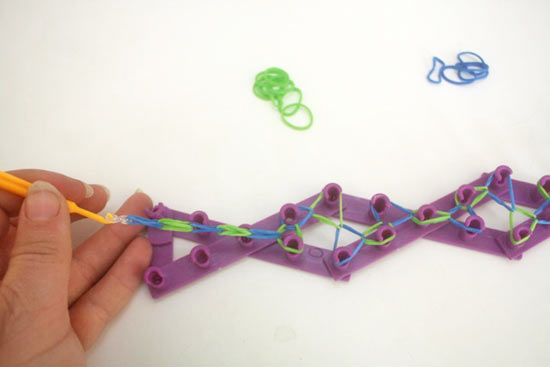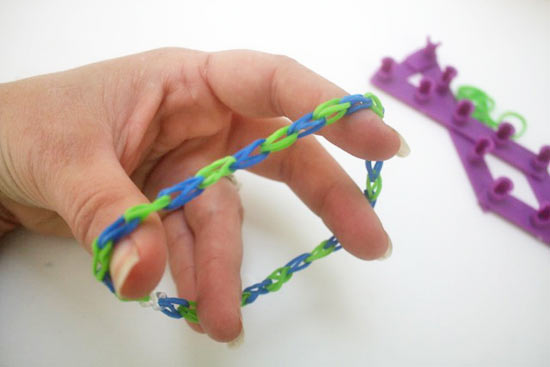
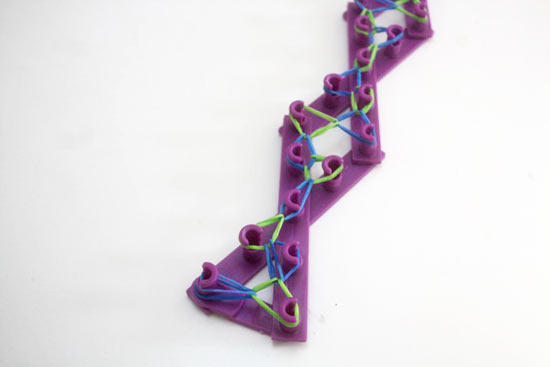
If your kids are into rubber band bracelets (and what kids aren’t?) then you’re probably familiar with toting a massive loom around to soccer games, family outings and back and forth to school. This travel loom folds up compactly, making toting it much easier. In fact the loom and all the materials can fit right in a zip close bag. This tutorial will show you how to use the travel loom to make a basic, single band bracelet.
Difficulty level: Easy
Time required: 10 minutes
Things you’ll need:
Travel loom and hook
Loom bands
Things to do:
1. Open the loom and lock it into place.
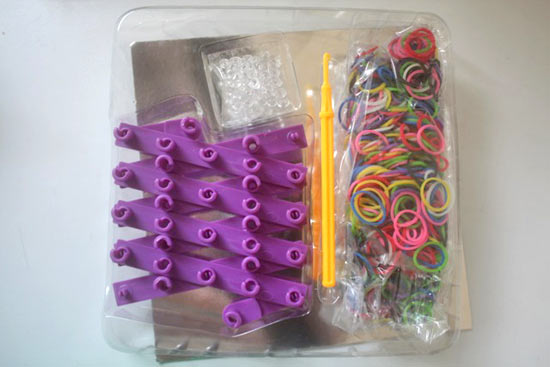
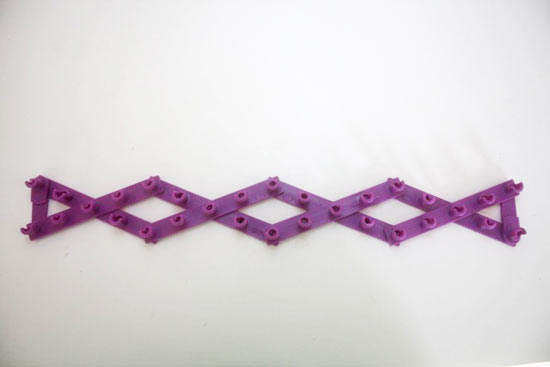
2. Beginning at one end, stretch your first rubber band across the bottom two pegs.
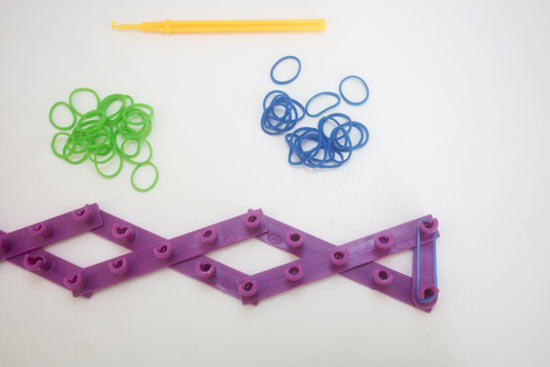
3. Place another rubber band over the second peg and the next one along the angled edge.
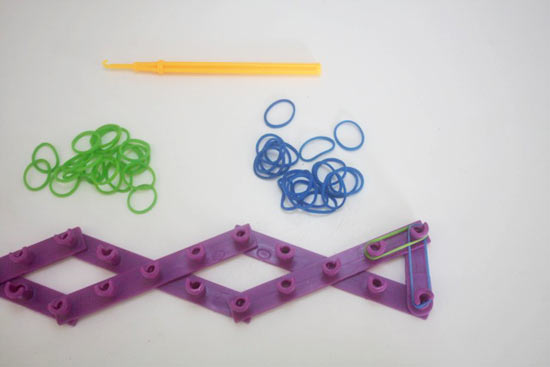
4. Place a third across the opening, between the third peg and the one across from it.
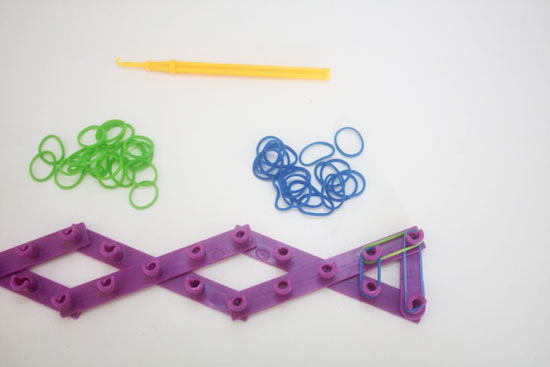
5. Continue to work up the loom, criss crossing the loom as you go.
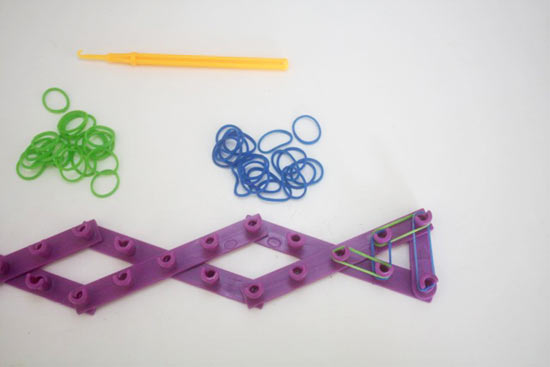
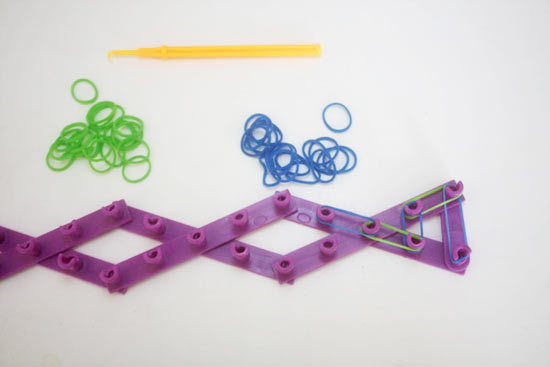
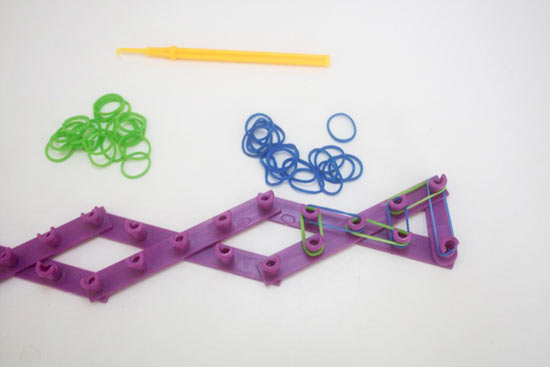
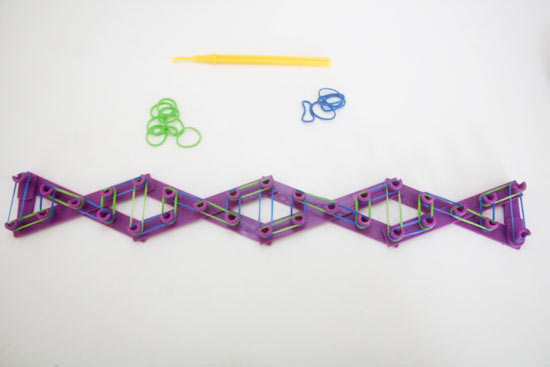
6. When you reach the end, turn the loom around so that the part you just finished is facing you.
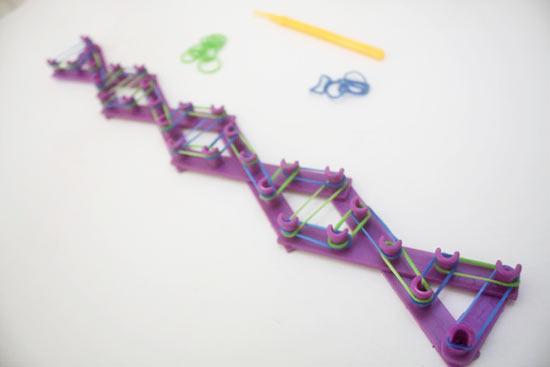
7. Skipping the first band, slip the hook into the slot and bring the bottom most band up and over the top and onto the next peg. Repeat this, working up the loom.
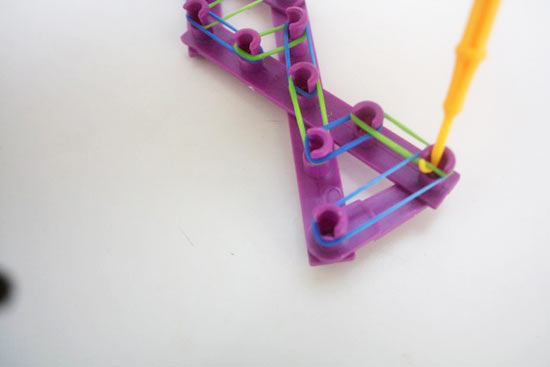
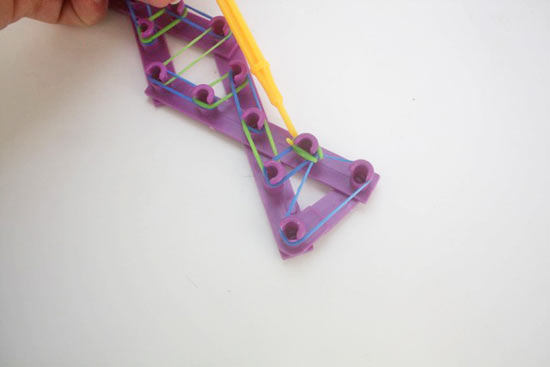
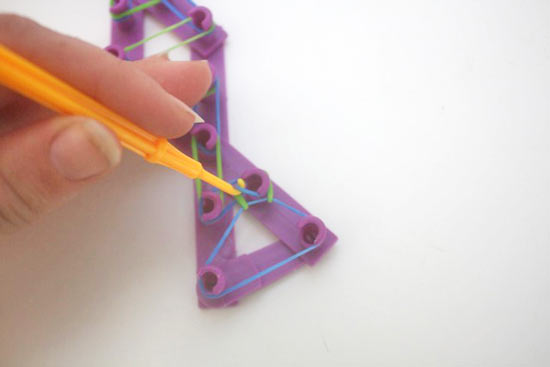
8. Using your hook loop the top most band onto an S hook and gently tug to release the bracelet from the loom. Hook the last rubber band onto the other end of the S hook.
