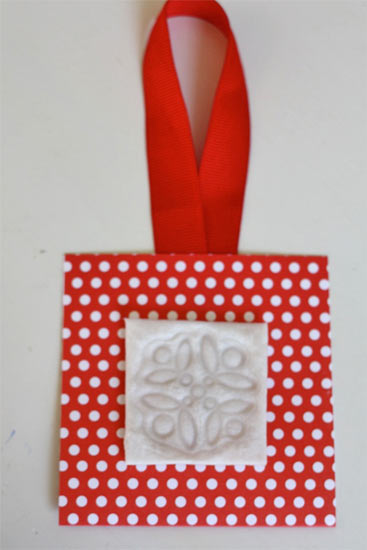
Yes, that’s right, ornaments made form toilet paper. And no, this isn’t going to be like middle school, you won’t be wrapping the tree in TP. In fact, no one will ever guess that these pretty molded ornaments are made from such a humble material! Stamps with raised edges (instead of stamps that have their images carved into the stamp medium) work better for this project so raid that stamp box, pull out a roll of toilet paper and whip a few of these up!
Things you need:
10 squares of toilet paper per ornament
Scrapbooking paper in Christmas prints (or other)
Ribbon
Scissors
Craft Glue
Stamps
Things to do:
1. Fold the paper up on itself until you have a pile with ten layers. Dampen the paper and gently press out any excess without squeezing or folding.
2. Flip the stamp over so that the impression is facing up. Center the wet paper over the shape and press firmly all over with your fingers. Work the paper into all of the grooves but don’t tear it.
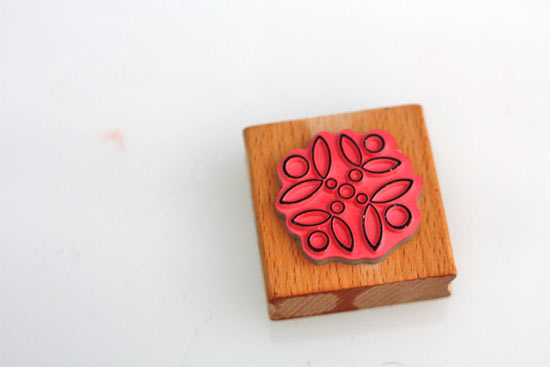
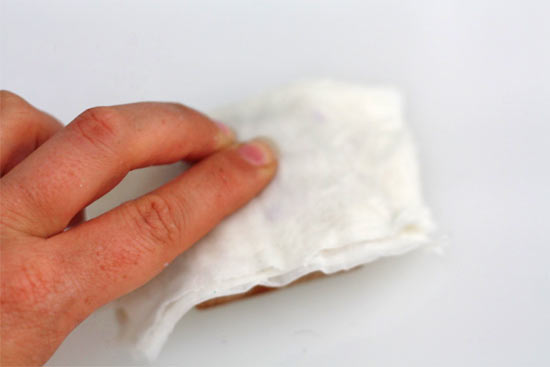
3. Allow the paper to dry for 20 minutes then carefully peel away from the stamp, drying it the rest of the way on a flat surface.
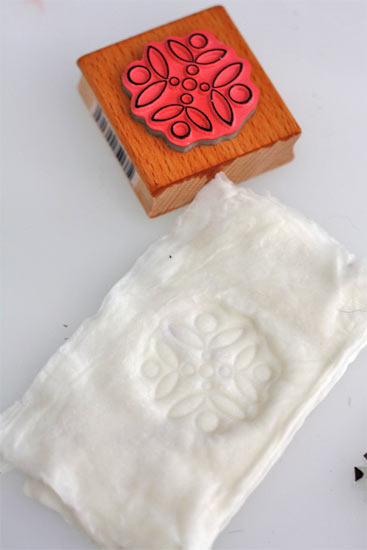
4. Once dry. Trim the molded paper into a square or circle and then cut two pieces of the scrapbooking paper the same shape but slightly larger.
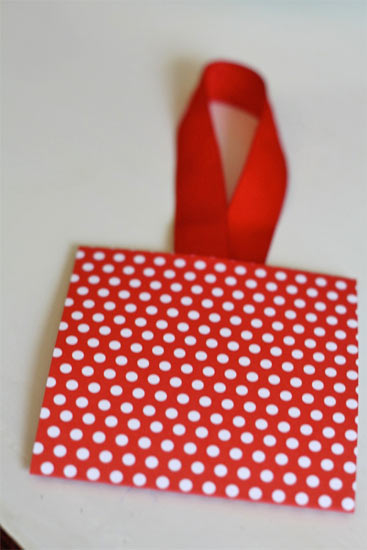
5. Make a loop with the ribbon and glue the ends between the two pieces of patterned paper. Smooth our any bubbles before gluing the molded paper on one side of the ornament. Allow the glue to dry before hanging. These also make great gift tags!
2 Comments
If you have Velvet Ribbon, you can do this as well with it. Place the velvet ribbon face down onto your stamp and using an iron gently press the back of the ribbon. ) It will permanently mark it in the shape of your stamp )
Love that one and cant wait to try it