Pictures are a wonderful gift, especially for grandparents and other family members who live far away. A personalized frame makes the gift even more special. This is an easy craft that even younger children can do.
Difficulty level: Beginner
Time required: 45 minutes
Age range: 4+
Things you’ll need:
Paper mache frame
Acrylic paint
Mod podge matte
Things you’ll do:
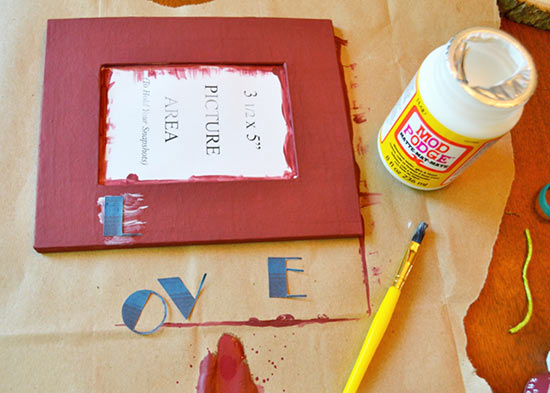
1. Paint the frame. This is something that even really young children can do. Choose a color that perfectly coordinates with the photo that’s going inside the frame or with the home decor of the recipient. You may need to do 2 or 3 coats to get good coverage.
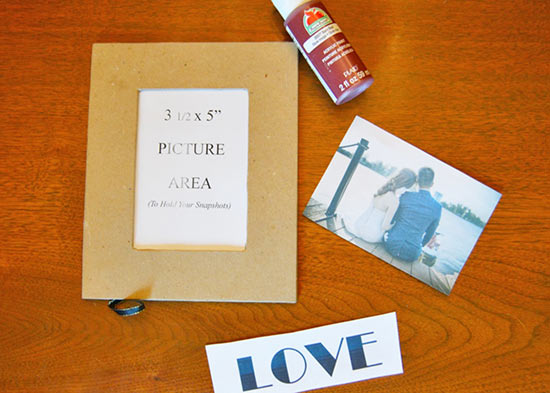
2. While the paint is drying print out a word or phrase from your computer. Choose a font that will be a little bit thicker as it will make it easier to work with when cutting it out. It could be something sweet like “Family”, “Love”, the year the photo was taken, or the name of the vacation spot where the photo was taken. The options are endless. Cut out the letters. Be sure to trim off any excess white from the letters. Younger children may need some assistance with this part.
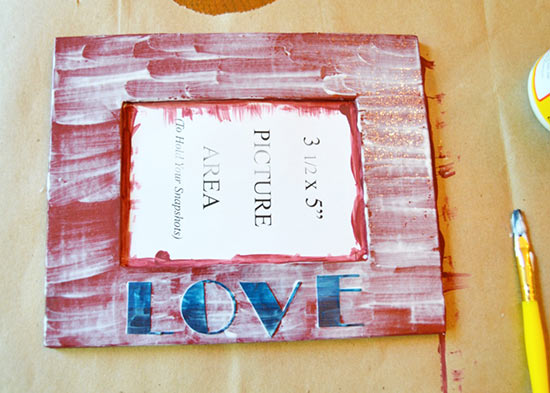
3. Once the paint has dried then apply a thin layer or mod podge to the frame in the area where you are going to attach the letters. Place the letters on top.
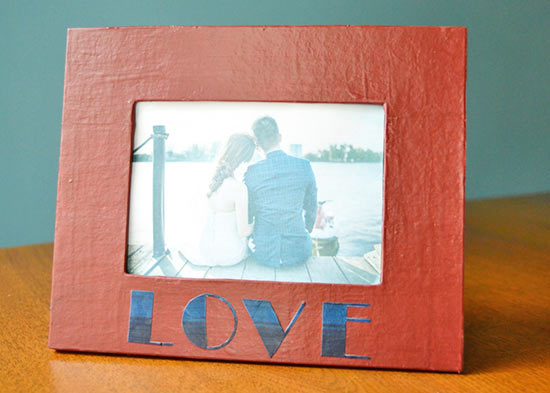
4. Apply another layer of mod podge over the entire front of the frame. Allow that to dry. Then apply a second coat over all of the frame. Once this dries then you are good to go. Slip a great picture into the frame and give it as a special gift or display it in your own home.