My husband recently made the switch back from a laptop to a desktop, which meant the return of all those parts and accessories that you often don’t deal with when you work off of a laptop. Among these accessories were a mouse and therefore, a mouse pad. And because I have a hard time leaving anything just plain the way it came, I decided to give his boring mouse pad a makeover.
For his mouse pad I chose to use the first letter of our last name, but don’t limit yourself to letters. Any image you can cut out and that will fit on the pad will work. You could also use plain craft acrylic paint, but fabric paint has a better elasticity and will not change the surface of the mouse pad as much as craft acrylic paint will.
Things you need:
Fabric covered mouse pad
Fabric paint
Printed image
Freezer paper
Foam paintbrush
Scissors or Hobby knife
Iron
Things to do:
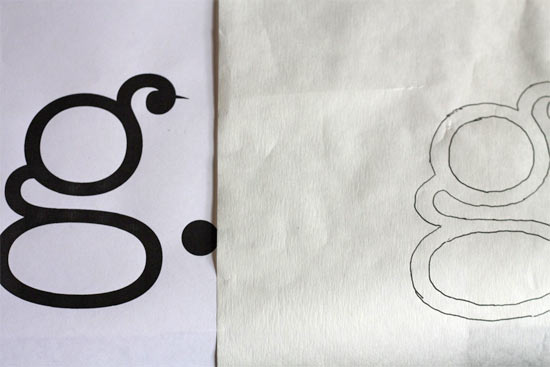
1. Trace the image you want onto your freezer paper. For this project I printed out the letter g” in 400 pt. type and American Typewriter Lite font.

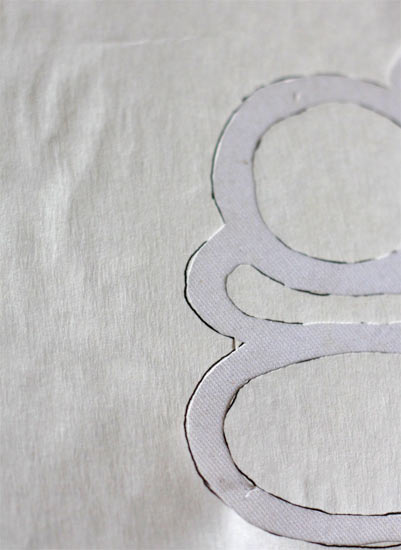
2. Carefully cut the image out from the freezer paper. Remember that you will be using the paper as a stencil, so pay more attention to the edges that remain than the ones you are cutting out.

3. Iron the freezer paper, shiny side down, with a low iron. The plastic coating on the back of the freezer paper will stick to the fabric without leaving a residue behind.
4. Sponge the paint onto the revealed fabric using a dabbing motion. Set aside to dry.
5. Peel the freezer paper off and set the paint by ironing lightly over the image.