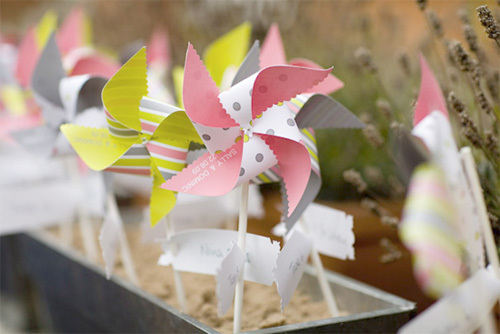
As refreshing as they are appealing, paper centerpieces bring a whimsical touch to any affair. Paper centerpieces and decorations can be whipped up in no time, and are guaranteed to be as easy on the eyes as they are on your pocketbook.
Things you need:
12″ x 12″ sheets of coordinating scrapbook paper or wallpaper remnants
Floral Tape
Hole Punch
Scissors
Scallop edge scissors
Dowel Rods
Wooden Ruler
Spray Adhesive
Pencil
Decorative Push Pins (with a head larger in diameter than your hole punch)
Things to do:
1. Choose two different colors or patterns of paper for a more dimensional pinwheel. The size of the paper does not really matter, as long as your paper is a perfect square in shape. Use spray adhesive to affix the wrong sides of the two sheets of coordinating scrapbook paper or wall paper remnants together; allow to dry thoroughly.
2. Cover the dowel with florist’s tape, overlapping the edges as you wrap.
3. Place the ruler diagonally at a corner and lightly draw a line measuring 5 1/2″ in length toward the center; repeat on remaining three corners.
4. Use scallop edge scissors to cut on the drawn lines and to trim all paper edges.
5. Punch a hole in the center of the paper, and at the point of every pinwheel tip.
6. Create the pinwheel by aligning holes, bringing tips toward the center without creasing or folding.
7. Slip a decorative pushpin into the hole and press into the dowel to secure.
8. Add finishing details, such as glitter, charms, ribbons, or other embellishments, and allow to dry thoroughly before displaying.
Bundle several paper windmills together to form a decorative bouquet for centerpieces, use to line walkways, or make a few miniature paper windmills to use as cake decorations or buffet table accessories. Perfect for the young, and the young at heart, paper windmills give even the most formal of occasions a much-needed breath of fresh air.
Photo Credit: Unknown