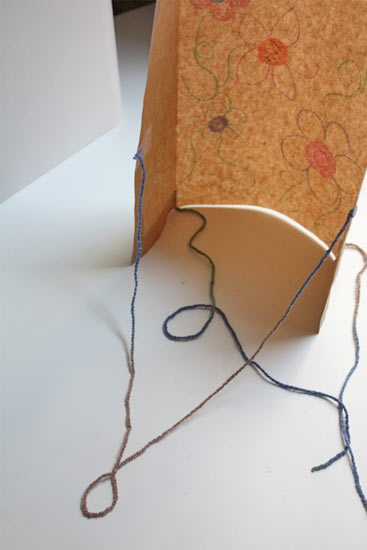
This summer has been all about kites for my kids. They love kites of all kinds and can never, never have enough of them. This kite is a fast little project that the kids can decorate themselves. You can create as many as your kids can fly!
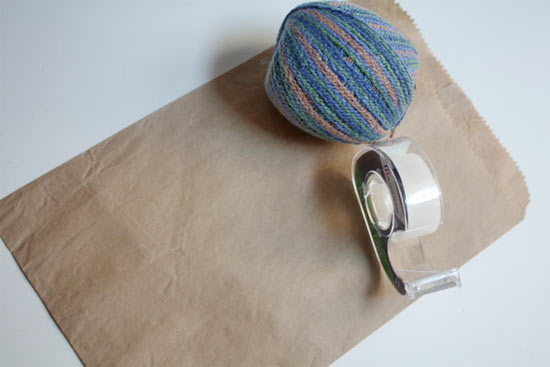
Things you’ll need:
Paper bag
Clear tape
Scissors
Sock yarn or kite string
Yarn needle
Things to do:
1. Trim the top of the bag to be even and cut the bottom off the kite to remove the seam. You’ll be left with a flat paper tube.
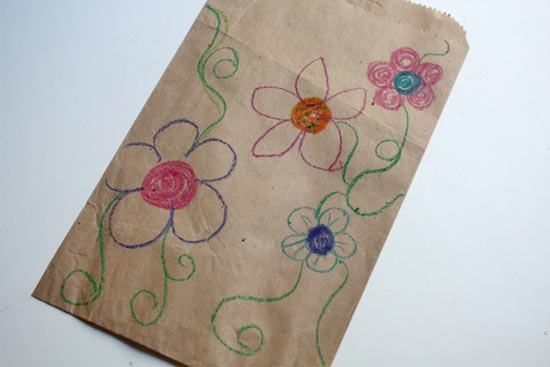
2. Let your kids decorate the bag as they please. The more colors the better!
3. Find the side with the seam up the middle and cut up the center of the tube near the seam.
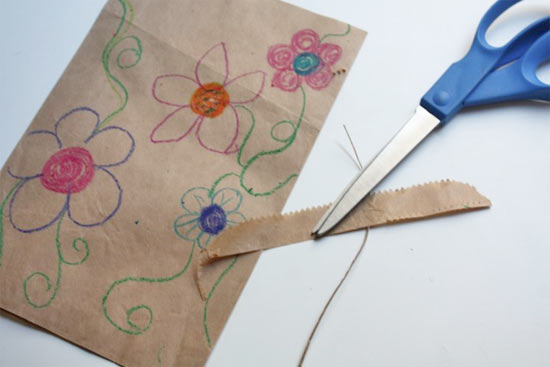
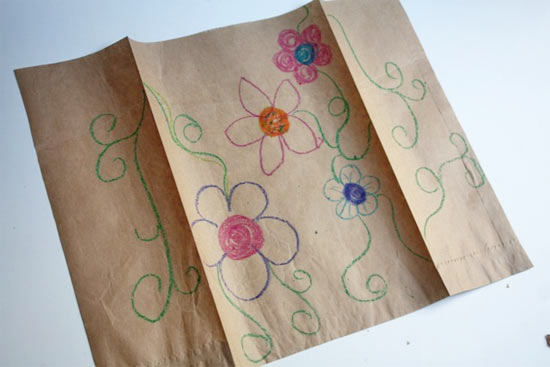
4. In the center of the flaps, layer three pieces of tape, one over the other.
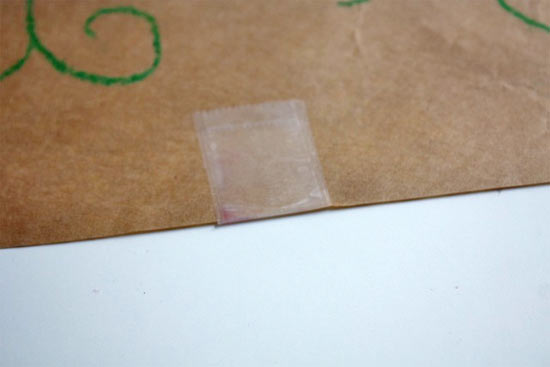
5. Cut a 2-foot length of yarn.
6. Thread the yarn onto the yarn needle and pierce through the tape about 1/3 of an inch from the edge of the paper. Tie a tight knot.
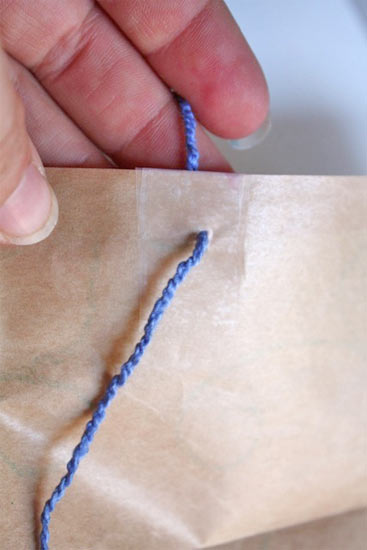
7. Repeat with the other end of the yarn on the other flap.
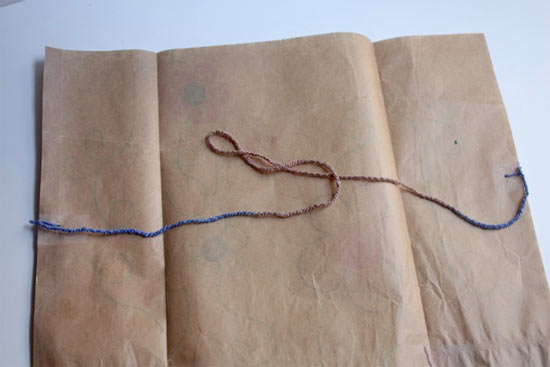
8. Find the center of the yarn and tie a loop. This will be where you attach the long piece of string to fly the kite.
9. Tape 10-14 inch long sections of string into the bottom corners of the flaps for tails.
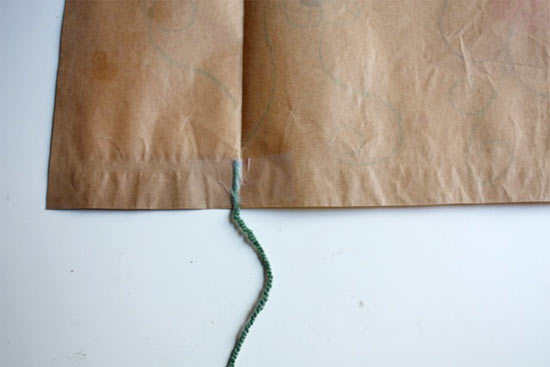
10. Add extra string at the loop and let her fly!