Skip to search Skip to navigation menu Skip to main content Selecting option will reload page

Painted Bobby Pins

Painted_Bobby_Pins
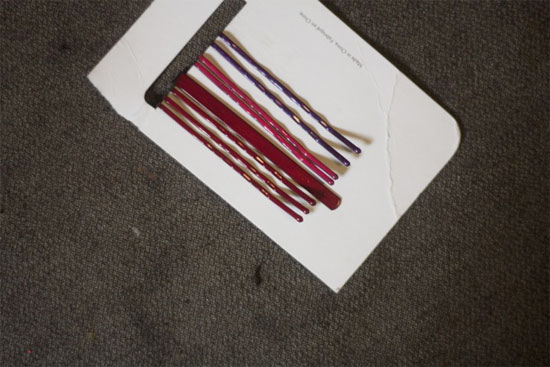
This summer I bought a set of cute painted bobby pins from a certain high priced but very fun store that I paid way too much for. Why did I do it? Because I loved them! I use bobby pins almost daily and I’m always looking for pins with a little more zing. Those pins have, sadly, long since been lost, but I’ve figured out the secret to making my own. And I bet you have what you need under your sink right at this very moment.

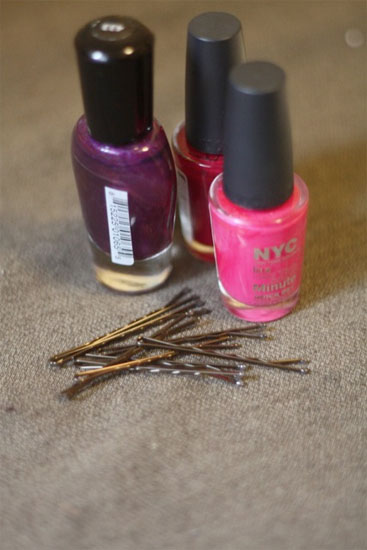
Things you’ll need:
Bobby pins
Cardboard
Nail polish

Things to do:
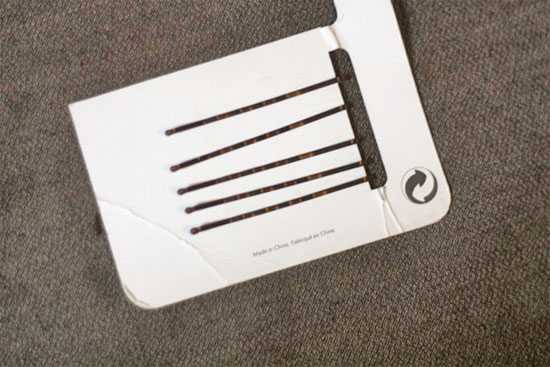
1. Space the pins out along the cardboard a bit.
Painted_Bobby_Pins2
Painted_Bobby_Pins3
2. Carefully paint the top, bent half of the pin with a coat of nail polish. Allow the paint to dry
3. Add two to three more coats over the first, allowing each coat to dry before adding the next.
4. Allow the paint to set up overnight before using.
Continue Reading

Diamond Glaze Dimensional Letters

Triple_Thick_Letters
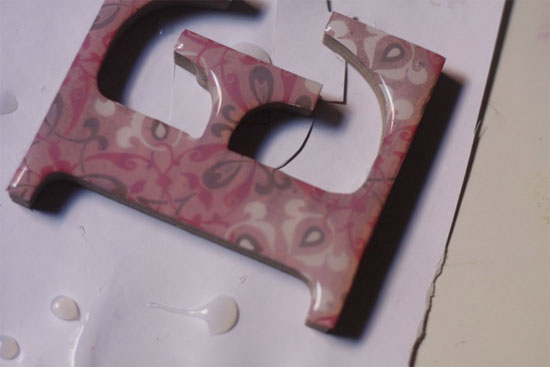
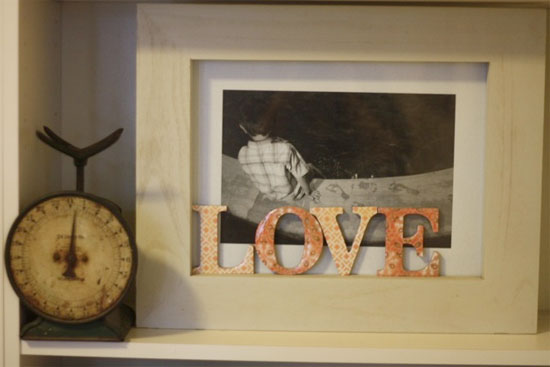
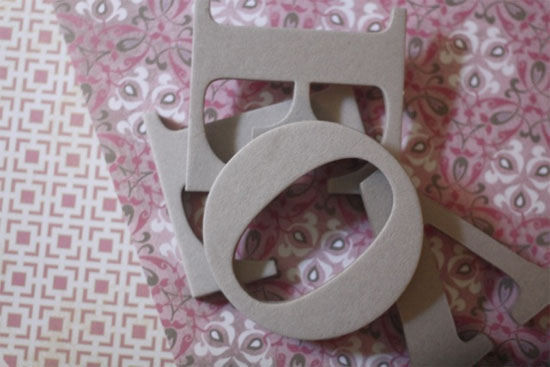
Turn simple, pressboard or wood letters into glassy, shiny alphabet decor with a little Diamond Glaze and some pretty paper.

Things you’ll need:
Flat, pressboard or wood letters
Scrapbook paper
Craft glue
Diamond Glaze
Scissors
Pencil
Craft knife

Things to do:
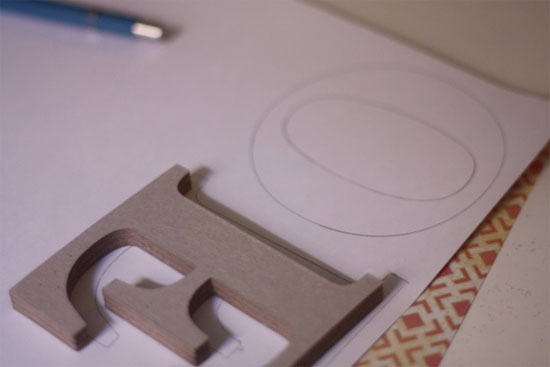
1. Flip the letters upside down onto the back side in the paper and trace carefully.
Triple_Thick_Letters2
Triple_Thick_Letters3
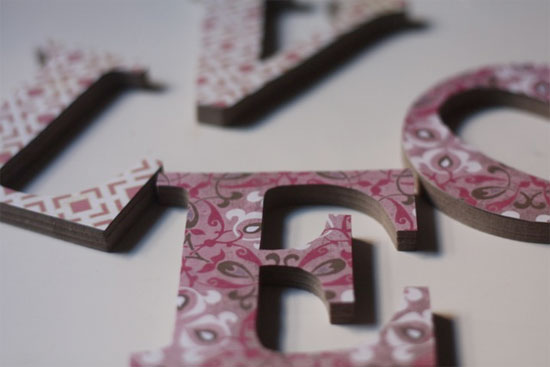
2. Cut the letters out of the paper and glue them onto the letters, smoothing the paper down well.
Triple_Thick_Letters4
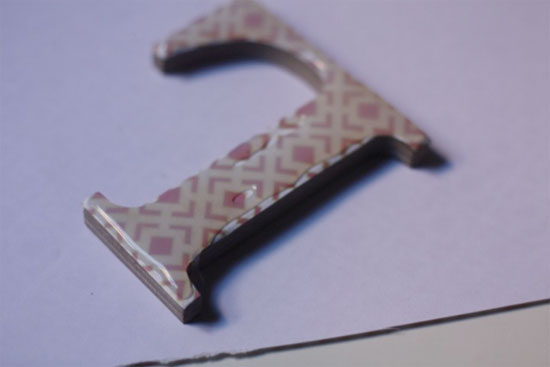
3. Spread the triple thick down the center of each section of the letters.
Triple_Thick_Letters5
4. Draw the glaze out to the edges of the letters with the tip of your finger so that the glaze covers the letters from edge to edge.
Triple_Thick_Letters6
5. Set the letters on a flat surface and allow them to dry overnight or until hard.

Continue Reading
Change Your Country
Please select your country, this will change the site to your country's currency:

Cancel