Skip to search Skip to navigation menu Skip to main content Selecting option will reload page

Crown Hair Pin

Crown_Hair_Pin
Every girl deserves a crown. Don’t you think? This wee little crown is perfect for the princess in your life (even if it’s you!) and adds just a touch of whimsy to an everyday hairdo.

Things you’ll need:
Oversized straw
Scissors
Pinking shears (optional)
Mod Podge
Glitter
Bottle cap or jar lid
Paintbrush
Glue
Bobby Pin

Things to do:
1. Trim a half-inch section off of your straw, making sure the ends are totally flat and not angled.
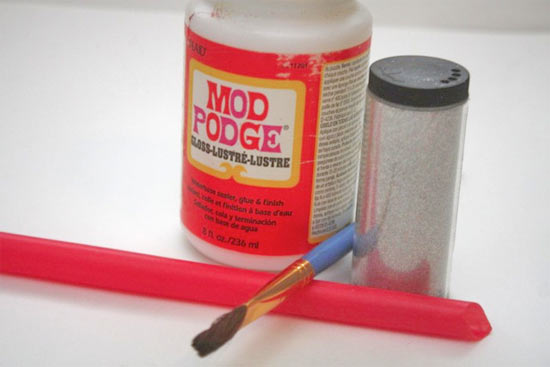
Crown_Hair_Pin2
2. Using either the pinking shears or your scissors, cut the crowns spikes on one end of your piece of straw.
3. In the jar lid, mix Mod Podge and a generous amount of glitter. You want a thick paste of glitter here.
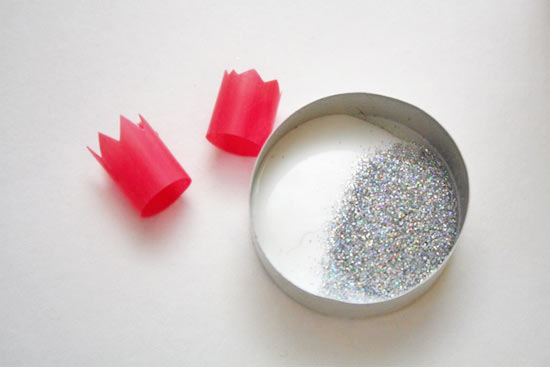
Crown_Hair_Pin3
4. Paint the tiny crown inside and out with the glitter. You’ll need several coats, allowing each to dry before the next, to completely cover the straw.
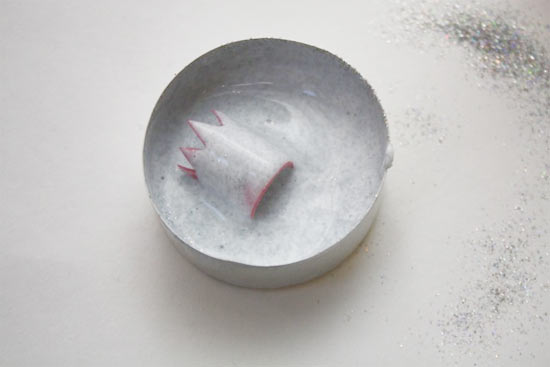
Crown_Hair_Pin4
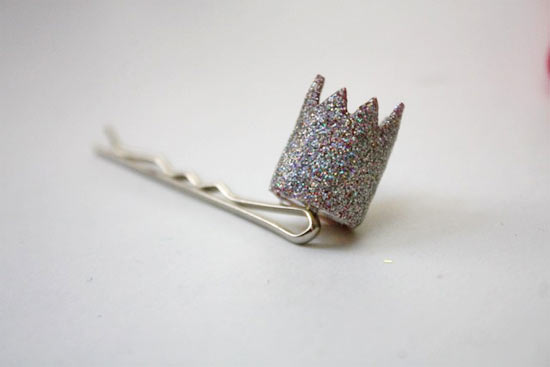
5. Once the crown is well coated with glitter, Glue it to the bobby pin with generous dots of glue. Allow it to dry before wearing.
Continue Reading

DIY Felt Dryer Balls

DIY_Felt_Dryer_Balls
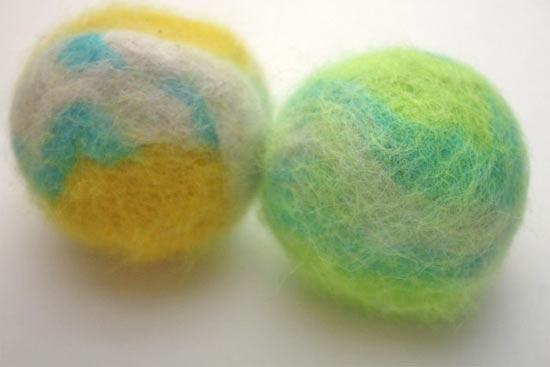
Felted wool dryer balls are a great, eco-friendly alternative to dryer sheets and are also a fantastic way to use up odd bits of yarn and wool roving. A great kids craft, they make a fun and functional gift for kids to give the grownups in their life!

Things you’ll need:
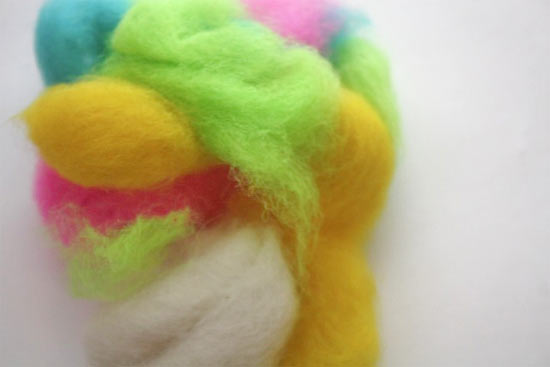
Wool roving, various colors
Thin trouser sock or the leg of a pair of nylons

Optional:
Wool yarn
Essential oils

Things to do:
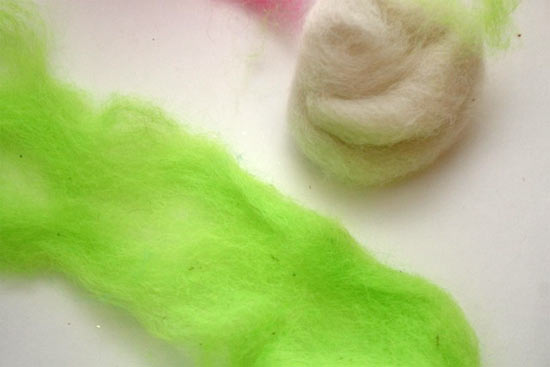
1. Wrap a tight ball of either roving or yarn about 1 1/2 inch in diameter. You’ll want this to be as dense as possible.
DIY_Felt_Dryer_Balls2
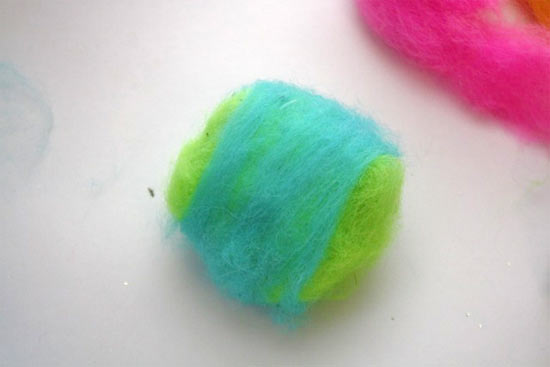
2. Spread out pieces of roving and then wrap them around the ball in successive layers. If working with kids, it may be easier to slightly dampen the roving to help it stick.
DIY_Felt_Dryer_Balls3
3. Continue to add layers until you have a ball just slightly smaller than a tennis ball. If you want the dryer balls to have a scent, add a few drops of essential oils to the middle layers of the roving.
DIY_Felt_Dryer_Balls4
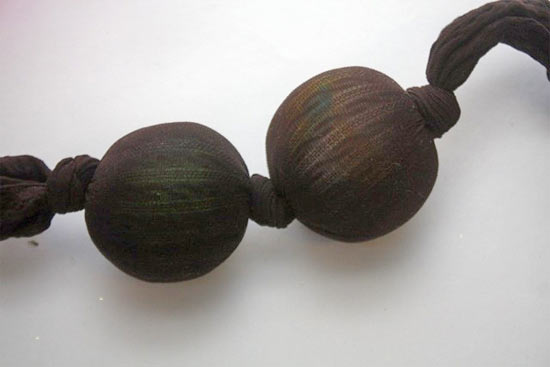
4. Slip the ball into the trouser sock and tie tightly at both ends to help hold the ball shape.
DIY_Felt_Dryer_Balls5
5. Toss in your washer and dryer on your next load. Once they have dried, untie or cut out of the trouser sock to reveal the felted ball. If it feels too loose, put it back in the sock and repeat the washing and drying process.
6. To use, simply toss in with your drying to help freshen your laundry.

Continue Reading
Change Your Country
Please select your country, this will change the site to your country's currency:

Cancel