Skip to search Skip to navigation menu Skip to main content Selecting option will reload page

Fabric Wrapped Cork Squares


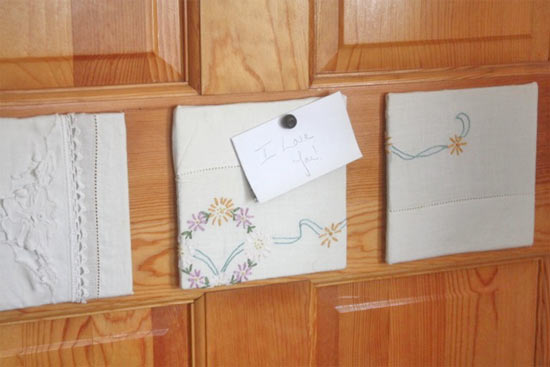
Cork-boards are handy things. I feel like I can never have enough of them around the house. Between notes to family members, reminders and, of course, artwork my kids want to hang up, we love them. But a plain cork-board can be kind of… plain. To soften them up a little and add some zing, wrapping cork-board squares in fabric is an easy step up from the norm. For this project we used vintage pillowcases that are too ripped to use in other projects. Perfect for a little girls bedroom!

Time to complete: 30 minutes
Difficulty level: Intermediate

Things you’ll need:
Fabric
Hot glue gun and glue sticks
Corkboard squares
Scissors

Things to do:
1. Cut the fabric so that it’s 1/2-inch larger all the way around than the cork squares.
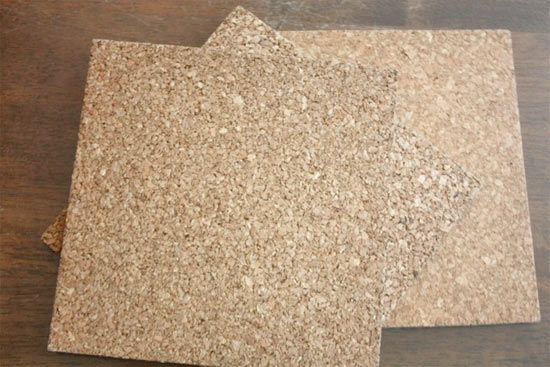
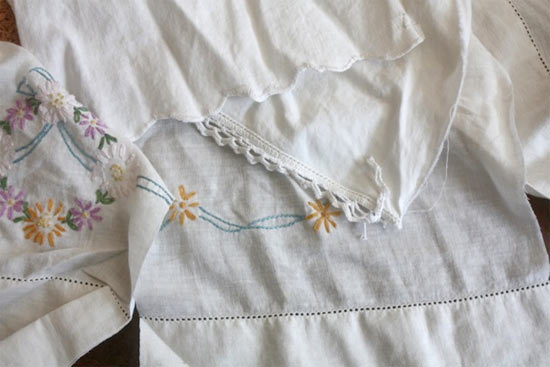
2. Run a bead of hot glue along one edge on the wrong side of the cork and press the fabric into the glue.
3. Pull the opposite side of the fabric tightly across the cork and run another bead of glue on the back side. Pull it around the edge and press the fabric into the glue.
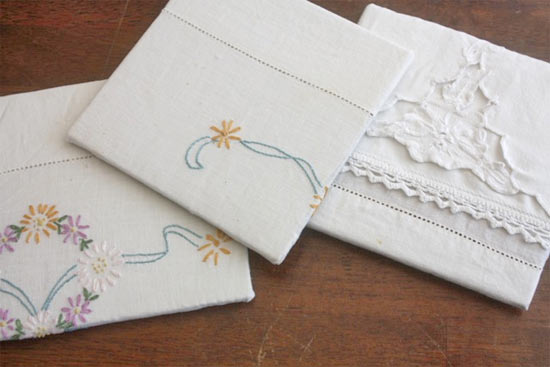
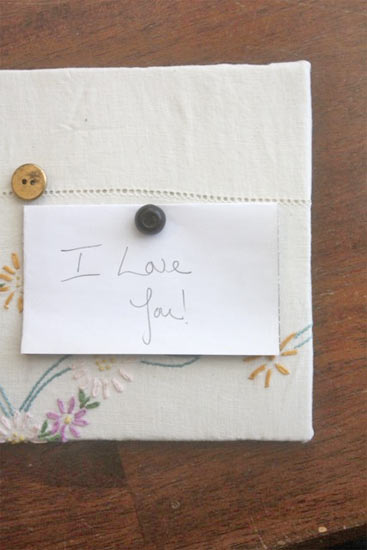
4. Fold the corners in and glue down the remaining raw edges. Allow the glue to dry before hanging the corkboards for use.
Continue Reading

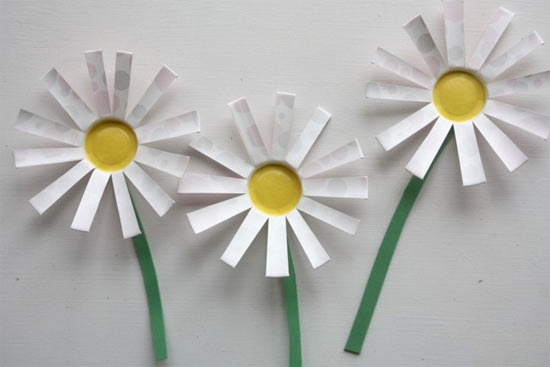
Paper Cup Daisies


It’s spring! It’s spring! My little ones have been waiting and waiting for the flowers to come out and so I’ve been coming up with projects to speed things along and bring spring flowers indoors, at least until the real flowers make their appearance in the garden. This is a great rainy day craft for little ones of a variety of ages. If you don’t want to mess with paint and/or have very little ones who aren’t quite ready for the paintbrush, precut yellow construction paper circles that will fit into the bottom of the cup and attach with a dab of glue stick.

Difficulty level: Beginner
Time to complete: 20 minutes

Things you’ll need:
Small paper cups
Yellow acrylic paint
Paintbrush
Scissors
Green paper
White paper
Craft glue

Things to do:
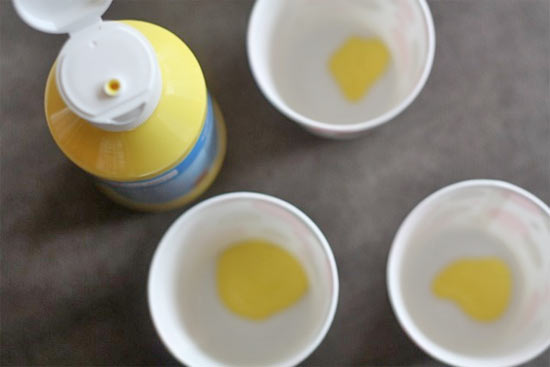
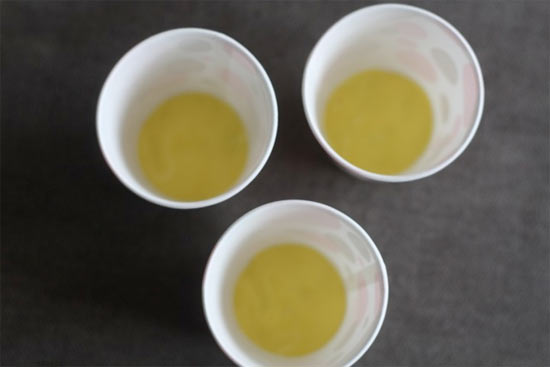
1. Squirt a small amount of paint into the bottom of the cup and brush it so that the paint coats the entire bottom of the cup. Allow the paint to dry.

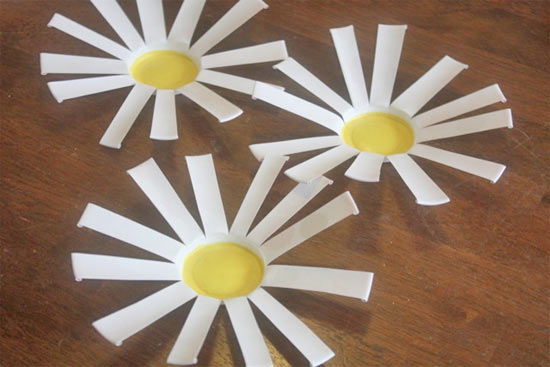
2. Once the paint is dry, cut down from the rim of the cup to the base to create petals.


3. Flatten the petals to create the flower.

4. Glue the base of the flower to your white paper and use green paper or markers to add stems.

Continue Reading
Change Your Country
Please select your country, this will change the site to your country's currency:

Cancel