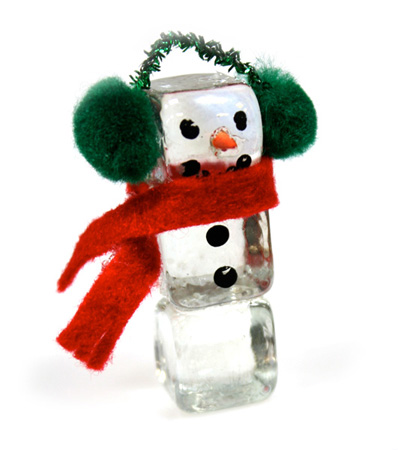
I just love fun easy to do projects. And this glass ice cube snowman is definitely fun and easy!
Things you need:
3 – Glass Ice Cube Gems
1 – Tinsel Stem
1 – 1/4″ Craft Pom Poms
1 – Red Craft Felt Square
E6000 Glue
Black Apple Barrel Acrylic Paint
Harvest Orange Apple Barrel Acrylic Paint
Paint Brush
Toothpick
Things to do:
1. Take three of the glass ice cube gems and glue them together using the E6000 glue to form the snowman’s body and let dry. Be sure to have the rounded side of the glass ice cube gems all facing in the same direction when you are gluing them together.
2. To make the snowman’s carrot nose, take your paintbrush and Harvest Orange Apple Barrel acrylic paint and paint your toothpick. Set aside to let dry.
3. Cut a 1-1/2″ piece from the tinsel stem of your choice. This will form the top of the ear muffs.
4. Cut the pom pom in half. Glue the two pom poms and the tinsel stem to the sides of the top glass ice cube gem to form the ear muffs.
5. Using the end of your paint brush or dip your brush into the black Apple Barrel acrylic paint and dot on the eyes, mouth, and coal buttons down the front. Set aside to let dry.
6. Cut off a 1/4″ off of the orange painted toothpick and glue onto the snowman for his nose.
7. Take your felt and trim 4″ long x 1/4″ wide piece. Cut small slits in each end of the felt scarf to form “fringe.” To ensure that the scarf stays on your little snowman, glue at the side of your snowman.
