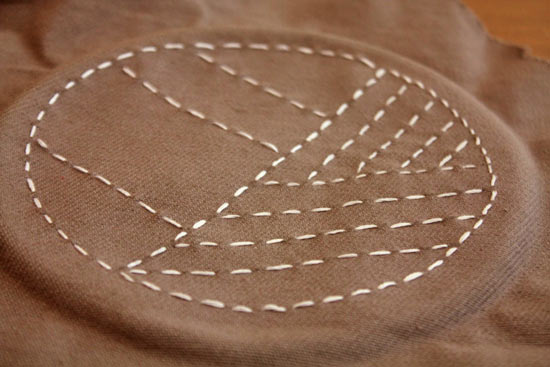
The bare beauty of sashiko embroidery is both simple and complex looking. While the details can take a little practice to master, the basics of this style of sewing make it a great project for beginners and experienced sewers alike. The finished projects can be turned into coasters, place mats, clothing patches or just simple framed fabric.
Difficulty level: moderate
Time required: 30 minutes to and hour
Things you’ll need:
Neutral colored fabric, wool, linen or cotton work well
White embroidery thread
Long embroidery needles
Fabric pencil
Ruler or template
Embroidery hoop (optional)
Things to do:
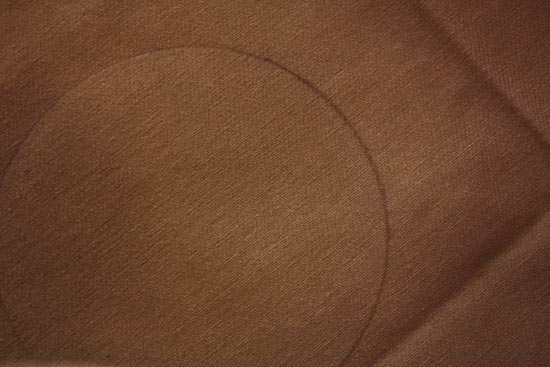
1. Block off an area of your fabric using the fabric pencil to trace or draw a shape.

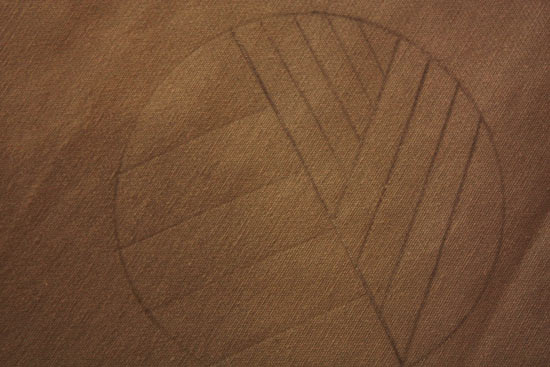
2. You can choose form a traditional sashiko pattern or make your own. Transfer the pattern or use a ruler to create your own directly on the fabric.

3. Thread your needle and knot the end.
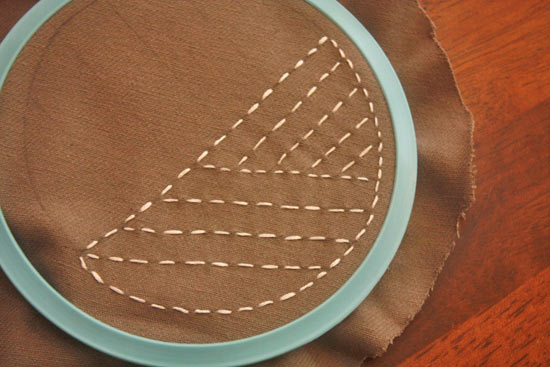
4. Stitch along the lines, making sure that where two lines meet there is a space between stitches for the best result. Keep the stitches as even as possible.
