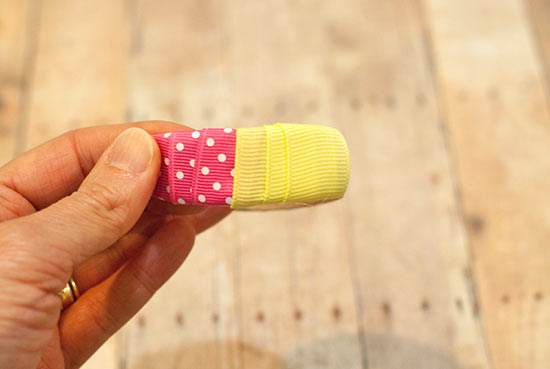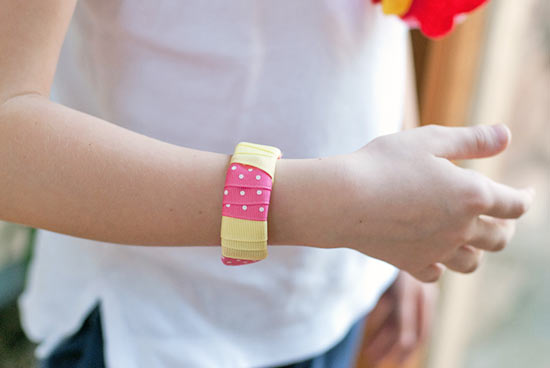
I’ve made this version of a popsicle stick bracelet for children, with the bright pink and yellow, but you can create your own more sophisticated versions. Bending the popsicle sticks is a bit of a tricky process, but you’ll avoid breaking them if you work carefully and with some patience!
Difficulty level: Intermediate
Time required: 24 hours (includes drying/curing time)
Age range: 12+
Things you’ll need:
Ribbon
Jumbo wood popsicle stick
Scissors
Hot glue gun
Hot glue sticks
Coffee mug
Cup with a smaller diameter than the coffee mug
Bowl large enough to fit the popsicle sticks
Things to do:
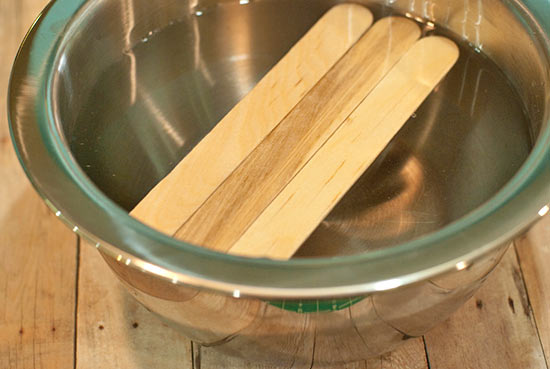
1. Fill up your bowl water and add 3 popsicle sticks. Because the popsicle sticks can break easily, plan to soak 3 the first time in order to make sure you have one to work with. As you make more of these, you’ll learn how far to bend the sticks without breaking them.
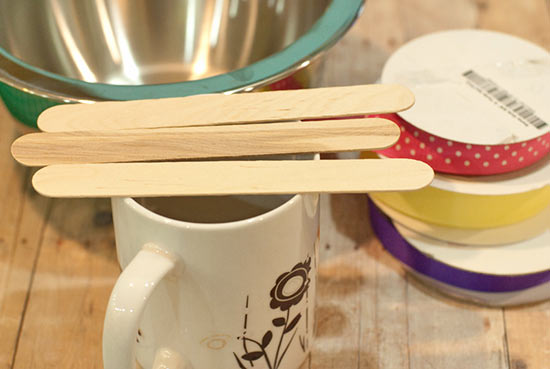
2. Allow the sticks to soak in the water for 3-4 hours. To start bending them, work them around the outside of a coffee mug carefully, bending the sides and center evenly. If you bend too much at the center, the stick will snap.
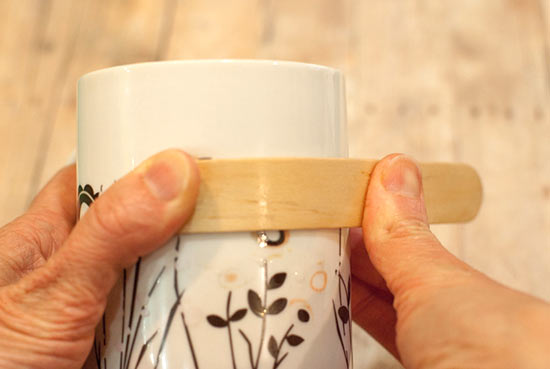
3. Once you’ve got a smooth bend, bend it a little more to fit the stick inside the mug. Allow this to cure” for about 2-3 hours. While it’s still damp but molded in place, put the stick into a smaller cup to decrease its size even more. You’re less likely to break the stick if you complete this two-step process for making the bracelet for smaller wrists. Allow the stick to dry completely in the smaller cup, 8 or more hours.
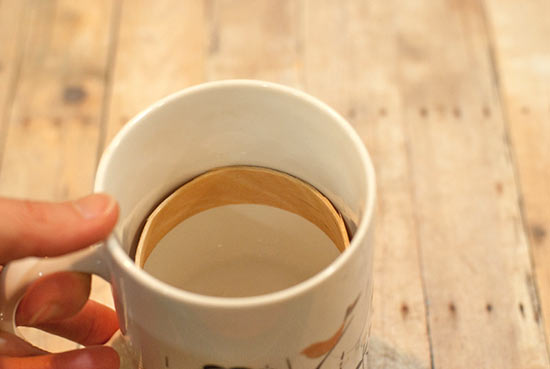
4. This is what the bracelet looks like once you’ve removed it from the smaller cup.
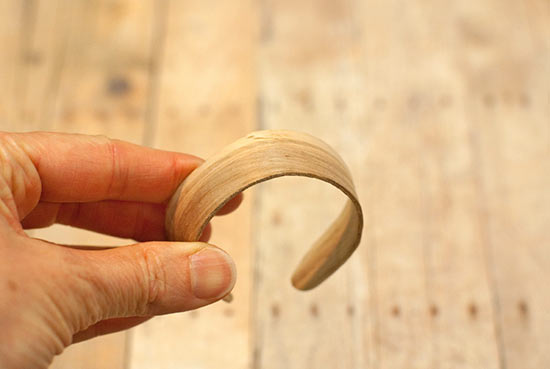
5. Warm up your hot glue gun and glue one piece of ribbon to the inside part of the bracelet. Wrap it around 2-3 times, glueing at the back and then trimming the excess.
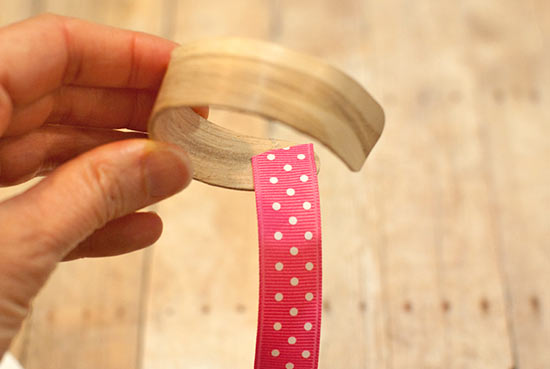
6. Repeat with another color, and continue adding ribbon until you reach the other end of the bracelet.
