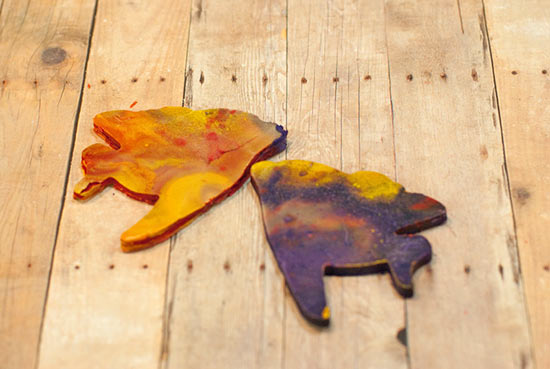
It’s so fun to create cookie cutter crayons – you’ll be surprised about how beautifully they marble. The most important part of this project is to watch the wax after you take it from the oven – it needs to be hard enough to hold its shape when cut, but not so hard that it’s brittle and will crack.
Difficulty level: Intermediate
Time to complete: 2 hours
Age range: 10+
Things you’ll need:
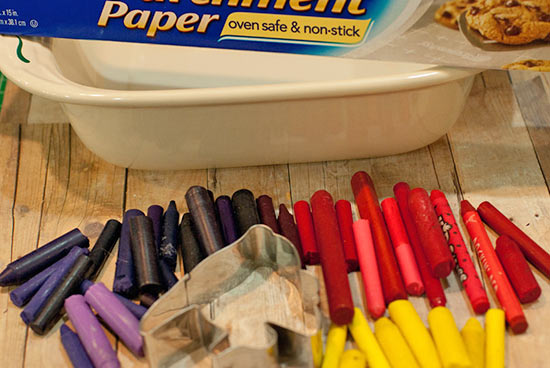
Cookie Cutter
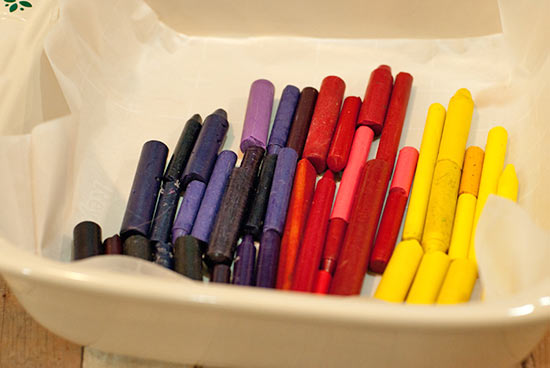
Old crayons, any type
Shallow pan for the oven
Parchment paper
Oven
Things to do:
1. Cut a piece of parchment paper to the size of your pan. Warm your oven to 350 degrees.
2. Place your crayons in a single layer in the pan. Place the pan in the oven for 10-15 minutes. Watch the wax – take it out when it’s just finished melting.
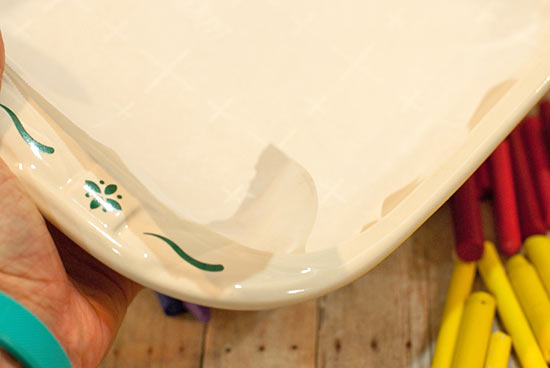
3. This is what the wax looks like once melted.

4. Allow it to cool for about 15 minutes, then put in the refrigerator. Keep checking on it. When it’s solid but still presses under your finger, you can cut it with the cookie cutter. Be gentle!
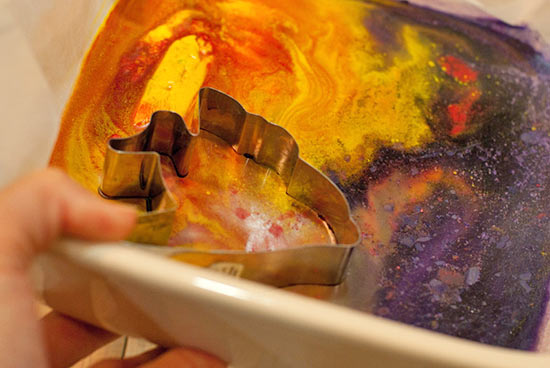
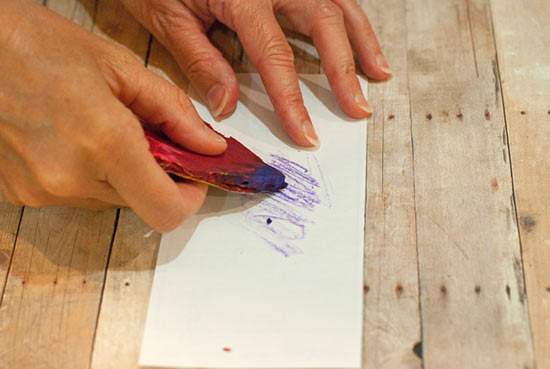
5. Press the cutter into the wax and remove the cutter. Make a few more shapes with the cutter. Wait to remove the pieces until the wax is completely dry. Then simply pull it out of the pan and snap the pieces off. Your pieces should come out whole, and ready to color with!