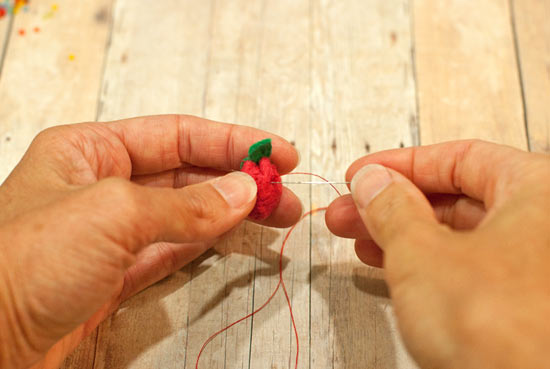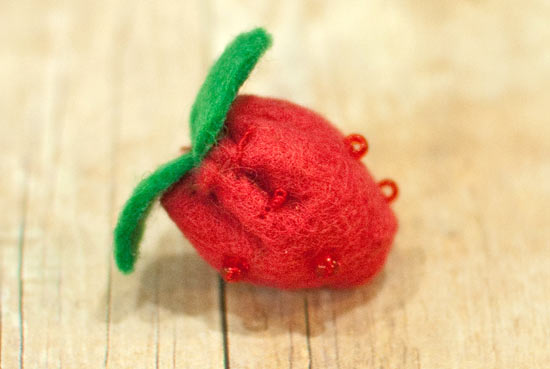
This little felt strawberry is so cute that you’ll want to make a whole crop of them! This is a hand-sewing project, but it’s quite easy and even beginning sewists” can try this. Felt is very forgiving!
Difficulty level: Intermediate
Time required: 30 minutes
Age range: 12+
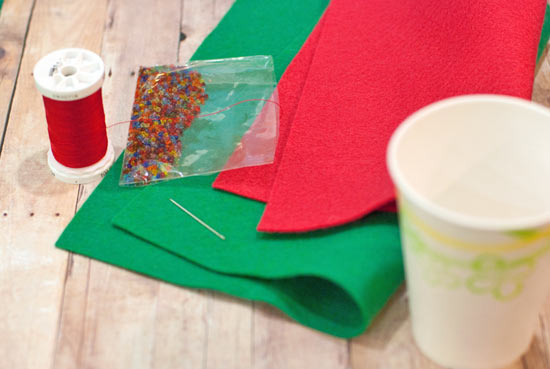
Things you’ll need:
Red felt
Green felt
Rocaille beads
Thread
Beading needle
Regular sewing needle
Scissors
Fiberfill or bean bag filler
Round object to trace
Things to do:
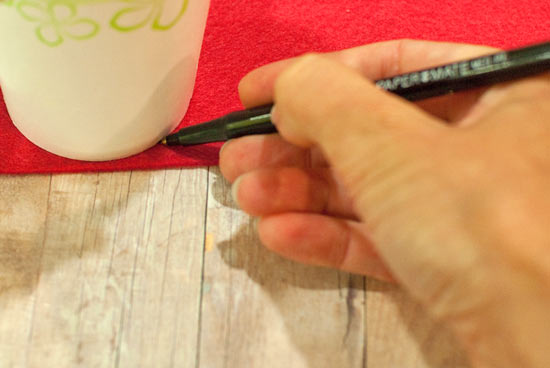
1. Trace your round object onto your felt. I used the bottom of a paper cup, so my strawberry was quite small. You can use any size you’d like.
2. Fold the circle in half. Now crease and cut the circle in half along that line. Set one half aside for another strawberry.
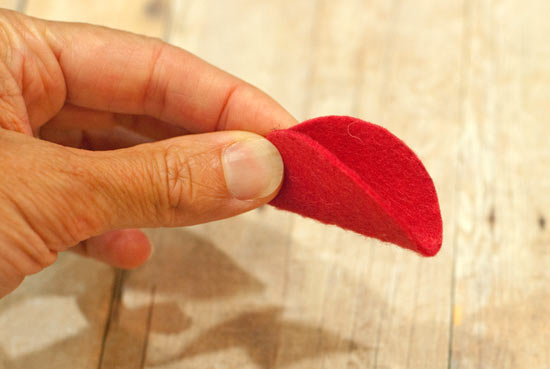
3. Fold your half-circle in half again, but this time you won’t be cutting it.
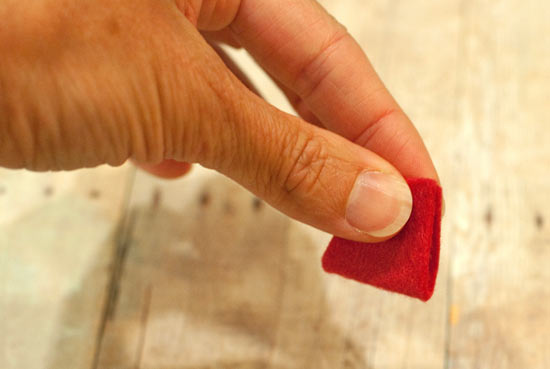
4. Stitch the ends together as shown. You’ll use a whip stitch,” where you’ll stitch around the edges. Start at the fold, at the point, and stitch all the way to the top.
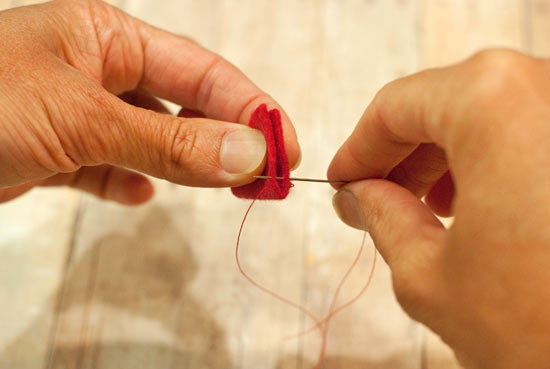
5. Tie the thread off at the top and clip the thread.

6. Now turn the strawberry inside out. The stitches you just made are on the inside.
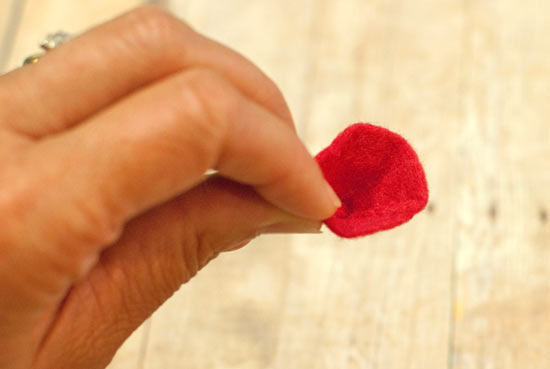
7. Thread your needle again and take large running stitches (in and out, in and out) around the top edge.
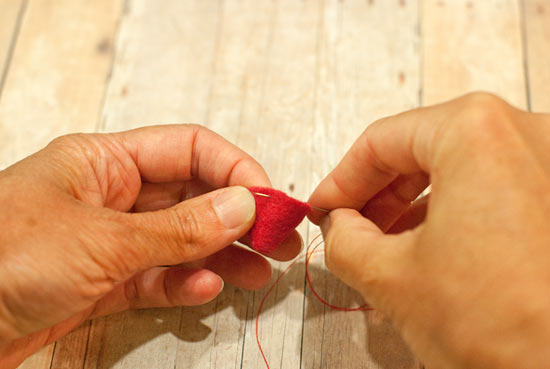
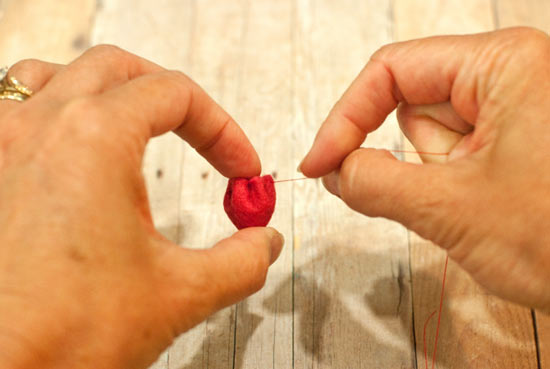
8. Don’t clip the thread yet. Fill the inside with the Fiber-fill or the bean bag filler, then pull the thread tight so the top closes up. Tie off the thread and clip.
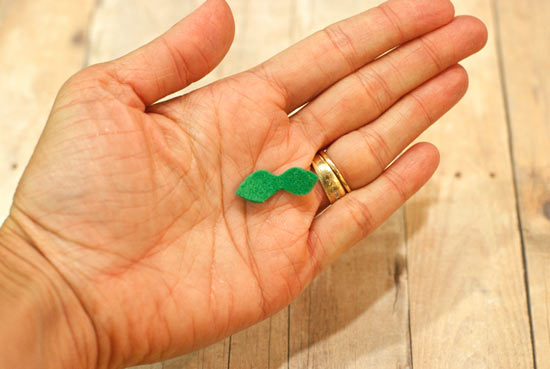
9. Cut out a little two-leaf shape from your green felt, as shown.
10. Stitch it to the top of the strawberry.
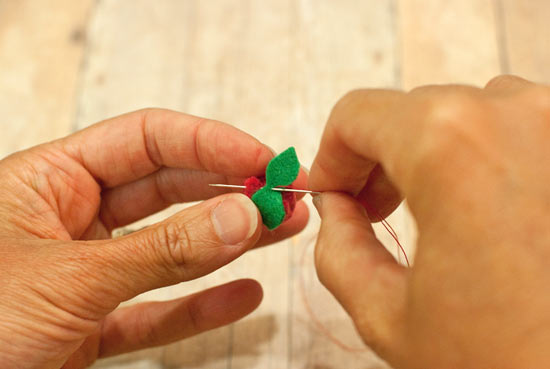
11. Thread your beading needle and knot the end. Slide on a rocaille bead and stitch it into the strawberry.
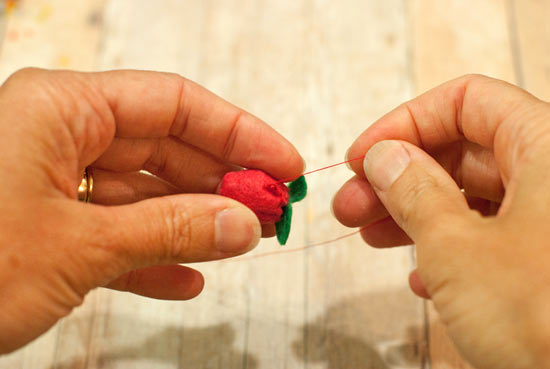
12. To add more beads, use the needle to travel” inside the strawberry, emerge in another spot, then load another bead onto the needle. Pull it through, then stitch over the top of the bead and travel” again with the needle to the next location. Once you’ve finished adding the beads, your strawberry is finished! Enjoy!
