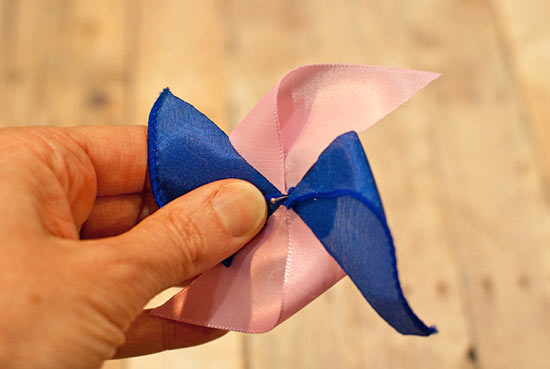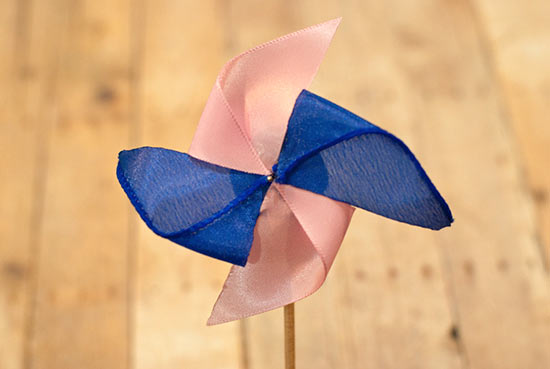
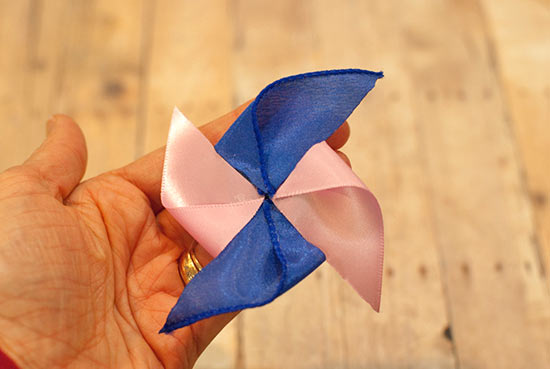
Ribbon pinwheels are festive decorations for the change of season to spring – light and airy and beautiful on a picnic table! The kids will get a kid out of spinning them. Make them in different colors. They can be made with one color or two-tone, as shown here.
Difficulty level: Intermediate
Time required: 30 minutes
Age range: 10+
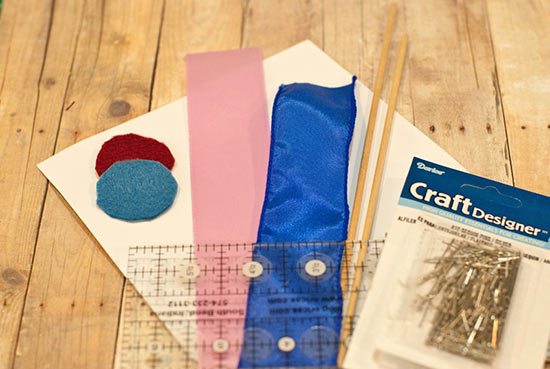
Things you’ll need:
1 1/2″wide ribbon
Dowel rods
Sequin pins
Scissors
Hot glue gun
Hot glue sticks
Piece of felt cut into a 1″ circle
Card stock
Ruler
Things to do:
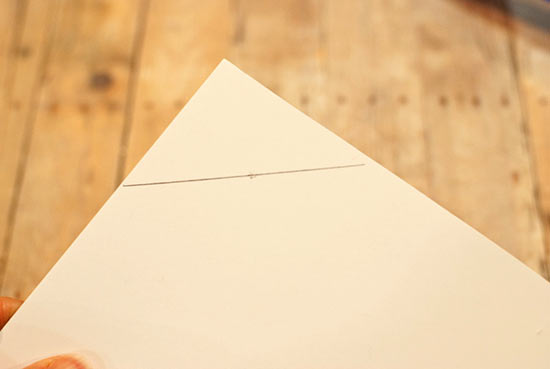
1. First you’ll make a triangle template. Measure 1 1/2″ down from the corner of the card stock and make a mark.
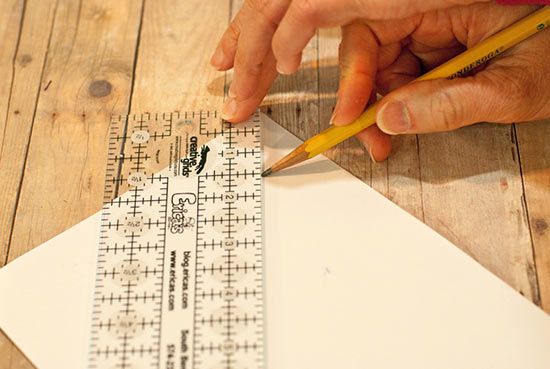
2. Draw a line to form the triangle, and cut out.
3. Place the template on the ribbon as shown and cut the ribbon into a triangle.
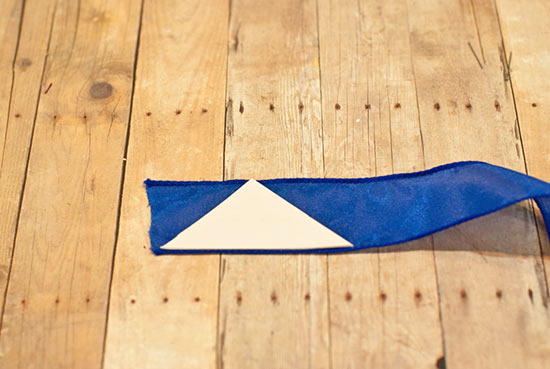
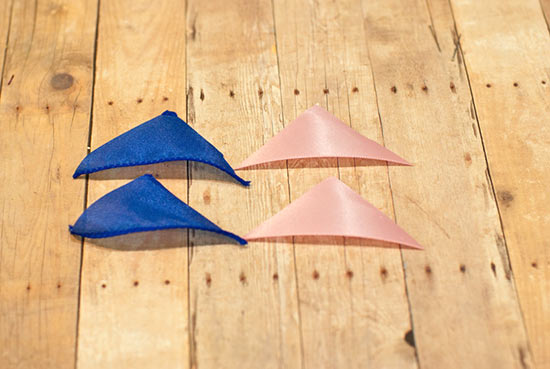
4. Cut three more ribbon triangles. Warm up your hot glue gun.
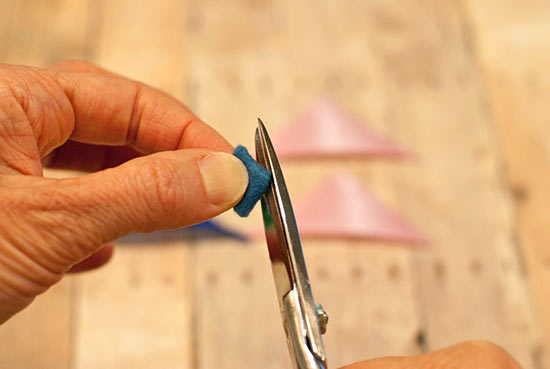
5. Fold the felt circle in half, then in half again. Trim just a tiny corner off to make a hole.
6. Glue one triangle to the felt as shown, close to the middle, but don’t allow it to overlap the center.
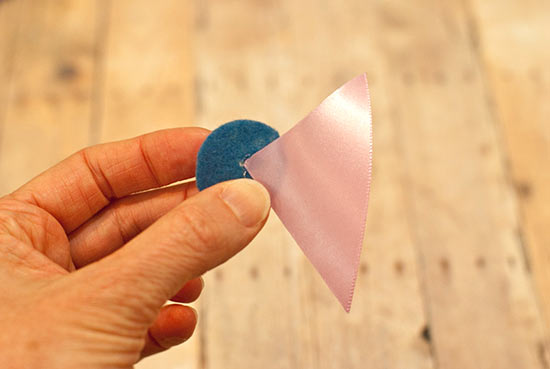
7. Glue the remaining triangles to the felt.
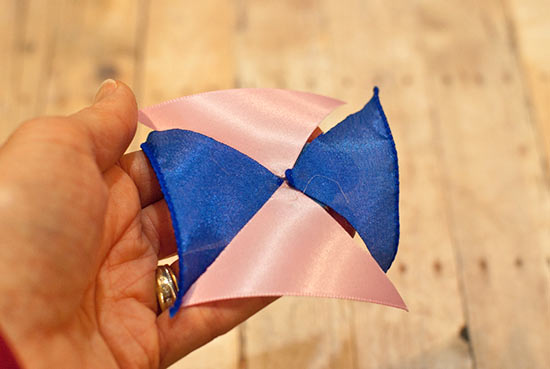
8. Fold one corner of one triangle down toward the center and glue in place.
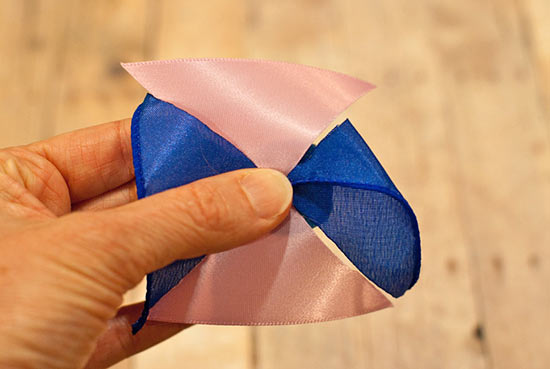
9. Fold the same corner down on another of the triangles.
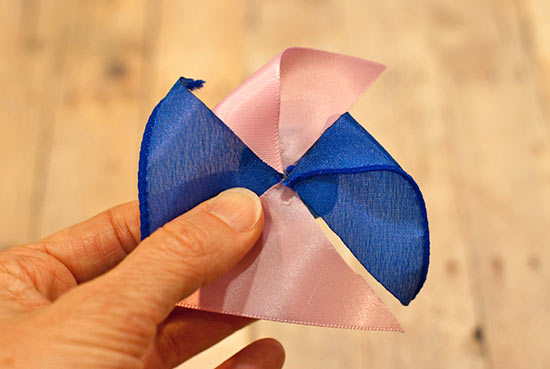
10. This is what the pinwheel looks like when all ribbons are glued down.
11. Create a hole in the dowel by tapping the sequin pin into it. You might need to give it a light tap with a hammer.
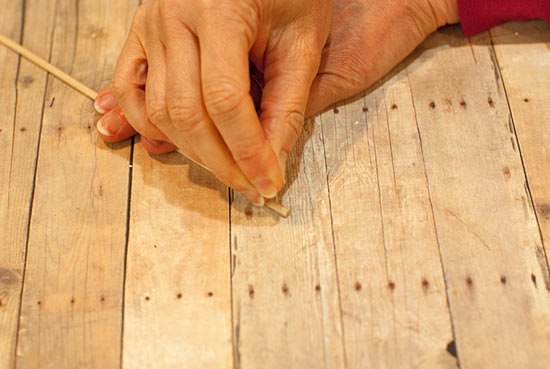
12. Remove the pin from the dowel and place through the ribbon part of the pinwheel, then tap back into the dowel. The pinwheel should spin freely!
