
Even when girls outgrow hair bows, they’re not too old for hair ribbons. Headbands are the perfect choice! These ribbon-wrapped headbands can be made in every color to match all of her outfits, and you’ll be surprised at how quickly you can make several!
Difficulty level: Beginner
Time required: 20 minutes
Age range: 10+
Things you’ll need:
Plastic headband
Purple grosgrain ribbon or other colors of your choice
Fray Check Seam Sealant
Scissors
Hot glue gun and glue sticks
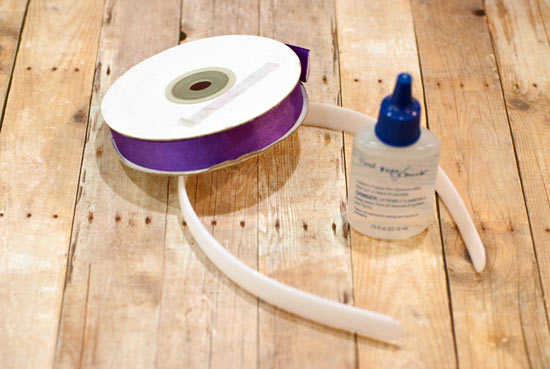
Things to do:
1. Warm up your hot glue gun so it’s ready to go when you need it. Next, cut two pieces of ribbon about 1 1/2″ long each. Seal all cut ends with the Fray Check seam sealant.
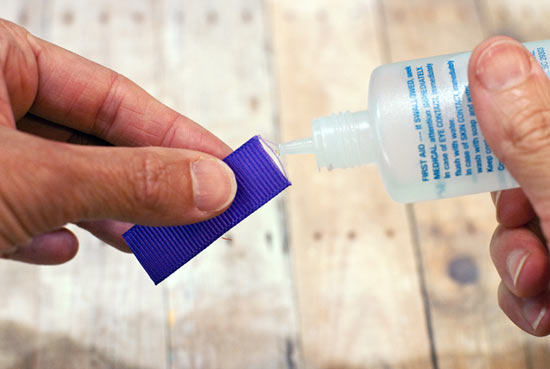
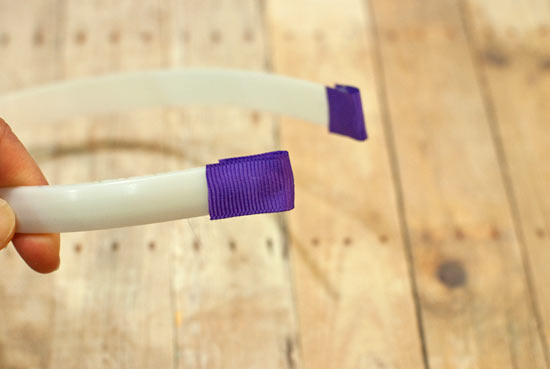
2. Glue the pieces of ribbon onto each end of the headband, as shown, to cover the plastic ends.
3. While leaving the remaining ribbon on the spool – don’t cut it! – hot glue the end of the ribbon at an angle on the back side of the headband, just over the piece of ribbon you just applied there.
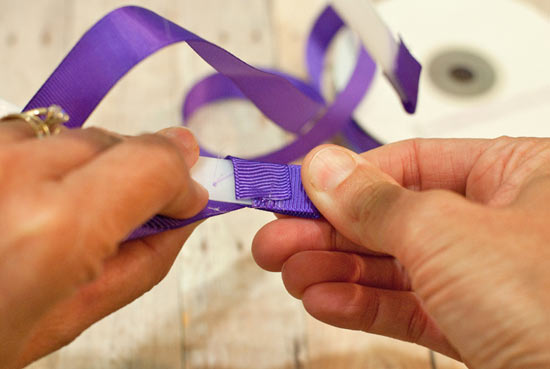
4. Start wrapping the ribbon around the headband, maintaining the angle. There’s no need to glue anything down right now; just keep wrapping. The ribbon on the spool will get quite tightly spiraled as you work, but simply pull out more, and work slowly.
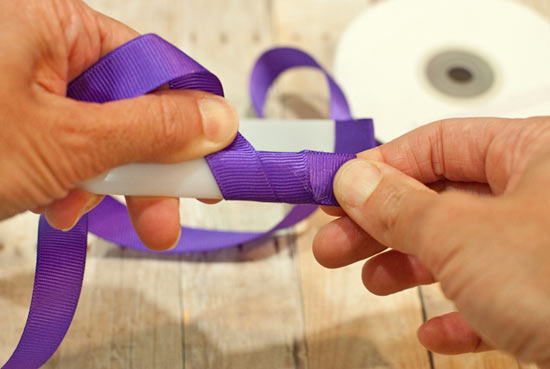
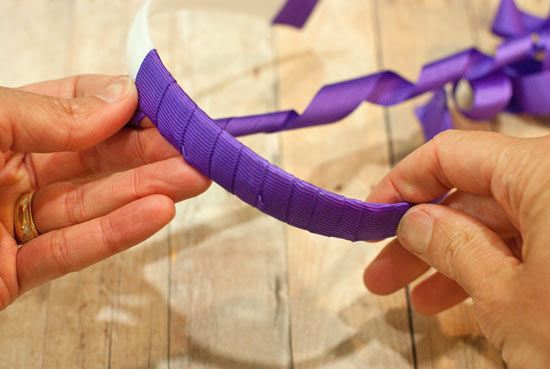
5. When you get to the end, glue the ribbon to the inside of the headband, and trim.
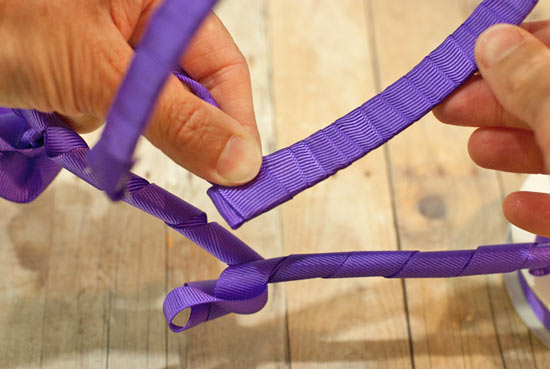
6. Apply the Fray Check seam sealant to the end you’ve just trimmed off. Then present this to a smiling girl, who will love wearing it!