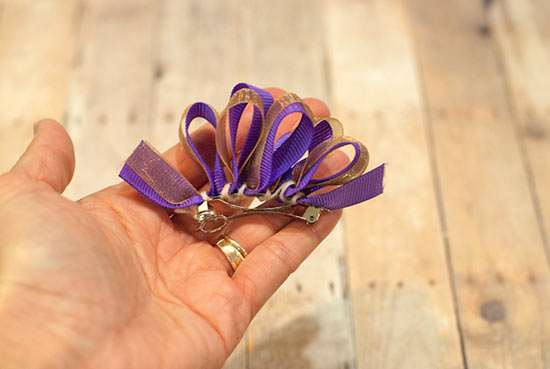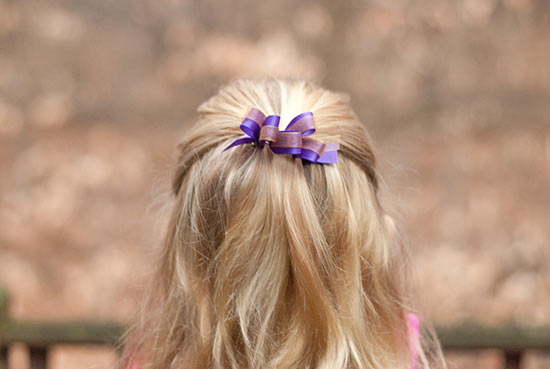
This loopy hair bow is adorable in many different colors. It’s a little tricky to get the loops even, but take your time wrapping and stitching. This bow is shown in two colors, but you can create this with three or more ribbons for an even fuller loopy hair bow.
Difficulty level: Intermediate
Time required: 30 minutes
Age range: 10+
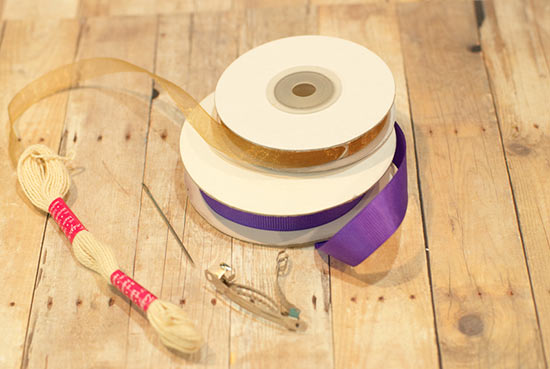
Things you’ll need:
Two colors of 7/8″ or narrower ribbon
French barrette
Scissors
Hot glue gun
Hot glue sticks
Heavy-duty thread
Needle with large eye
Things to do:
1. Remove the springy bar from the barrette and set aside. Warm up your hot glue gun and hot glue.
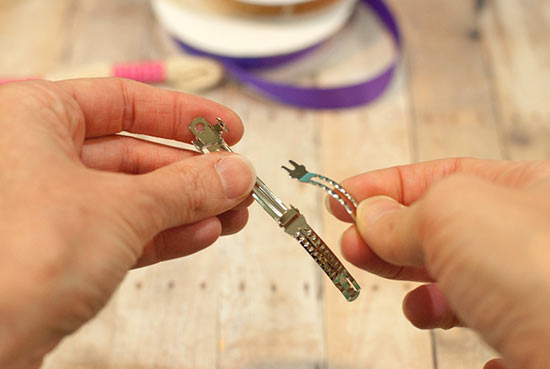
2. Cut your ribbons to 24″ each. Thread your needle and knot one end.

3. Layer the ribbons on top of each other and place on top the barrette with about an inch hanging over the edge. Insert the needle and thread from the bottom.
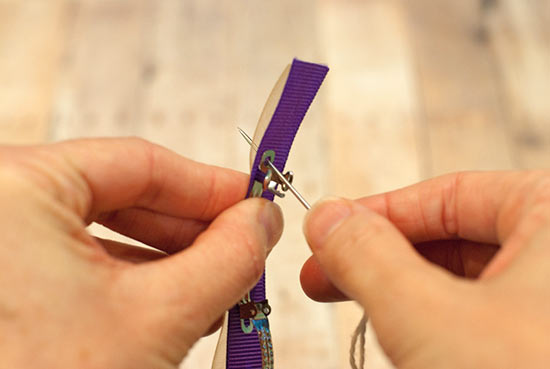
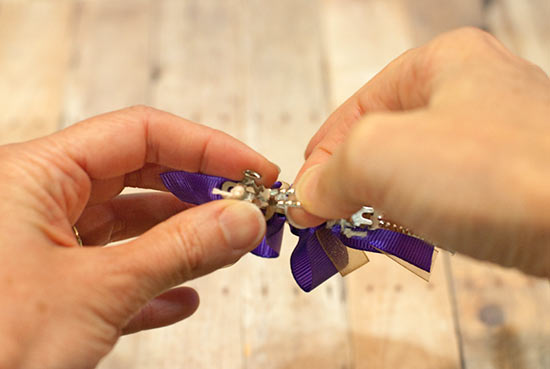
4. Stitch a couple of times in and out of the hole to secure the ribbon to the barrette.
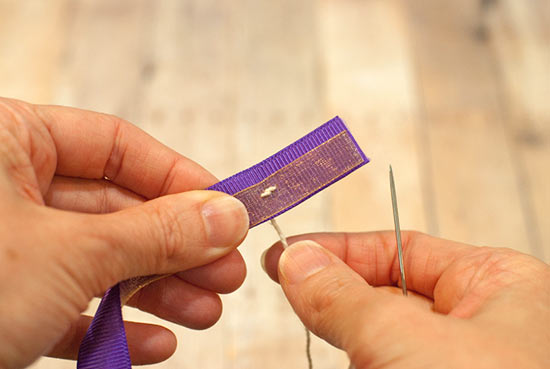
5. Wrap the thread around the barrette inside the clip edge as shown. Secure with a stitch.
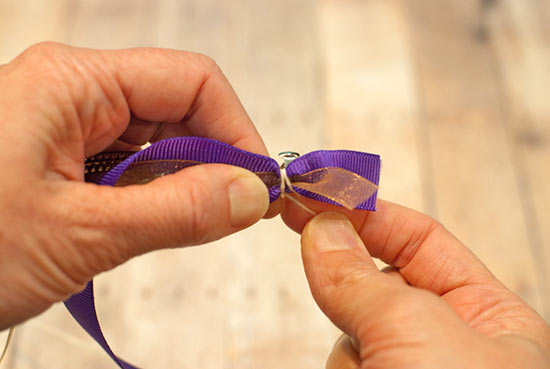
6. Fold up a loop of ribbon, an inch or so high.
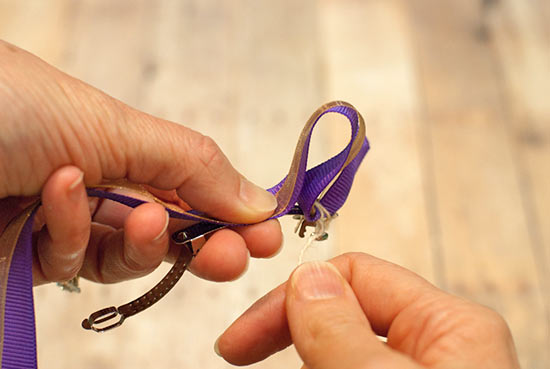
7. Wrap the thread around the ribbon, so it’s tight on the bar of the barrette. Take a stitch to keep in place. Fold up another loop of ribbon and repeat.
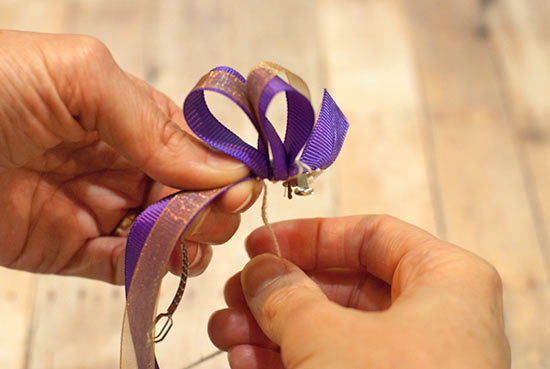
8. Repeat steps 6-7 until you reach the other end of the barrette.
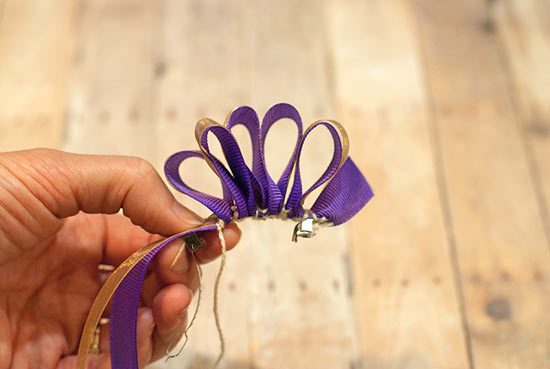
9. Wrap the thread around the barrette after the final loop, inside the clip edge as shown. Clip the ribbon so it overhangs the edge by about an inch. Glue the bottom ribbon to the barrette at one end.
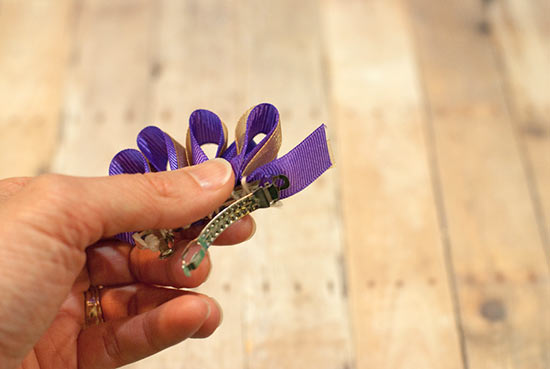
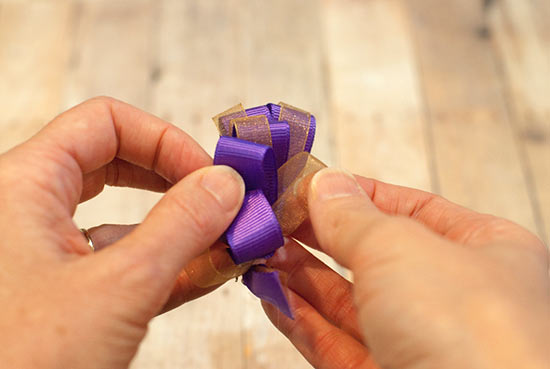
10. Pull the loops different directions to make the bow fuller.
11. Re-insert the spring bar into the barrette.
