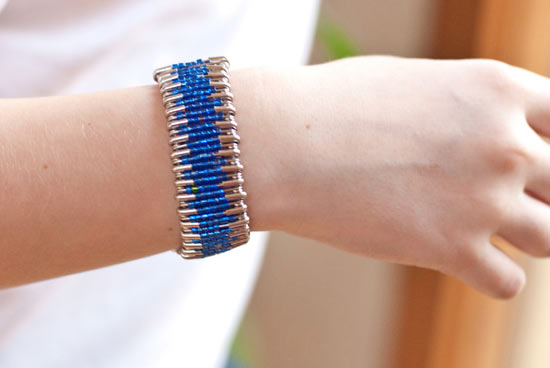
When finished, this bracelet doesn’t even look handmade! The beading and stringing process takes quite awhile, so this is a project you might want to budget some extra time for. But the results are stunning!
Difficulty level: Intermediate
Time required: 3-4 hours
Age range: 10+
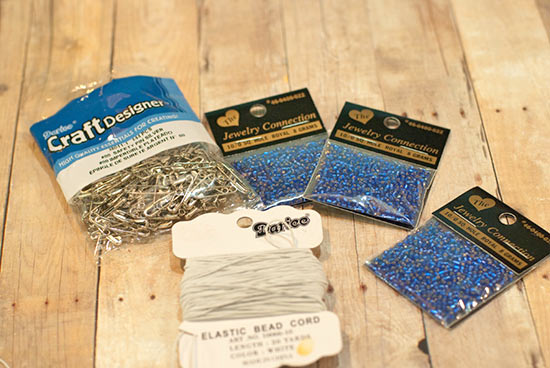
Things you’ll need:
Seed beads
Elastic bead cord
Safety pins
Scissors
Things to do:
1. Measure the wrist of the recipient. To determine how many safety pins to bead, plan for 14 pins per inch. Start beading by adding 5 beads to the safety pin (sometimes you can add 6 but often that will prevent the pin from closing).
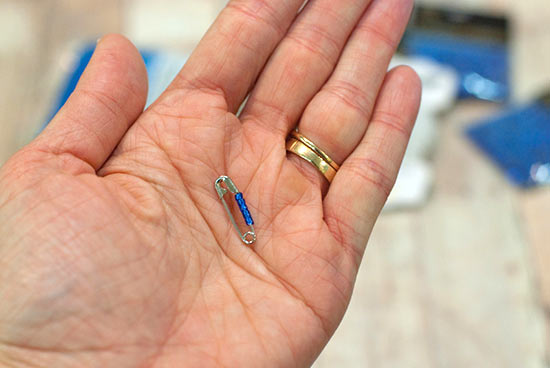
2. Just keep beading, just keep beading…
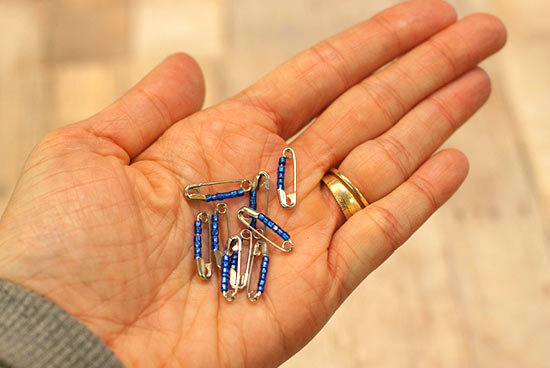
3. After all of that beading, admire your pile of pretty safety pins.
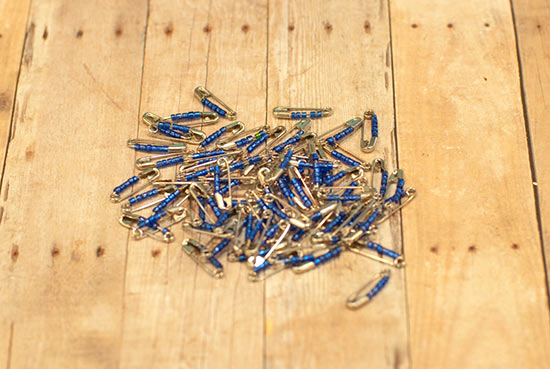
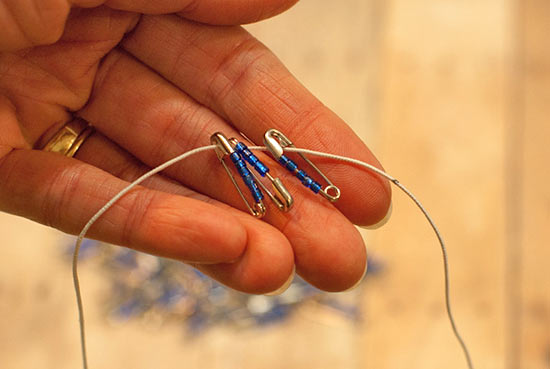
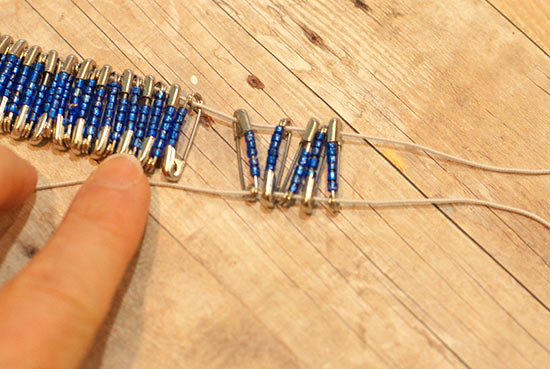
4. Cut two pieces of elastic beading cord to 5 inches longer than the wrist measurement. Start stringing the safety pins so that the beads face the same direction, but string every other pin upside down as shown. This will keep the bracelet even on the top and bottom.
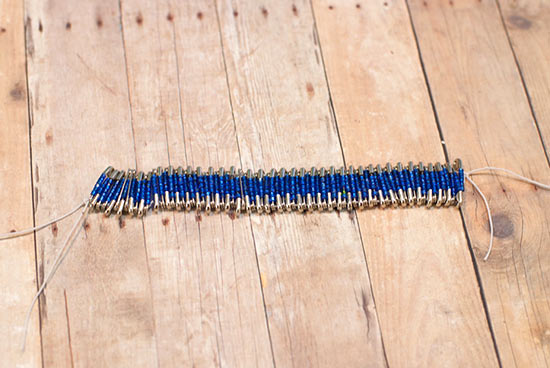
5. This is what the bracelet looks like once you’ve strung all the pins on the cord.
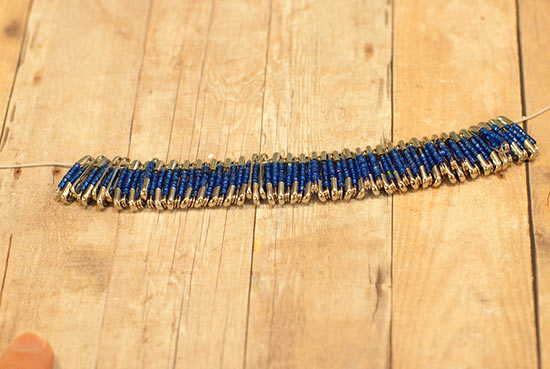
6. String the second side of the pins onto the other piece of cord.
7. Tie the ends on both sides so they’re secure, then tie the bracelet together. It should easily slip over the hand of the recipient and fit well on the wrist!
