Though popularized by Europeans in the 17th century, decoupage actually has roots tracing back to 12th century China. With so many exquisite paper designs and eclectic project ideas to choose from, it’s no surprise that decoupage has stood the test of time, becoming a favorite creative technique among 21st century crafters. Want to learn how to decoupage, but aren’t sure where to begin? Let’s demystify the process:
Choosing your Project
Decoupage can be applied to a variety of materials, from wood and glass to ceramics, metal, and fabric. Once you’ve mastered a few basic techniques, you’ll be ready to embellish furniture, vases, cabinet doors, lampshades, and even ceilings!
Prepping the Surface
Whatever surface you choose, make sure it’s thoroughly cleaned and compatible with the decoupage medium. Here are a few tips:
- Wood: Wood must be impeccably clean and completely dust-free. If you’re decoupaging over a pock or gouge, fill the imperfection with wood filler, sand the surface smooth, and follow with a thorough dusting using a clean cotton or microfiber cloth. Here are some tips for wood decoupaging wood surfaces:
- Oil and water do not mix. Decoupage glaze is water-based, and only adheres properly when applied to wood surfaces with water-based finishes like acrylic paint and water-based stain or latex.
Check the finish before you begin. If you’re decoupaging furniture and aren’t sure of the finish, test the glaze in an inconspicuous spot before you begin. Be certain that the glaze will dry completely (no tackiness), will adhere properly and be free of bubbles, and will be durable enough to withstand the intended use (no flakiness).
Metal: Use a wire brush to remove rust, clean the surface thoroughly, and paint with water-based paint. Wait at least 72 hours before decoupaging.
Glass: Thoroughly clean the glass surface, and then wipe down with alcohol. Be sure to decoupage glassware for display only. it is not intended to be used for cooking or serving food.
Choosing Cut-outs
The sky’s the limit when choosing your cut-outs. Specially designed decoupage papers, scrapbook pages, ticket stubs, wallpaper and gift wrap remnants, stamps, pages from old children’s books, menus, seed packets, and postage stamps all work well, the list goes on and on! If you have a laser printer, you can even print your own photos and designs or choose images from clip art websites. (Tip: Before copying or using existing images, be sure that you’re not violating copyright or terms of use regulations.)
Things you need:
Precision Scissors or a Hobby Knife
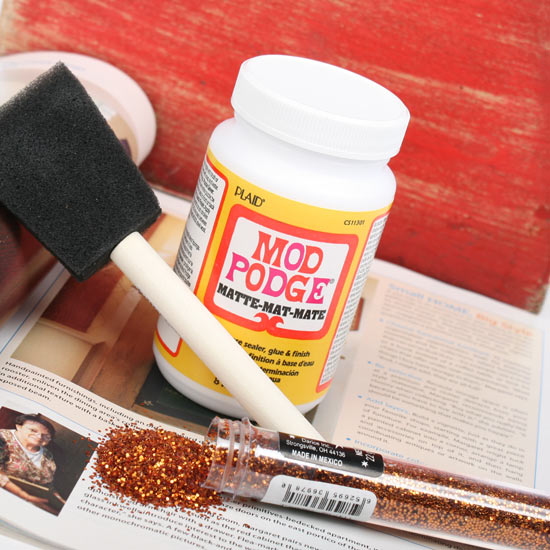
Mod Podge
An applicator, such as a paintbrush or foam sponge
Spatula or another flat tool to remove bubbles and smooth images
The Nitty Gritty
Decoupaging is as easy as 1, 2, 3. After your surface is prepped and cleaned, prepare your image by applying a thin layer of Mod Podge. Then, apply a layer of Mod Podge to the surface of your object and position the cut-out. Follow with two to three layers of Mod Podge, and voila!
With a few basic supplies, patience, and creativity, you’ll soon be a Master Decouper.” Enjoy transforming humdrum items into masterpieces!