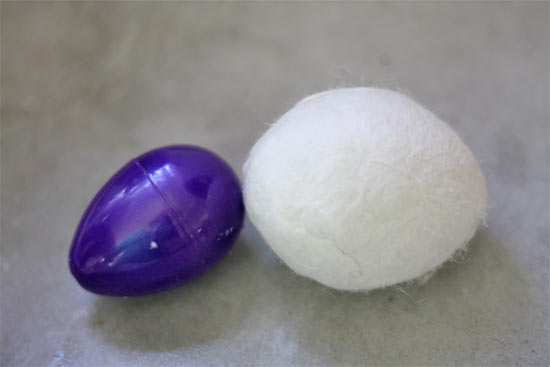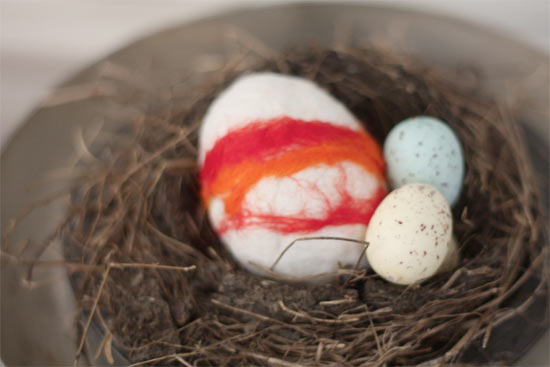
During the spring months I like to decorate corners of our house with different kinds of eggs. And there are many different crafty eggs to choose from, stitched eggs, dyed eggs, painted eggs, blown eggs, and then there are felted eggs. These are a fun addition to any Easter basket and add a little softness to the smooth, shiny and colorful look of most Easter Eggs. Using this method you can even crack” them open with a pair of scissors and add a fluffy wool chick.
Things you’ll need:
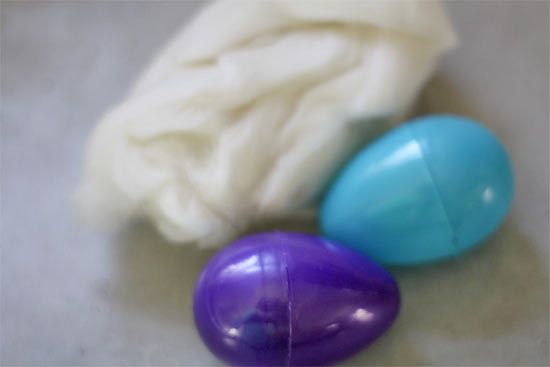
Wool Roving
Plastic eggs
Dish or liquid hand soap
Access to warm and cold water
Things to do:
1. Take a generous handful of roving and start wrapping it around the egg, pressing it into itself so that it sticks. Spread the wool out as evenly as you can all over the egg.
2. Dampen the wool and add a dot of soap then start rolling gently, GENTLY. Around and around in your hands until the wool starts to bond with itself.
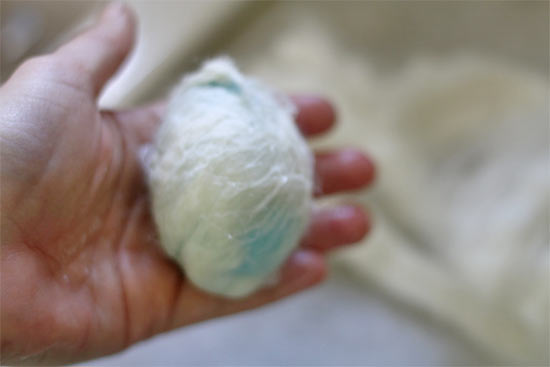
3. Add another layer of wool, just as in step 1 and dampen and roll again, being careful not to squeeze the egg, it might not look egg shaped yet, but it will.
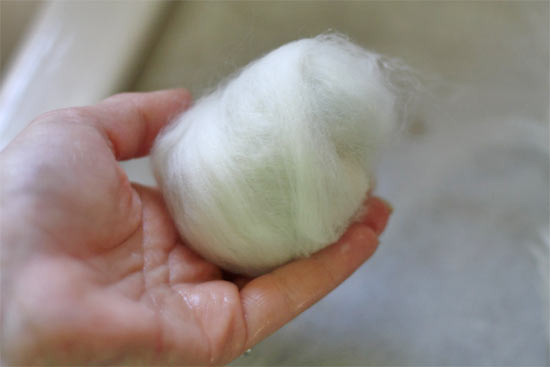
4. Repeat this one more time and then just keep rolling, rinsing and adding a little more soap as needed until the wool stops absorbing as much water and the fibers have bonded together and it’s a nice egg shape.
5. At this point you can leave the egg as is or you can add wisps of roving in a contrasting color and repeat the felting process to add a little spunk.
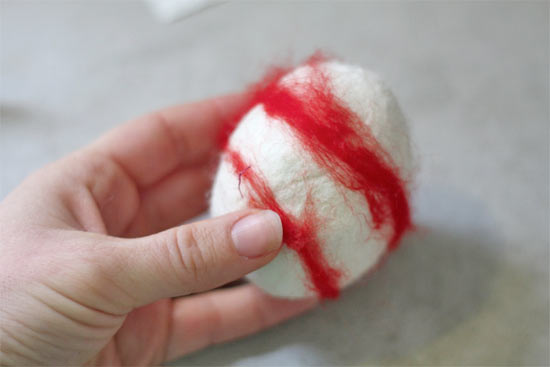
6. Allow the wool to dry completely before displaying.
7. If desired, you can carefully cut at the center point of the egg to create a cracked” egg.
