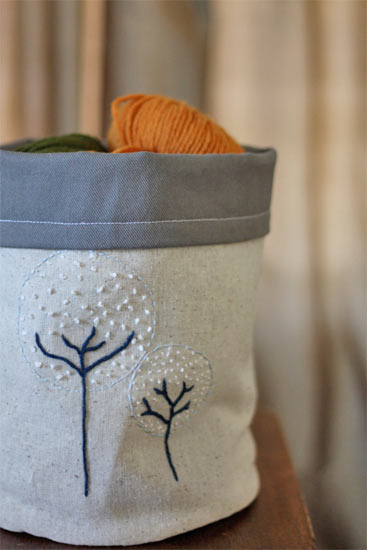
If you’re like me (always have projects going and are only marginally organized) you can never have too many bags. Perfect for hiding away half finished projects, toting this or that around and easily stored, bags are indispensable in my house. And pretty bags… well, pretty bags are like gold around here. Especially when the holidays come around and the wrapping paper and tape have disappeared into the children’s room to emerge as interesting sculptures and I really need to wrap up that last minute gift. Bags to the rescue.
These little stuff” bags are as handy as they come. As perfect for storing your knitting, sewing and art supplies as they are for toting a special gift for a special someone. Heck, they are even perfect as gifts themselves! They can be as simple or as complex as you want to make them. Start with printed fabrics for no fuss bags or spend a few evenings embroidering something lovely for a more extravagant version. Once you get that first one done, you’ll be cranking them out with ease. In fact, you may never buy wrapping paper again (except for kids art projects of course!)
These directions make 1 – 8 inch diameter by 12 inch tall bag, but the same techniques can be used to create bags of just about any size!
Things you need:
1/2 yard lightweight fabric (quilting cotton, flannel or linen work well)
1/2 yard medium upholstery weight fabric (home dec fabrics or canvas are good choices)
Sewing machine and notions
Scissors
Iron
Embroidery thread and needle (you’ll need this even if you aren’t embroidering the bag!)
Things to do:
1. Cut one 28 by 13 inch rectangle and one 8 3/4 inch diameter circle from each of the fabrics.
2. If you choose to embroider your bag, you’ll need to do this before assembling. Decide roughly where you want your image to be on the bag and embroider onto the lightweight fabric rectangle before the bag is constructed.
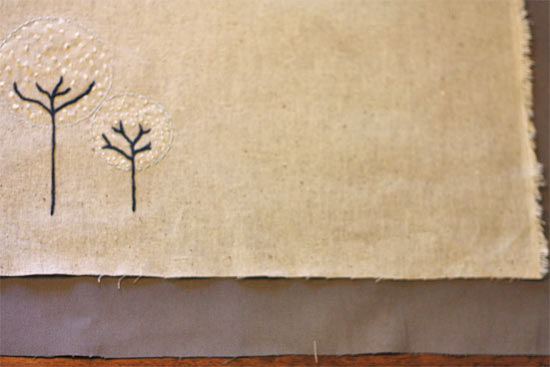
3. Lay the two rectangles, right sides together, on top of one another. Pin along the long edge that will be the top of the lightweight piece (which edge only matters if you have embroidered the outside layer) and sew along that seam with a 1/4-inch seam allowance.
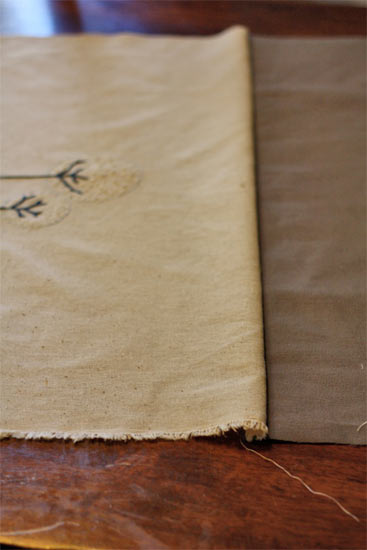
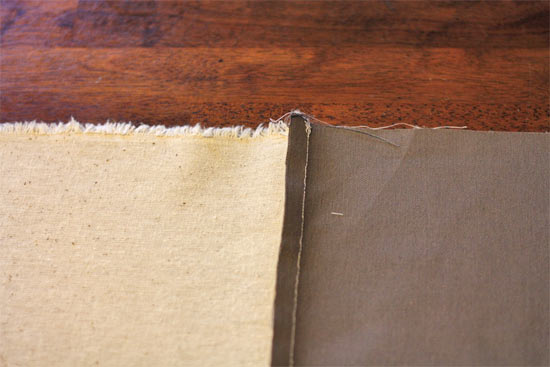
4. Open up the fabric, pressing the seam flat. Now line up the side seams with the rectangles still open. Pin and sew. You should now have a long, two-colored cylinder.
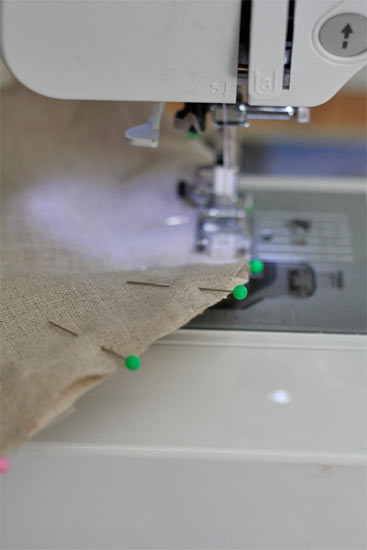
5. Pin the corresponding circle to the ends of the cylinder. Sew around the circle seam of the outer” fabric and almost all the way around the inner, leaving a two-inch opening.
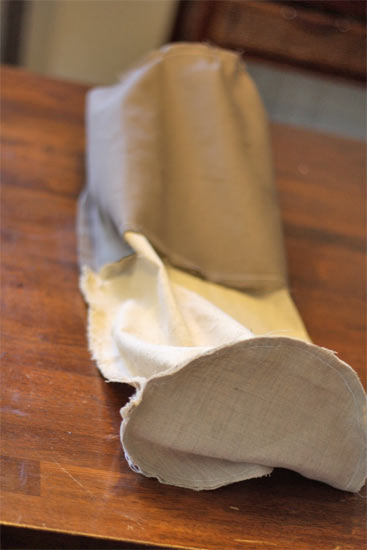
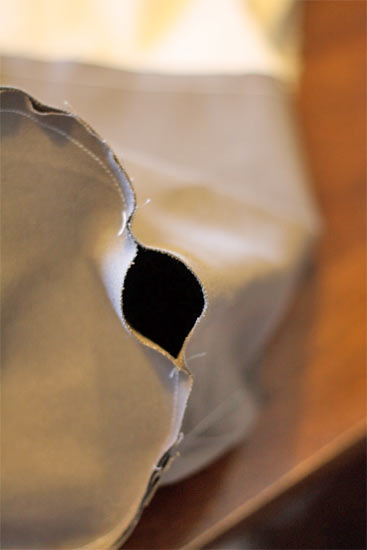
6. Turn the cylinder right side out through the small opening in the lining fabric. Fold the lining fabric into the outer fabric to form the bag shape and press the top seam.
7. Using the embroidery needle and thread and a running stitch, stitch 1/4 inch in from the bottom seam, binding both layers together and sewing closed the opening you left in the lining at the same time.
8. Sew, using either your machine or with the embroidery thread, around the top edge of the bag as well, about 1/2 inch down from the top.
The top of this bag can be drawn shut with a ribbon for gift giving, left standing or folded down to show off the lining fabric as you wish.
2 Comments
This is very cute! you could do a set to display on a shelf concealing scraps of fabric! I love the embroidery work you did on it!