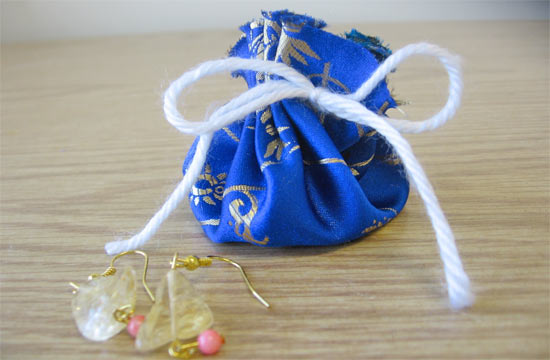
I always seem to lose a single earring during trips. I love these travel jewelry bags because they help me stay organized while I travel. They are so easy to make that you can make different sizes for different trip lengths. My jewelry bag is big enough to hold a few pairs of earrings, so I do not have to worry about packing them in a pocket of my suitcase where they might get separated. Travel jewelry bags also help protect your jewelry on long trips. These make a wonderful gift for anyone who likes to travel, and they are also a thoughtful way to wrap jewelry gifts as well. Enjoy!
Difficulty level: Intermediate
Age range: 8+
Time required: 15 minutes
Things you’ll need:
Fabric
Yarn or ribbon
Crafting needle
Scissors
Circle stencil at least 6 diameter
Things to do:
1. Trace a circle on your fabric and cut it out.
2. Begin stitching your yarn or ribbon in 1/2 “‘ stitches around your circle of fabric about 1/2 “‘ from the edge.
3. When you finish stitching all around your fabric circle, make sure both ends of your ribbon or yarn are poking out of the same side of the fabric circle (the side you want to be the outside of your bag).
4. Pull the ends of your ribbon or yarn so that your bag scrunches up and you can tie a small bow.
5. Cut off any extra ribbon or yarn from the ends of your bow.
6. Store your jewelry in your bag for convenience during travel!