
Spring is here and nothing announces your “spring-i-ness’ like a pretty wreath overflowing with flowers. This relatively simple craft needs nothing more than an idea, a color scheme, and your imagination to turn into a reality!
Age range: Adults
Approximate time: 30 minutes
Difficulty level: Intermediate
Things you’ll need:
Silk Flowers
Floral tape
Floral wire
Wire cutters
Safety glasses
Styrofoam wreath form
Things to do:
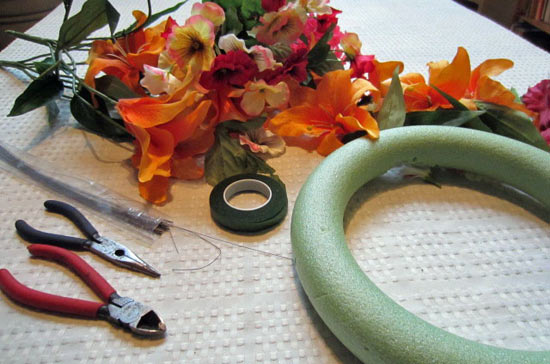
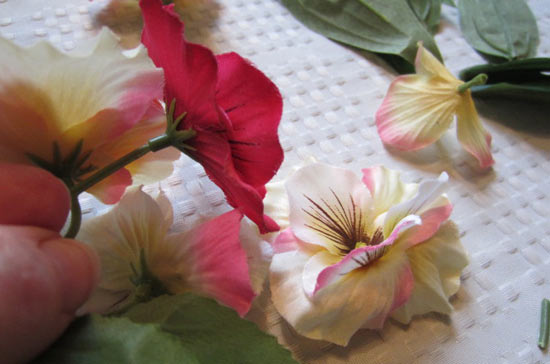
1. Lay out your wreath and flowers; play with placement and design. Start with the largest flowers first. You will use smaller flowers and greenery to “fill in’ between the bigger flowers. Wreathes tend to be “heavier’ on the bottom. This means there should be more flowers and visual weight on the bottom of the wreath than the top. The fun of silk flowers is you can “pop off’ flowers or leaves and add different things to a stem. There really is no “right’ or “wrong,’ if you like it, it looks great!
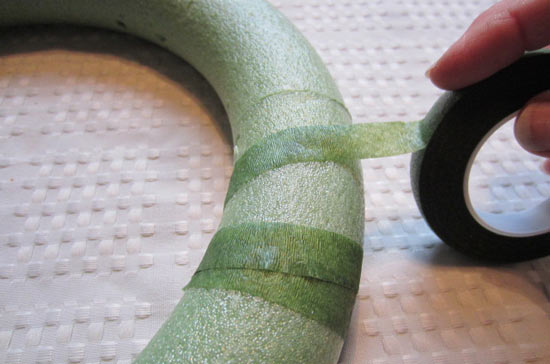
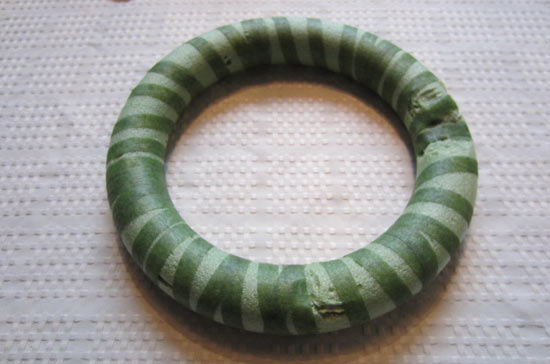
2. Wrap your wreath with floral tape. This gives you something to tuck stems in to or to secure additional elements.
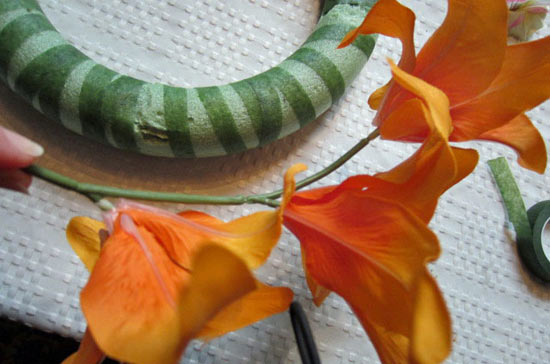
3. We created two stems with nothing but big lilies. This gave us a skeleton of the biggest flowers. Pull off the greenery and attach additional flowers to the stems. Curve the stem to match the wreath’s curve. We taped the stems to the wreath with floral tape to make changing our minds easier!
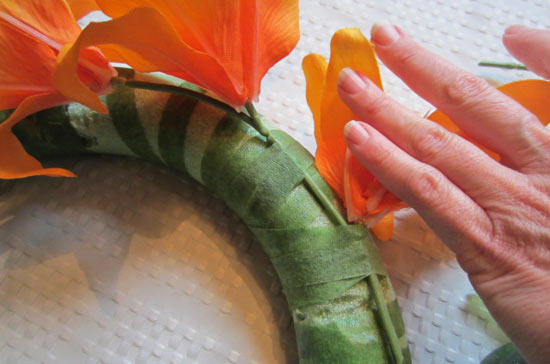
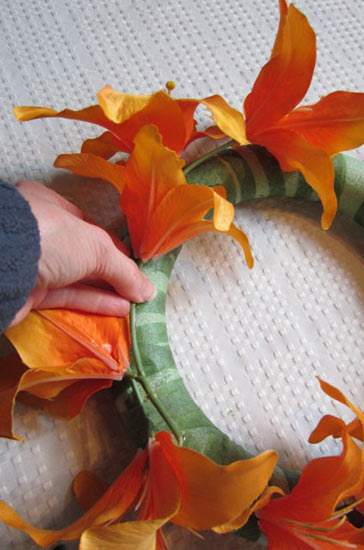
4. Start filling in the gaps with smaller flowers and greenery.
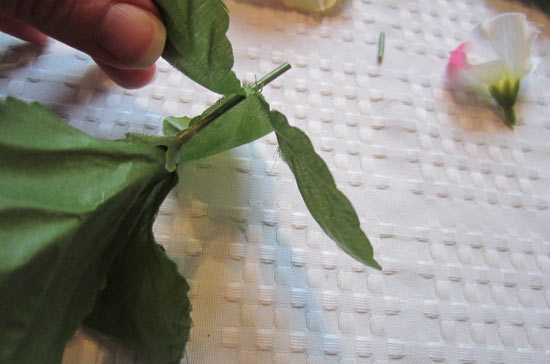
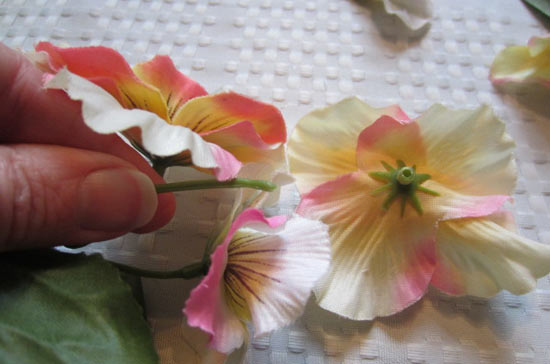

5. Hold your wreath up once in a while to check how it’s coming along. It’s easy to get focused on the individual pieces and ignore the big picture. You might set it by your door and see how it looks in place.
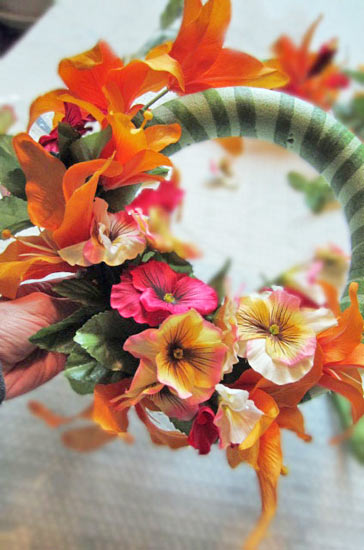
6. Don’t forget the greenery; add clumps of leaves once in a while!
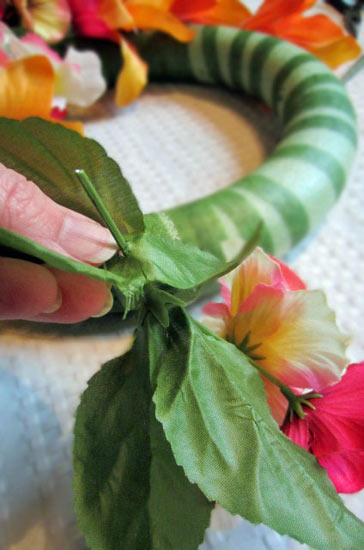
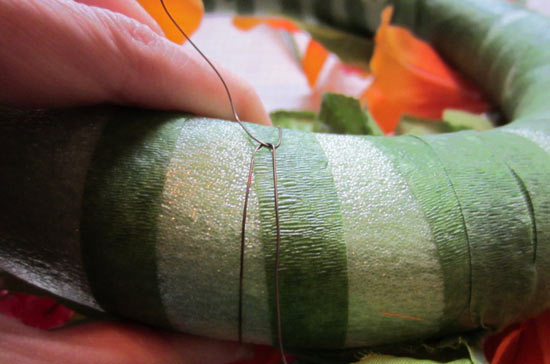
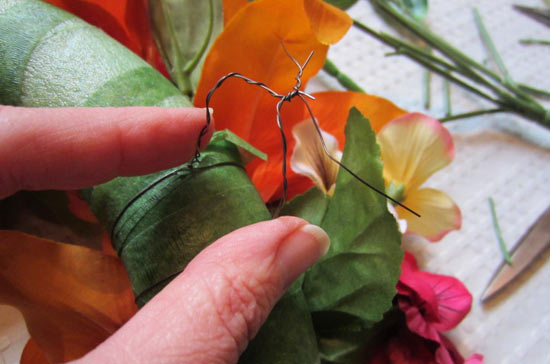
7. When you’re satisfied with the wreath, use floral wires to secure the elements to the wreath. Just wrap them around the stems and wreaths and twist. Use two floral wires at the top to make a hanger: Wrap them around the wreath leaving equal lengths to twist. Twist together the entire length of wire. Bend the twisted ends at 90-degree angles and “hook’ them to each other. Twist those ends together securely. Open the loop you’ve created to hang the wreath.
9. Hang your wreath on your door and prepare to receive compliments!

** You might want to keep your wreath from away from a 1-year old puppy or other destructive force of nature! This explains the teeth marks and missing chunks of Styrofoam in our photos!