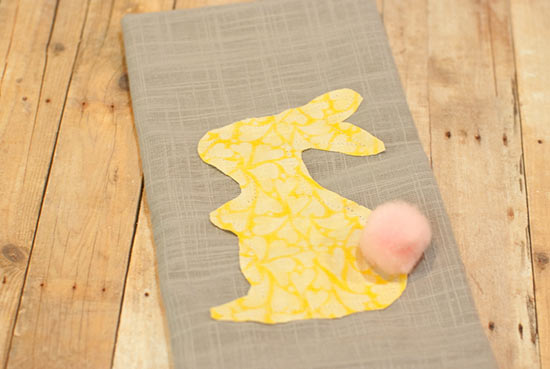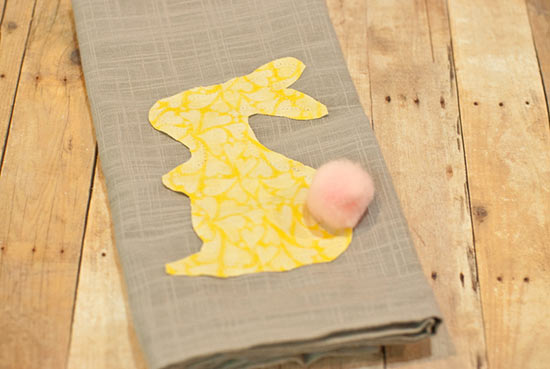
These bunny kitchen linens aren’t specifically for Easter, but can be used all through spring. Sewists with more advanced skills (and who want to wash these frequently) can applique these with a satin stitch and a double-sided fusible between the bunny and the napkin. However, if you’re just using these as decor, a simple running stitch by hand or machine will do. The ends may fray, but fraying can add to the linens’ appeal!
Difficulty level: Intermediate
Time required: 45 minutes
Age range: 10+
Things you’ll need:
Bunny silhouette print out
Cafe napkin
Craft pom pom
Fabric
Computer/printer/paper
Scissors
Sewing machine or needle and thread
Double-sided fusible web and tear-away stabilizer *optional
Pins
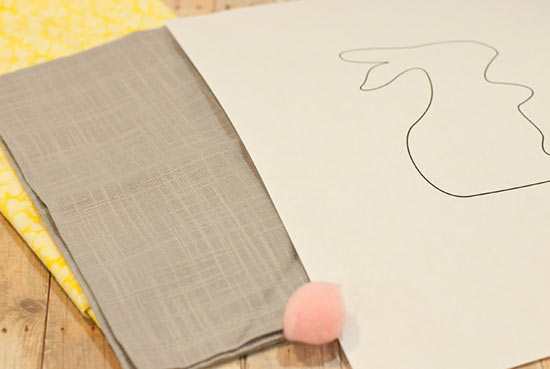
Things to do:
1. Print the PDF and cut out the bunny silhouette.
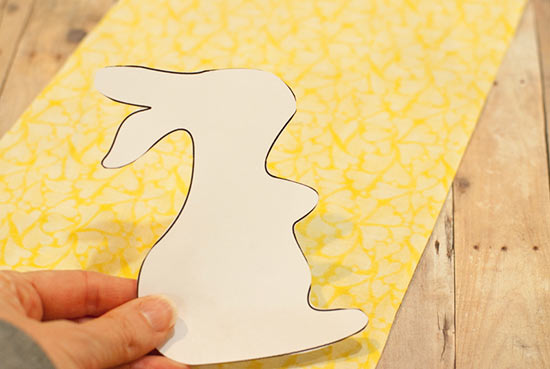
2. Pin the bunny to your fabric, making sure the bunny is facing the direction you prefer when the fabric is right-side up.
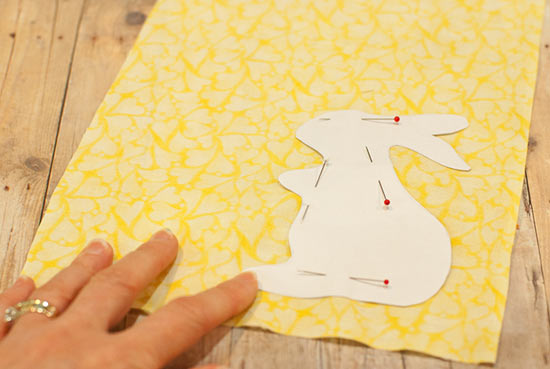
3. Press and fold your cafe napkin and decide where you’ll be placing your bunny.
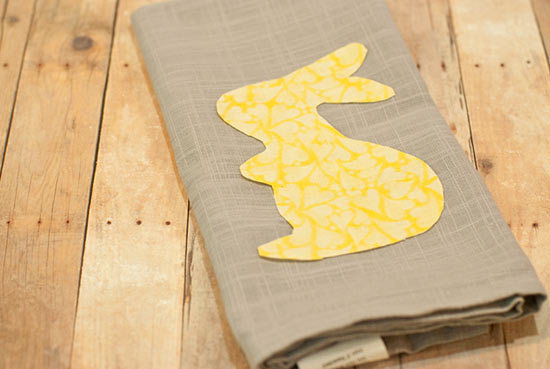
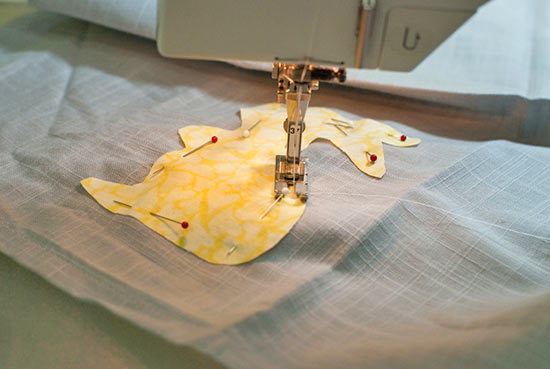
4. Open up the folds. Pin the bunny in place and sew it down with a 1/4″ seam allowance. You can also use hand stitching with a running stitch or a blanket stitch – make this as simple or as fancy as you’d like. If you’re planning to wash this frequently and are a more experienced sewist, fuse double-sided web to the back of the bunny and fuse into place on the napkin. Add a piece of tear-away stabilizer to the back. Once fused and stabilized, the bunny can be sewn with a satin stitch.
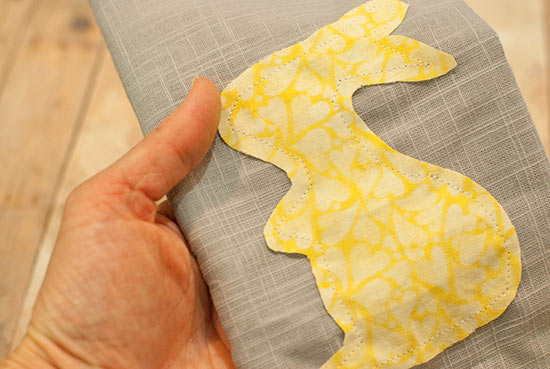
5. This is what the bunny looks like once sewn with a simple running stitch!
6. Hand-stitch the pom pom in place.
