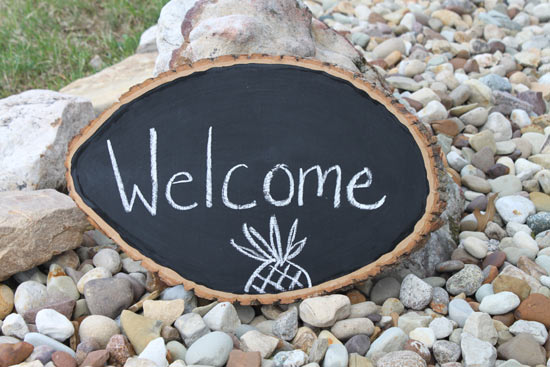
Add some rustic DIY touches to your home with by making this wood chalkboard sign. The large rustic natural wood tree trunk slice comes perfect ready to DIY- no prep work or Lumberjack required. Just paint with chalkboard paint and add your own special messages to your new earth-friendly sign!
Difficulty level: Beginner
Time required: 10 minutes (plus drying time)
Age range: Any age with supervision of paint
Things you’ll need:
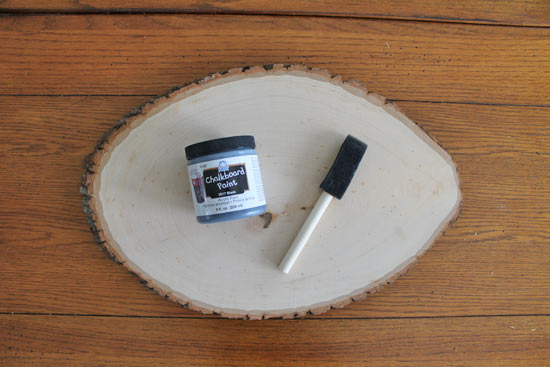
Large Rustic Natural Wood Tree Trunk Slice Base
Chalkboard Paint
Foam Brush
Chalk
Things to do:
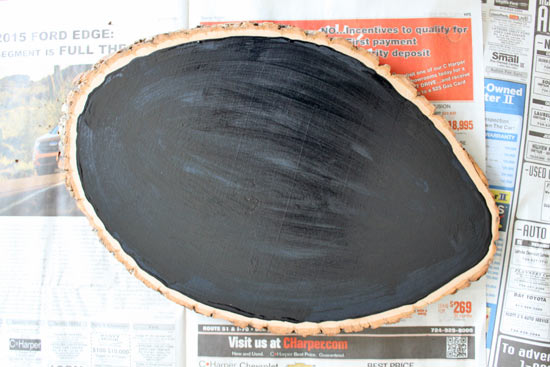
1. Give your chalkboard paint a good shake before opening. This will help mix up the paint. Apply the first coat evenly on the wood slice. Follow the natural tree ring line around the inner edge (about a 1/2 inch from the outer edge) of the slice to create a more natural looking design.
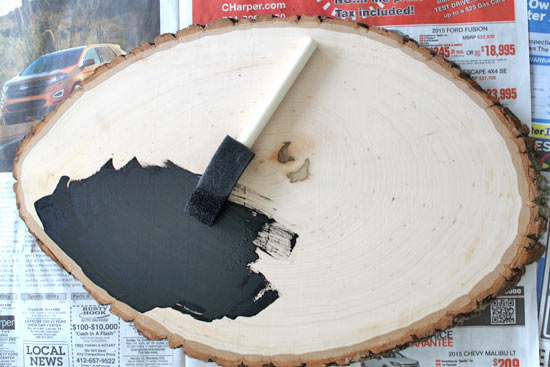
2. Allow first coat of paint to dry for 1 hour before reapplying.
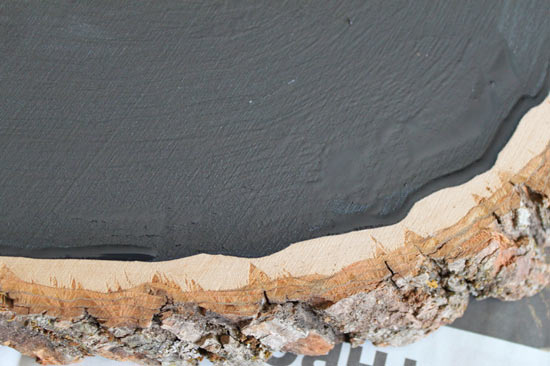
3. Apply the second coat of chalkboard paint to the wood slice. Allow the second coat of paint to cure overnight.
4. After 24 hours, lightly rub chalk over the surface of the wood. This will help season your chalkboard for use.
5. Use chalk to personalize your sign. Use a damp cloth to erase your chalk writing as needed.