
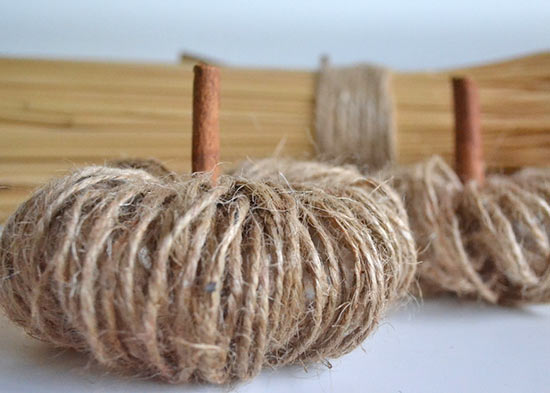
These twine pumpkins add the perfect rustic touch to your fall decoration. Display them for Halloween and reuse them as centerpieces for your Thanksgiving dinner!
Difficulty level: Beginner
Time to complete: 15 Minutes
Age range: 8 and Up
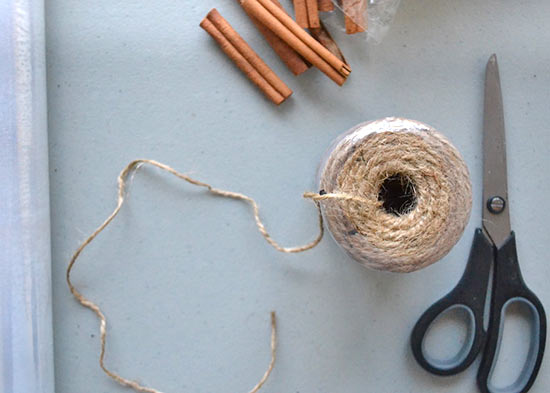
Things you’ll need:
Jute
Cinnamon sticks
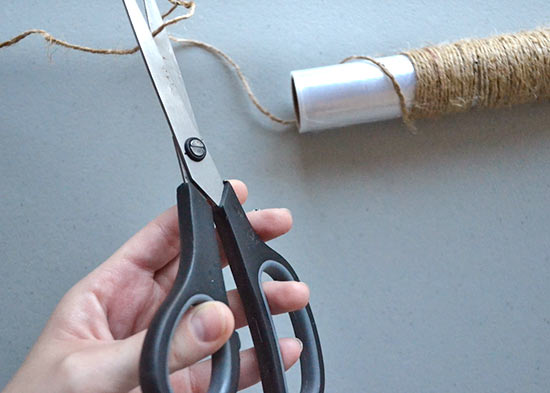
Scissors
Tube
Things to do:
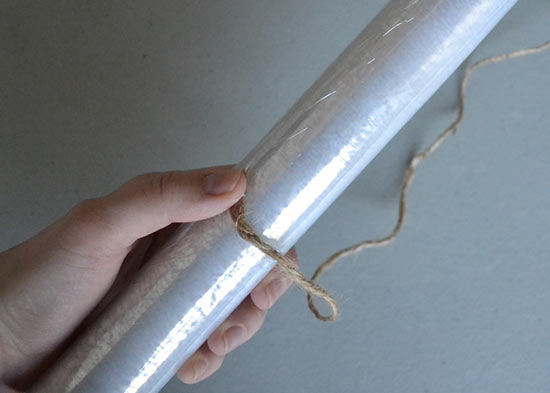
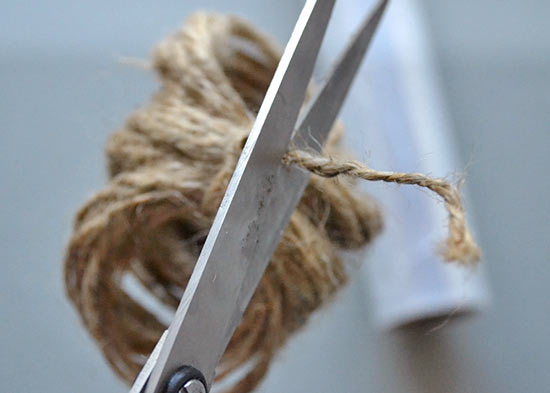
1. The first step is wrapping your twine to create the body of the pumpkin. You can use any cylinder tube you have around the house. Today, I’m using a roll of plastic wrap. It works really well, because the plastic wrap is sticky and holds the twine in place as you wrap. Start 1/4 down the roll and wrap the twine until it covers the rest of the roll.
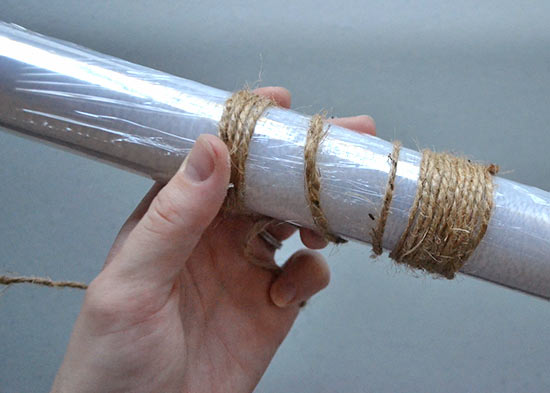
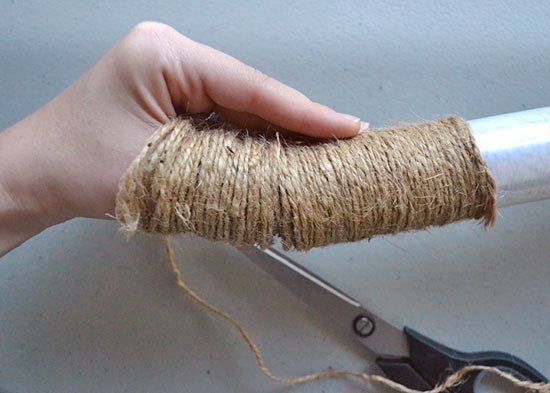
2. When you’ve reached the end, cut the jute leaving a 10-inch tail.
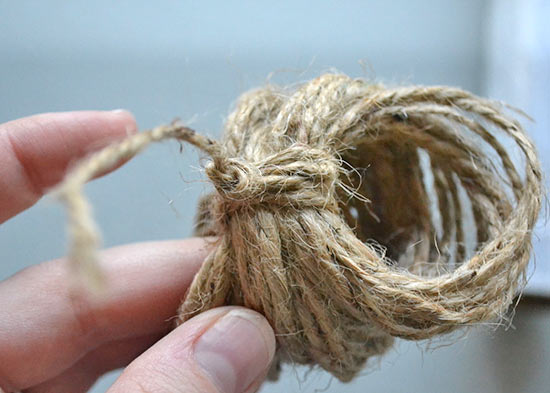
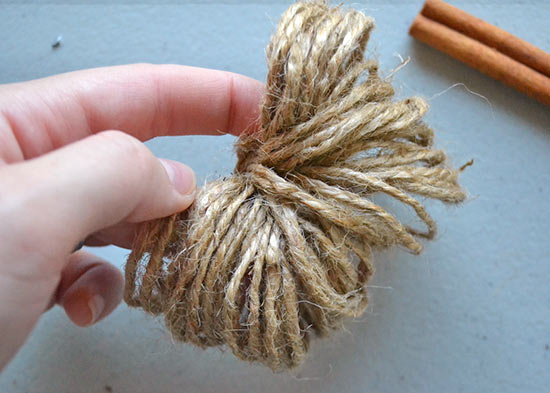
3. Push the jute off the tube and run the excess jute through the center and secure it by tying a knot.
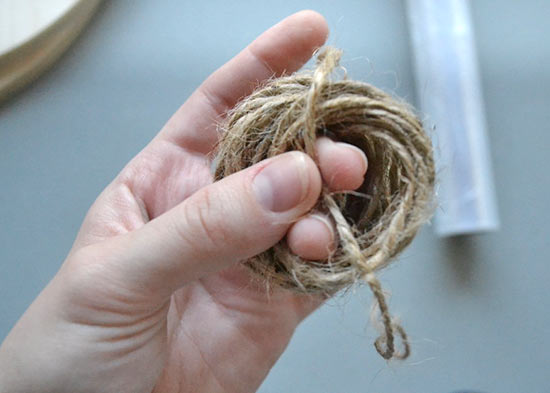
4. Pull the jute around the circle, fanning it out into a pumpkin shape.
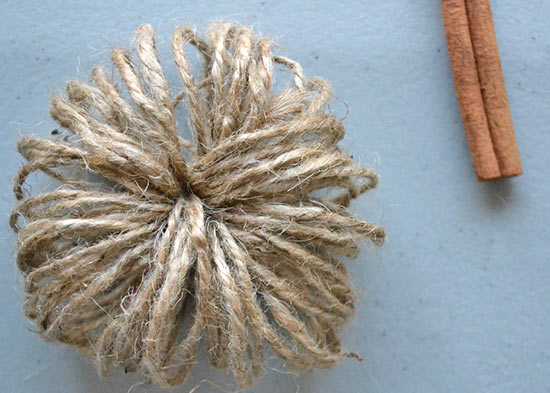
5. Slide a cinnamon stick down the center of the twine pumpkin.
