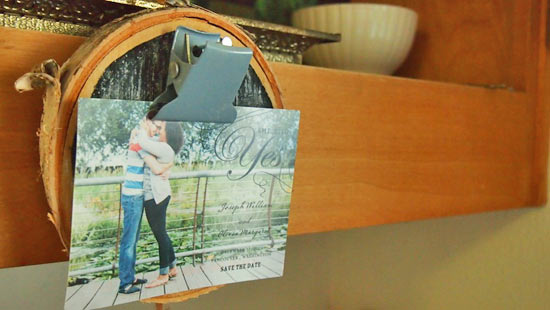
This adorable DIY makes the perfect display for a fun print or sweet message. Find cool clips and create custom clipboards for your loved ones. This is a great gift or fun project for your own home. You’re sure to love the finished results!
Time to complete: 1 hour
Age range: 10 and Up
Difficulty level: Beginner
Things you’ll need:
Large Clip
Chalkboard Paint
Foam brush
Paint brush
Medium log slice
Picture hanger
Hammer
Things to do:
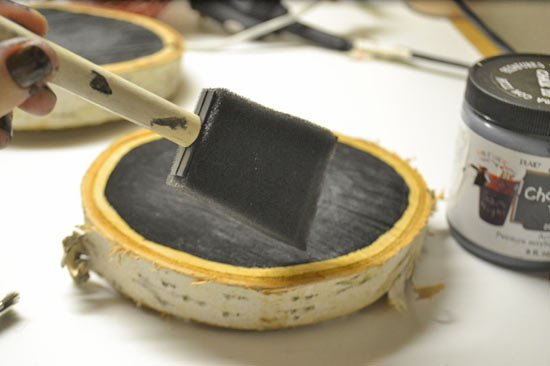
1. The first step is painting the front of the log slice. Use a foam brush to cover the surface in a thick, but even, coat of chalk paint. Leave 1/2 inch empty space around the edges of the slice.
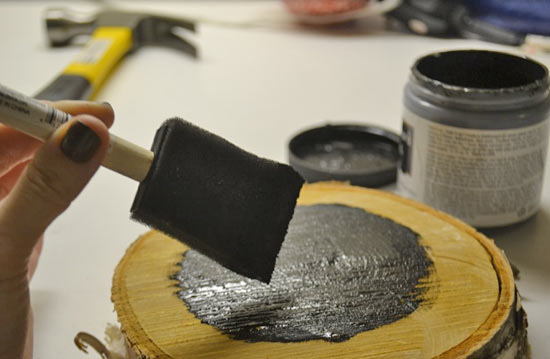
2. Use a small paintbrush to paint a smooth line around the edge of the log slice. Let the first layer of paint dry completely.
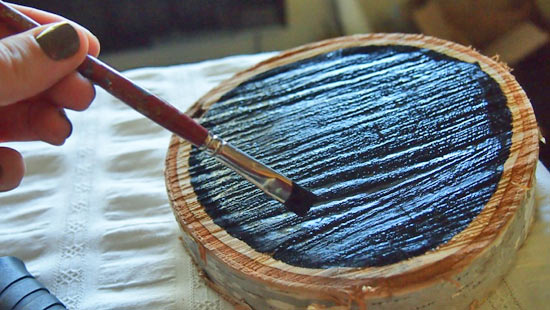
3. Apply a second layer of chalk paint using a foam brush and allow it to dry completely.
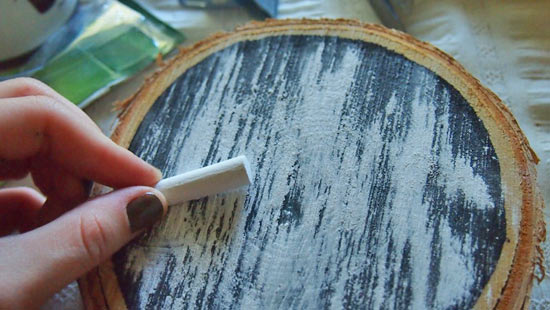
4. Once the paint has dried completely, rub a piece of chalk across the surface of the log slice. Use a damp cloth to clean the surface.
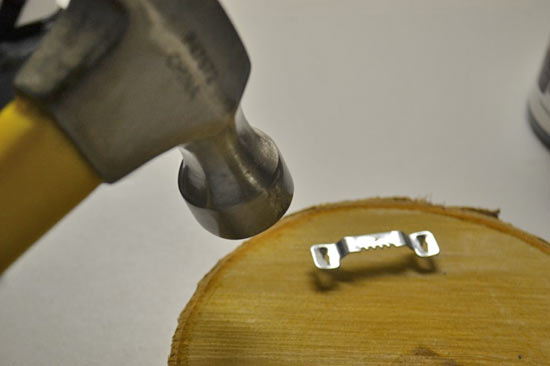
5. Attach a push-in photo hanger to the back of the log slice.
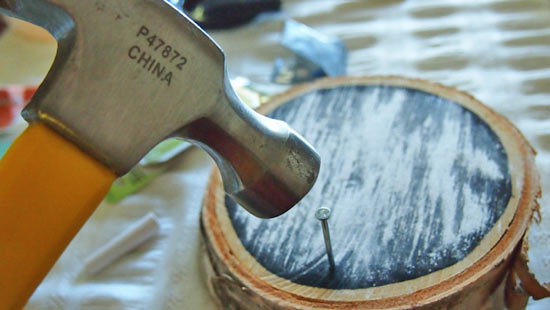
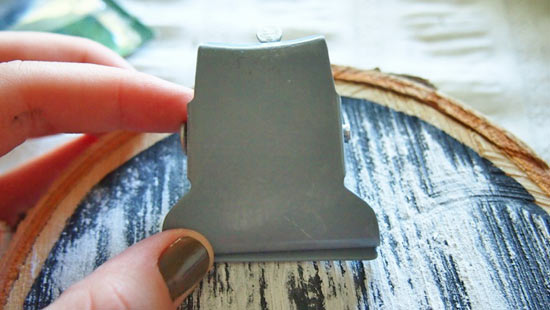
6. Use a nail to secure the large clip to the front of the log slice.
