We are nuts for our pets and we admit it proudly. One day while holding paws with Kirby, the Rottweiler, we noticed the rough texture of his pad. That would make a neat pattern on clay,” we thought and the doggie torture was on. Fortunately, Kirby is a very tolerant boy and didn’t mind the added attention and paw printing.
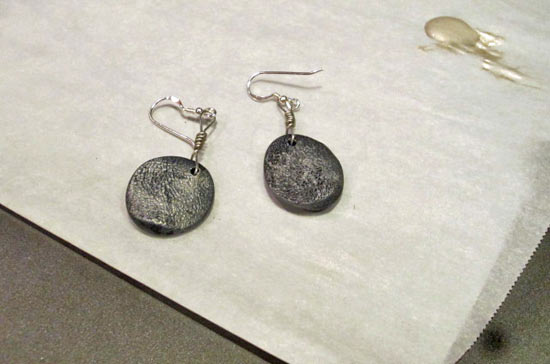
The result is a unique pair of earrings with a beloved pets’ paw print on the front and our own finger print on the back.
Difficulty level: Beginner, Great for Kids (with supervision)
Time required: 15 -30 minutes plus baking time
Age range: Adult
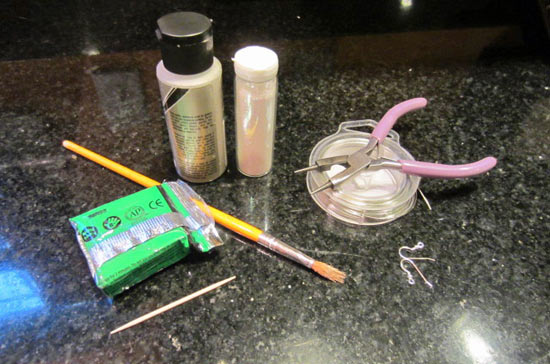
Things you’ll need:
Bakeable Polymer Clay
Metallic paint
Dry paint brush
Good-natured pet
Pet’s favorite treats
Pliers
Earring wires
Things to do:
1. Condition clay according to manufacturer’s instructions.
2. Divide clay into two equal sections.
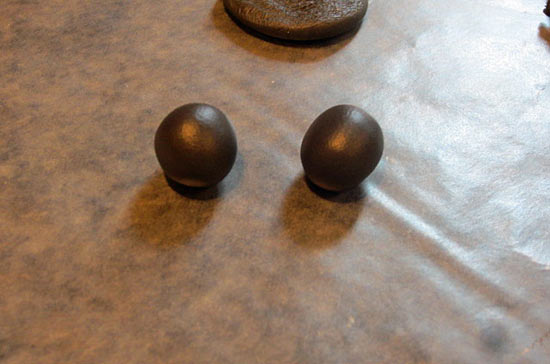
3. Roll clay between hands to create balls.
4. Check that both balls are equal. Add/remove and reroll as necessary.
5. Find your pet. Offer a bribe to get them to lie down and be comfortable. We’ve found that the more treats you give, the more willing your pet will be to participate in the future. Please don’t stress your pet. If they’re upset about the process, reassure them and stop. Wrap the balls in plastic and come back later. Give treats before, during, and after until they’re as laid-back as Kirby!
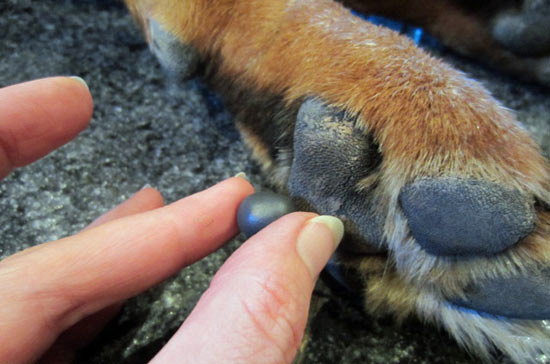
6. Gently press ball of clay into a pad (we used the big, metacarpal pad, the funny shaped one.)
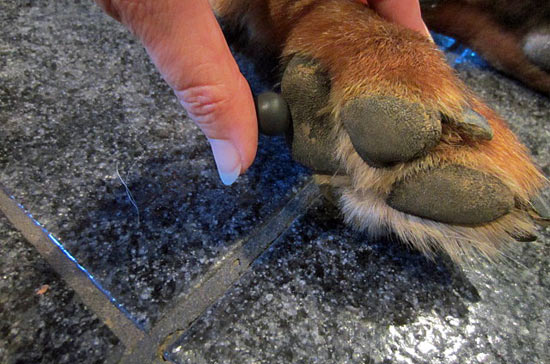
7. Remove and check the imprint. If you made a mess in the pressing, give your pet a treat and praise. Roll up your clay ball and start over!
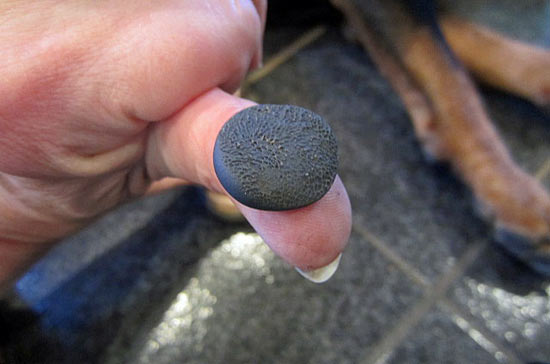
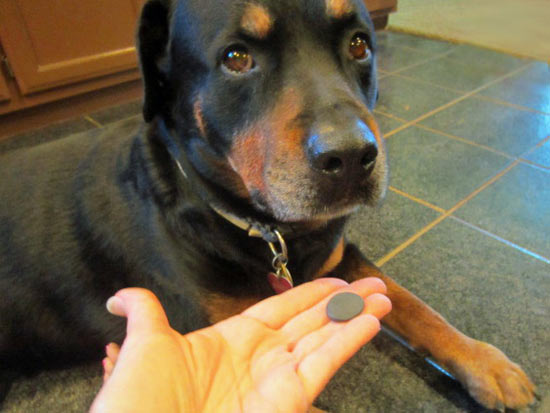
8. Repeat with the other ball of clay.
9. Gently slide toothpick into clay at the “top’ to make a hole of each print.
10. Set clay according to manufacturer’s instructions. In our case we baked them in the oven on parchment paper.
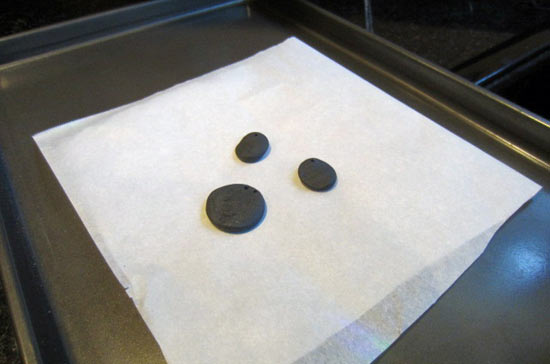
11. Use a short piece of wire to make a loop through the print.
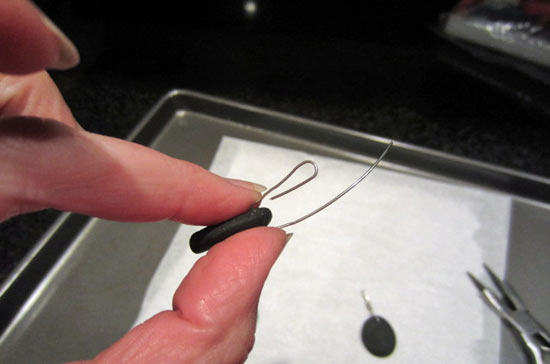
12. Bend wire so there’s a loop at the top to hang it from.
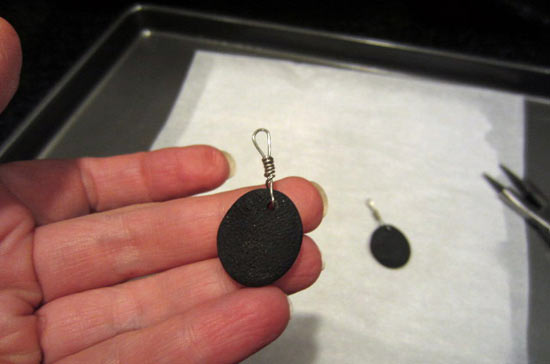
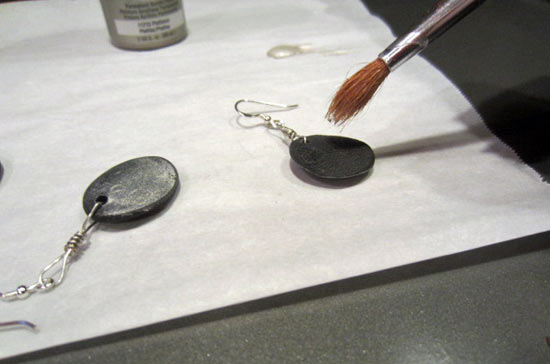
13. Attach wire to earring wire. We wanted to add a little color to our print so we dry-brushed the finished dangle with metallic paint. We did not use much at all, just a bit on the tip of the brush to highlight the raised areas of the print. This allowed the black color of the clay to provide the “shadows’ and the silver of the paint to enhance the highlights. We put the earring together first so we’d have something to hold on to while painting!
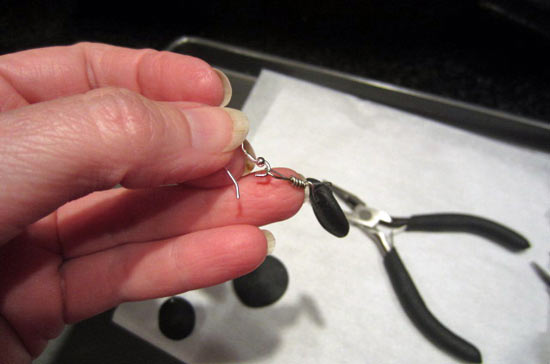
14. Show your earrings to your pet and give them another treat. Enjoy!
