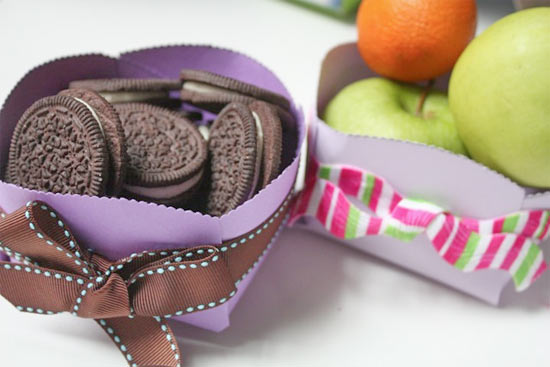
These little paper baskets have endless uses and can be made in as many sizes as you have cardstock. Fill them with treats for a party or display summer fruit at a dinner, or just let your kids use them in imaginary play! Replace the ribbon with decorative tape or simply use a brightly colored rubber band. The sky is the limit!
Things you’ll need:
Cardstock
Plate or bowl to use as a template
Pencil
Paper clips
Ruler
Scissors
Pinking shears
Ribbon
Stapler
Things to do:
1. Trace circles onto your cardstock using your plate or bowl. The larger the circle, the larger the basket.
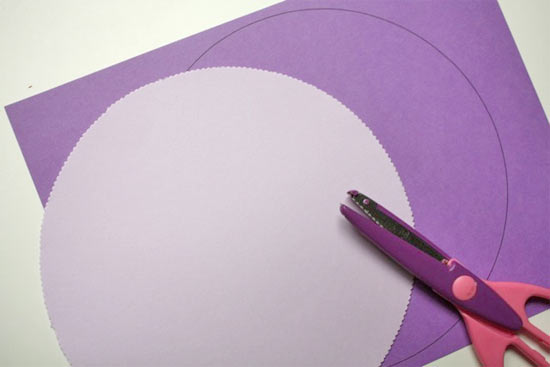
2. Using your decorative scissors cut out the circle.
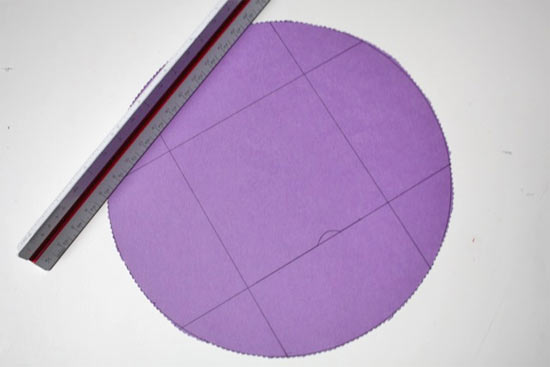
3. With the ruler, draw faint lines that divide the plate into three rows of three, with a full square in the very center (you can use a square piece of paper as a guide if you want).
4. Cut in from the outside edge to the corner of the square at each corner (only cut one line on each corner)
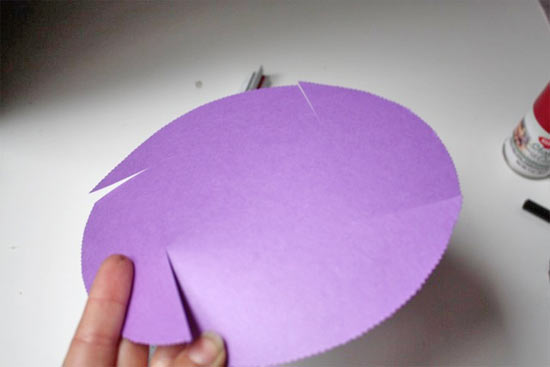
5. Pull the pointy end of each cut to the inside until the top edges meet to form the sides of the basket. Use paper clips to hold the sides in place while you continue with the other cuts.
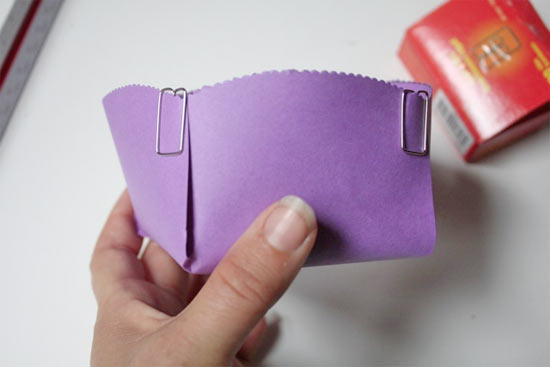
6. Staple each side together, trying to keep the staples along the same line (this is where your ribbon will lie) If using decorative tape or rubber bands, skip this step and simply wrap around the basket to secure.
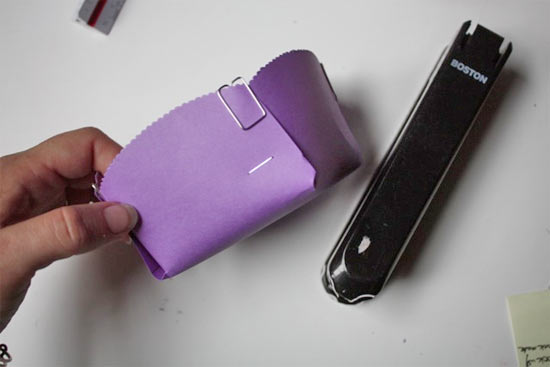
7. Tie a ribbon around the basket so that it covers the staples. Finish with a bow.