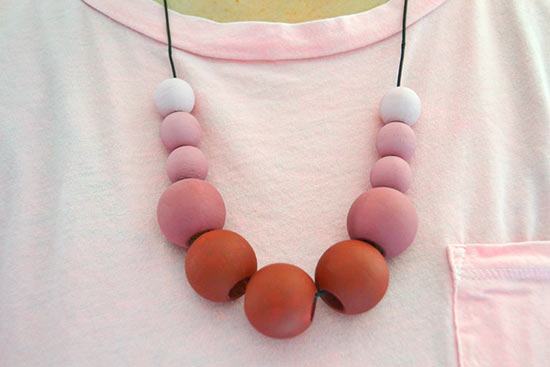
Make a bold, colorful statement with a wooden bead necklace! Even kids can get in on making this fun, easy necklace.
Difficulty level: Beginner
Time required: 1 hour (most of it spent waiting for the coats of paint to dry)
Age range: 4+
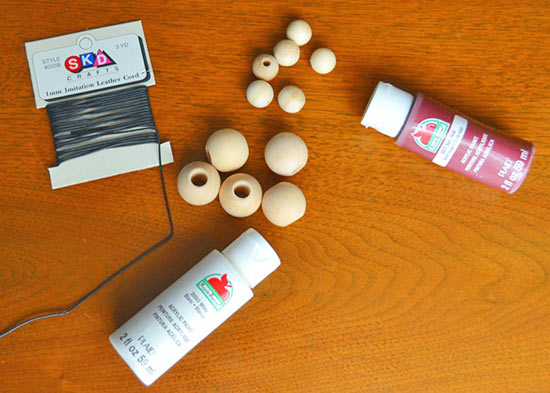
Things you’ll need:
1 inch wooden beads
5/8 inch wooden beads
Acrylic paint (one color of your choice and white)
Leather cord
Things to do:
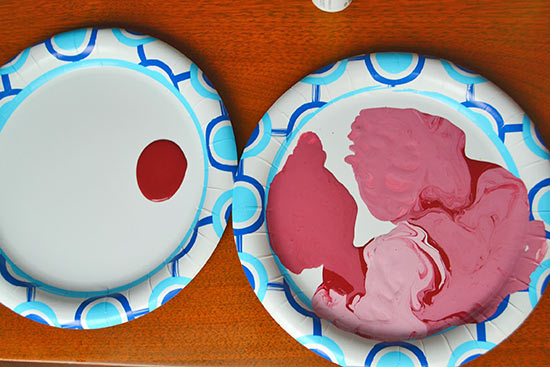
1. Decide on how many beads you want for your necklace and how many shades of your color you want for the ombre effect. The necklace shown uses 5 different reds and pinks. To make the shades of your color start with the original color. Make 5 separate puddles of your paint. Leave one pure- do not add any white. Then add drops of white to each one in increasing amounts until you have 5 different shades of your color.
2. Set your beads up to paint. To make things easier put your beads on something like the end of a a paintbrush handle or a pencil. This will enable you to paint the entire bead without having to paint one side, wait for it to dry, and then turn it over to finish painting the other side.
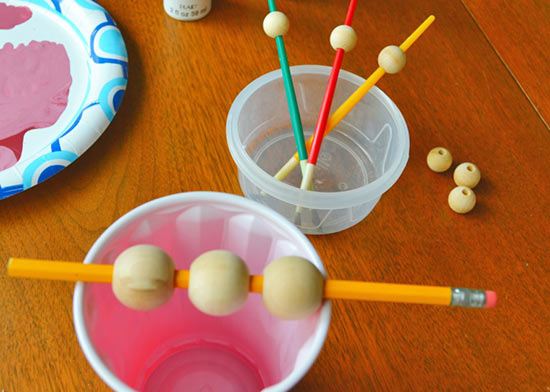
3. Paint one coat on each bead. For this necklace there are 3 beads in the center that are the darkest red, then one of each of the other shades. Allow the first coat to dry.

4. Paint each bead with a second coat. You may need to add a third coat.
5. Cut the imitation leather cord to 30 inches. You can modify the length to whatever you want but be sure that the necklace will be long enough to be able to get over your head when putting it on and taking it off.
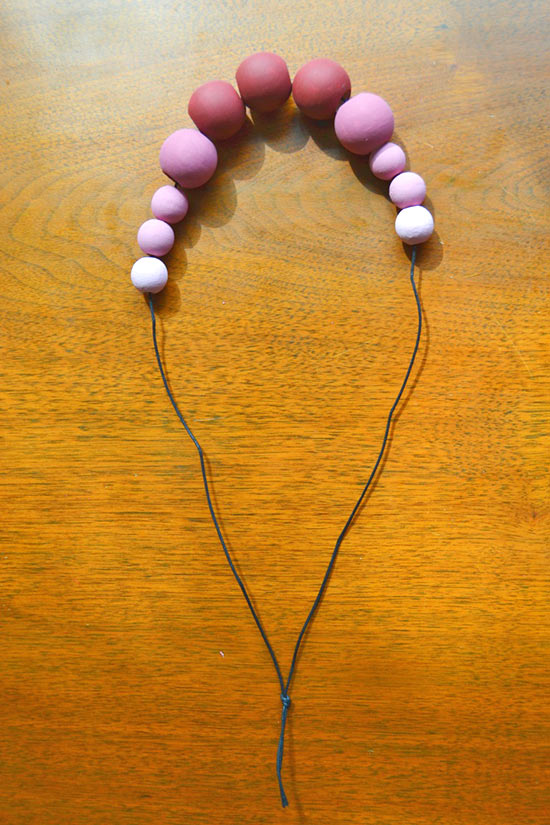
6. Once the beads are dry string them onto the imitation leather cord. The beads are the darkest in the center and lighten as you move outward to the sides.
7. Tie a knot in the end of the imitation leather cord.