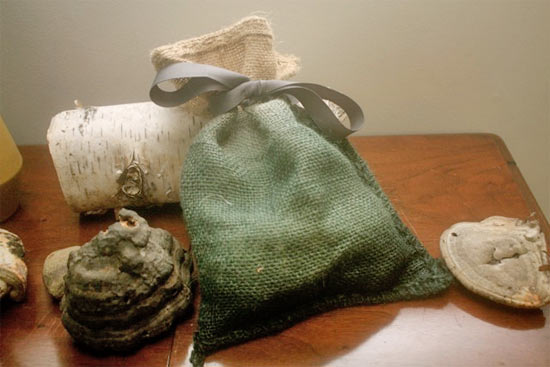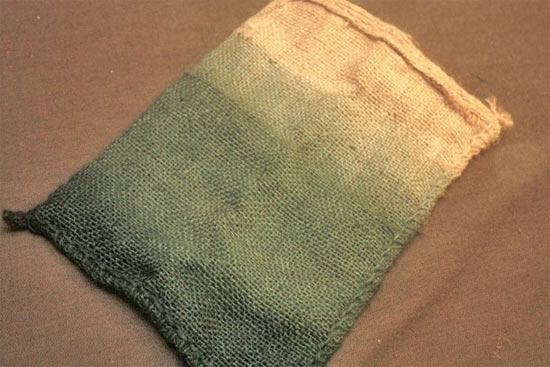
Burlap has that rare quality of looking both rustic and elegant, depending on the treatment and situation. This dip dying technique creates a trendy ombre effect that turns it from simple into extraordinary with just a little dye and water. The same effect could be used on larger pieces of burlap for bigger projects or even on burlap ribbon for a fun effect. Be sure to protect your work surface and hands while you work so you don’t end up with ombre fingers as well as bags!
Difficulty level: Moderate
Time required: 30 minutes
Things you’ll need:
Fabric dye
Burlap bags
Tall plastic container
Foil or freezer paper
Rubber gloves
Things to do:
1. Cover your work surface with freezer paper or foil and put on your rubber gloves.
2. Put a scant 1/4 teaspoon of dye into your container and add 2 cups of very hot water. You want a fairly weak dye solution. If it seems too weak, add a little more at a time until you have the level of color you are after for the lightest stage of the ombre.
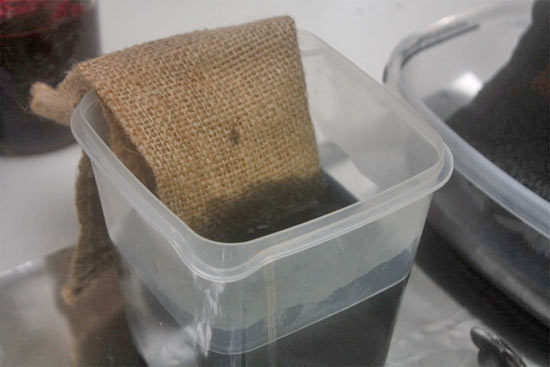
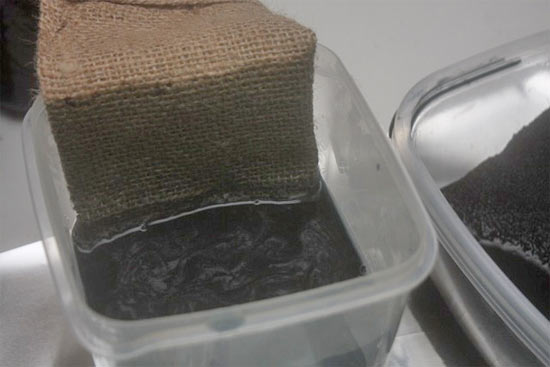
3. Submerge the bag 3/4 of the way into the dye for a few seconds and then pull it most of the way out. If the color is dark enough for the lightest stage for your preference, resubmerge it to the halfway point in the dye and leave for a few minutes. If you want the lightest color darker, resumberge up to the 3/4 mark until it is the color you want.

4. After a few minutes, check the next level of dye on the bag by pulling it out. If you want it darker, put it back in, otherwise pull to the 1/4 mark, leaving the rest hanging over the sides.

5. Allow the last section to dye for 5-10 minutes, depending on how dark you want it.
6. Pull the bag out and hang over the dye pot until the excess dye has drained away and the bag is mostly dry. Set on a flat, covered surface to finish drying, flipping occasionally to speed the process.
