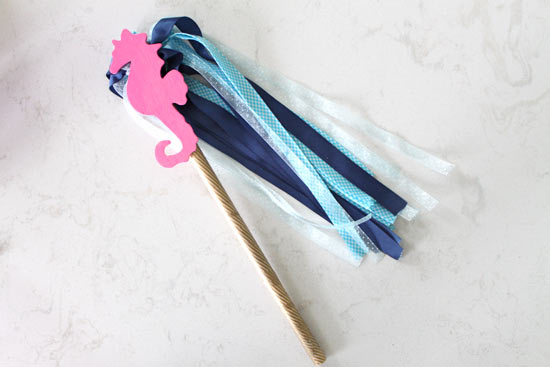
Create your own nautical wishes with this fun and easy craft tutorial on how to make ribbon wands. You can easily customize these wands with your favorite themes by using different wood cut outs and types of ribbon.
Difficulty level: Intermediate
Time required: 1 hr
Age range: 6 and up (supervision required for hot glue gun)
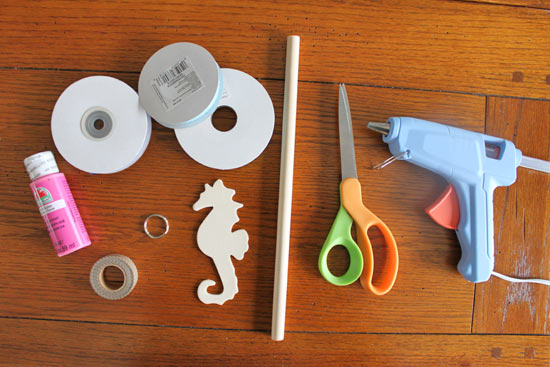
Things you’ll need:
3 different colors of Ribbon
Scissors
1 Key ring
1 Wood dowel
Washi tape (optional)
Pink Acrylic paint
Foam brush
Unfinished wood sea horse cutout
Hot glue gun and glue sticks
Things to do:
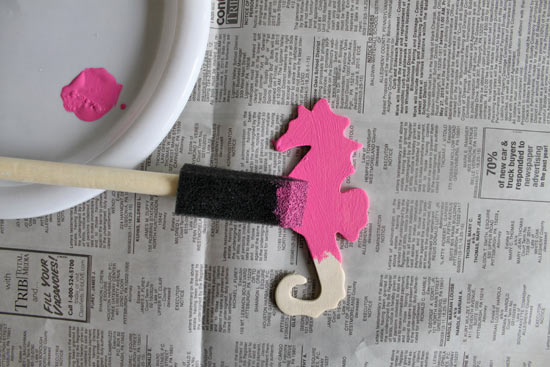
1. Use a 1″ foam brush to paint both sides of the unfinished wood sea horse cut out with acrylic paint. Let dry completely for 30 minutes. You can work on steps 2-6 while you wait for the cutout to dry.
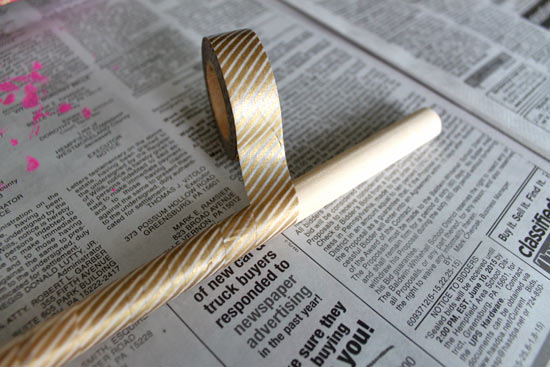
2. Wrap the wood dowel with washi tape.
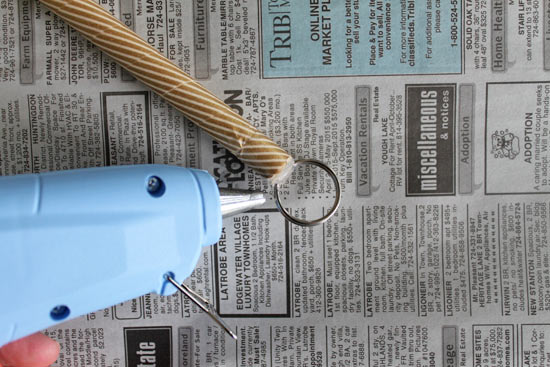
3. Hot glue the key ring to the top of the wood dowel. Press firmly in place until completely set. Add one more dab of hot glue on top to secure.
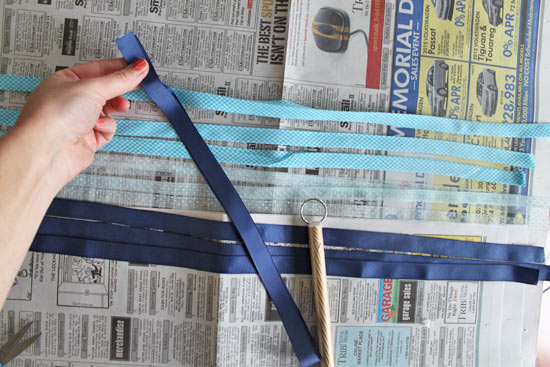
4. Cut (3) 24″ pieces of each type of ribbon and lay neatly in rows.

5. Fold a piece of ribbon in half and thread that end through the key ring half way. Loop the loose ends through the loop end of the ribbon to create a knot on the key ring, tighten and then firm again by tying a knot at the base of the key ring with the loose ends.
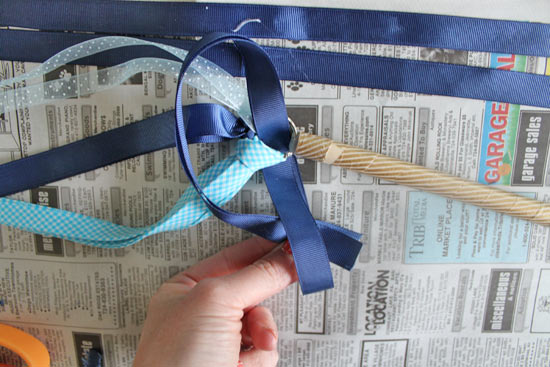
6. Repeat step 5 with each piece of ribbon.
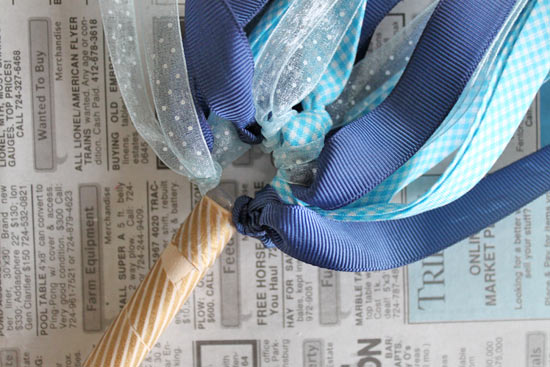
7. After all the ribbons are all knotted on the key ring, hot glue the painted wood sea horse cut out to the top of the dowel to cover the key ring.
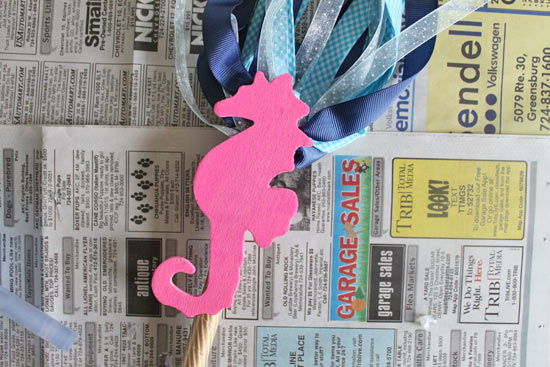
8. Wave your ribbon wand around and enjoy!