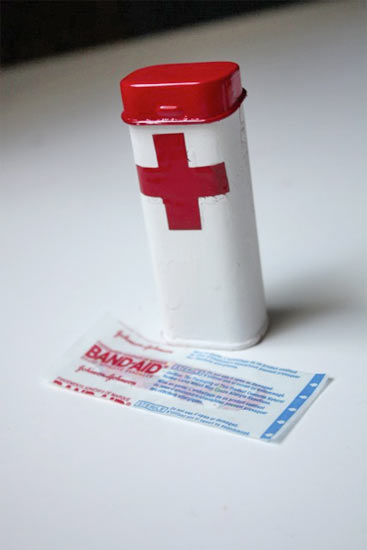
I have a secret. I love all things mini. I can’t help it, I’ve always been that way. So whenever I find little tins in the line at my local market, I can’t help buying them. And once they are empty, I find all sorts of uses for them. I keep an on the go knitting kit in my bag in one (foldable scissors, stitch markers, yarn needle and measuring tape) and another with crayons and a small notepad for those moments when my daughter needs something to do desperately. The newest addition is my favorite because not only did I need a little first aid tin in my bag, I got to give the tin itself a makeover!
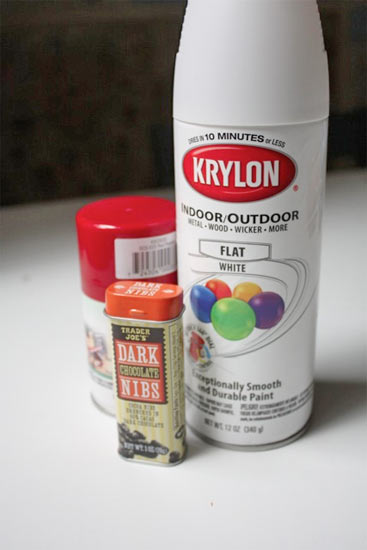
Things you’ll need:
Small tin with flip top or removable lid (this was a chocolate nibs tin from Trader Joes)
Red spray paint
Matte White spray paint
Painters tape or contact paper
Scissors
Box
Things to do:
1. Give your tin a good scrub down with hot soapy water to remove any residue; this will help the paint adhere.

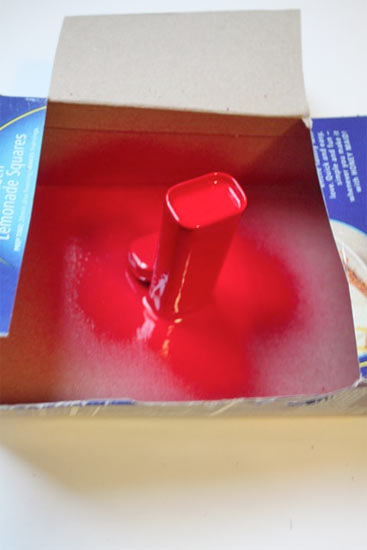
2. Open the lid and flip the tin open end down in the box. Spray the entire thing with three thin coats of red spray paint. Allow the paint to harden thoroughly.

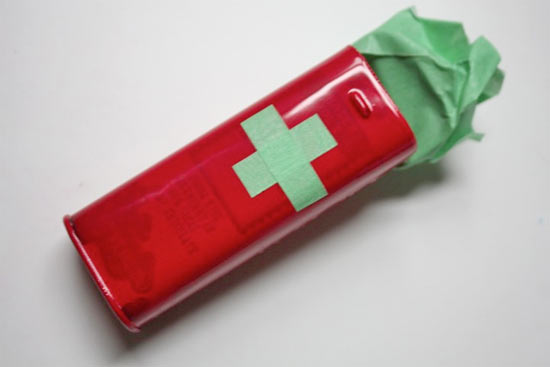
3. Using the painter tape or contact paper, cover the lid well.
4. Cut a small plus (+) sign out of the contact paper and place it in the very center of the front of the box. Smooth down well.

5. Close the box and lay, plus side up, in the box. Spray with two thin coats of white paint or until the red is well covered. Allow the paint to dry and then turn and re-spray to coat the back and sides of the tin.
6. Allow the paint to harden and then peel off the masked areas to reveal the red. Fill with Band-Aids, small packets of first aid cream and a pair of tweezers and you are good to go!
3 Comments
Clever and practical
Hi – what a great idea – I can so relate to the love of mini things! I saw a great idea on Pinterest the other day that I thought might be just the thing to add to your first aid kit – instructions on how to make mini applicators of anit-biotic cream.You need straws, needle nose pliers, a lighter and the creamPut the end of a straw (clear is best) over the opening of the tube and squeeze a small amount into the straw – move the ointment up the straw a little. Grab the end of the straw with the pliers, so a small amount is protruding and use the lighter to melt and seal the end of the straw. Rotate the straw and then grip with the pliers where the ointment finishes. Cut off the excess just past the pliers and melt and seal the other endThe link to the actual page is http//www.briangreen.net/2011/07/diy-single-use-antibiotic-packs.html – and it has pictures demonstrating how he does it (which might make my explanation a little clearer!CheersAllison
I forgot to mention that he also suggests using different colour straws for different types of ointment (should you need them), for example a pink straw for burn cream, blue for anti-biotics, etc