This little chapstick holder is perfect for adding to your set of keys or attaching to the zipper pull of a backpack or purse. Never have to search for your chapstick again!
Difficulty level: Intermediate
Time required: 1 hour
Age range: 10+
Things you’ll need:
Yellow cloth napkins
Striped cloth napkins
Keyring
Scissors
Ruler
Thread
Sewing machine
Things to do:
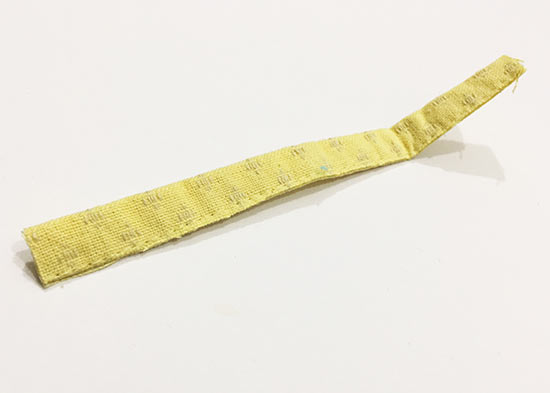
1. Cut the hem off of one of the napkins. Cut close to the seam but DO NOT cut through the seam. Cut the hem piece to 5 inches long.
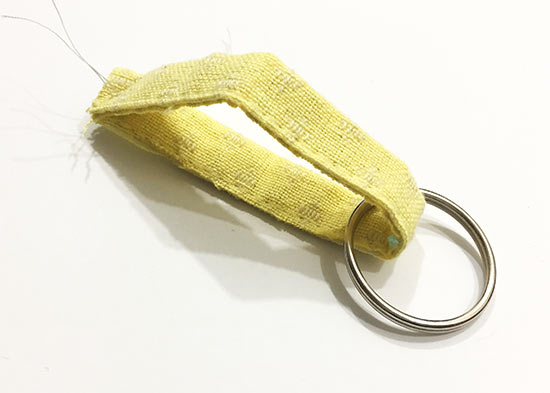
2. Loop the keyring on to the hem piece and sew a few stitches to secure the hem piece in a loop. Set aside.
3. Cut two 2.25″x10″ rectangles (one striped cloth and the other yellow).
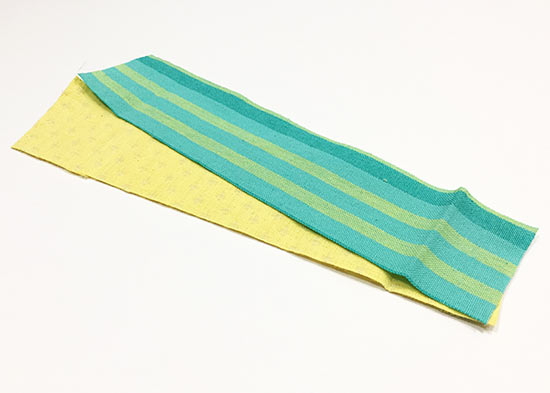
4. With the right sides together, sew the two rectangles together around 3 edges (leave one of the short edges open).
5. Clip the corners (careful not to cut through the sewn line).
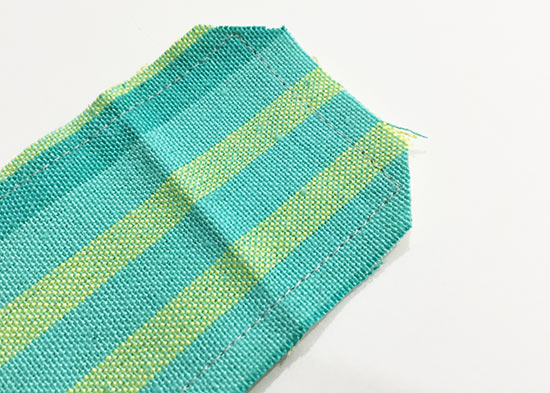
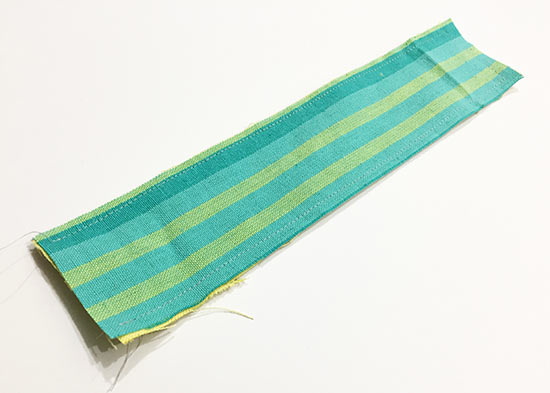
6. Flip the rectangle right side out.

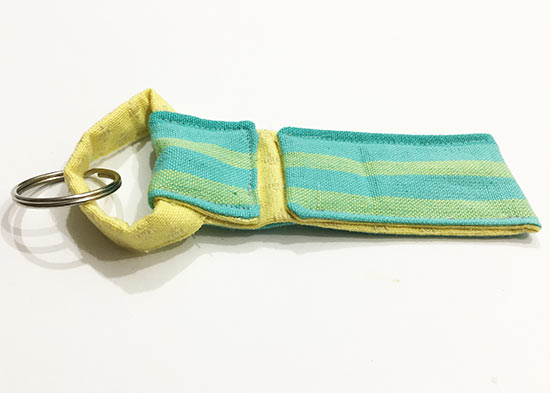
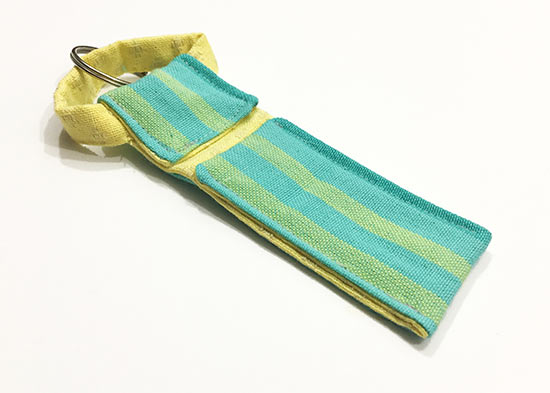
7. Fold the sewn edge of the rectangle up, about 3″, toward the top and sew down both sides to secure.
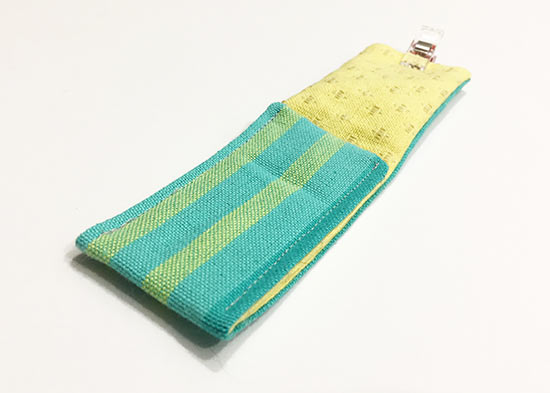
8. Fold the raw edges at the top inside about a quarter inch and then fold that top flap down. Catch the loop created in step 3 in the fold and sew the flap in place along three sides of the flap.