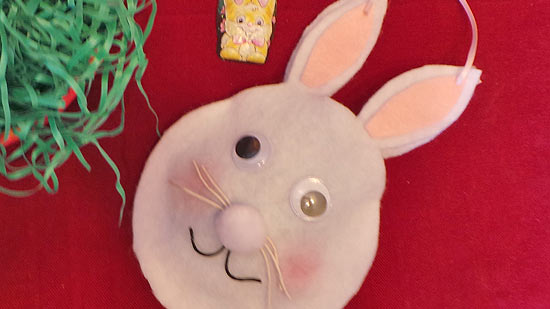
Are you looking for the perfect Easter basket to give your kids this year? This bunny bag is irresistibly cute and just the right size for hiding sweet treats. Your kids are sure to love the bunny bag as much as they love what’s inside.
Time to complete: 20 Minutes
Age range: 12 and Up
Difficulty level: Beginner
Things you’ll need:
Glue gun
Yarn Needle
Ruler
Newspaper
6 inch Circle Pattern
Hemp Cord
White and Pink Felt
Pom Pom
Google Eyes
Pen
Tacky Glue
Scissors
Awl
Ribbon
Blush
Things to do:
1. Trace a 6 inch circle pattern onto a piece of newspaper to create a pattern. I’ve found that it’s best to create a pattern on newspaper for the ears as well. Freehand ear shapes until you find a look that you’re happy with. Attach the ears to the circle to create a full bunny pattern.
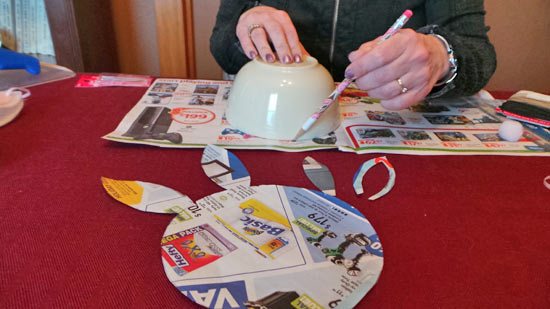
2. Trace the bunny pattern onto two pieces of white felt and cut out the patterns.
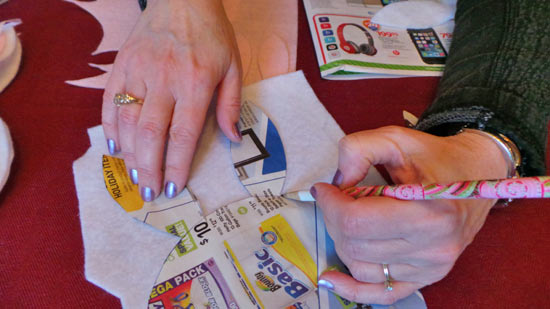
3. Cut out two pink ears that are 1/4 inch smaller than the white ears. I’ve found that it is helpful to make a pattern for these as well.
4. Hot glue the smaller, pink ears onto the large, white bunny pattern. Hot glue the google eyes onto the face of the bunny pattern. Allow the pieces to dry completely.
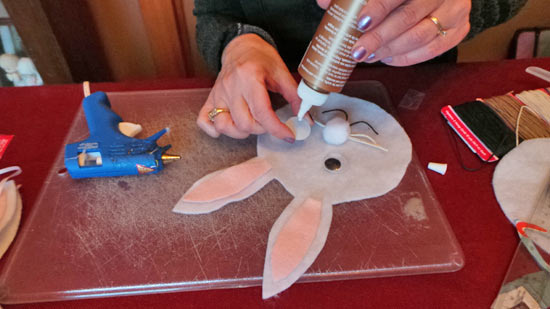
5. Cut pieces of hemp cord to make the whiskers of the bunny. Once you’ve secured them to the face of the bunny with hot glue, hot glue a pom pom over the center of the whiskers to create a nose.
6. The last piece of the bunny face is the mouth. Use tacky glue and secure hemp cord in the shape of a smile.
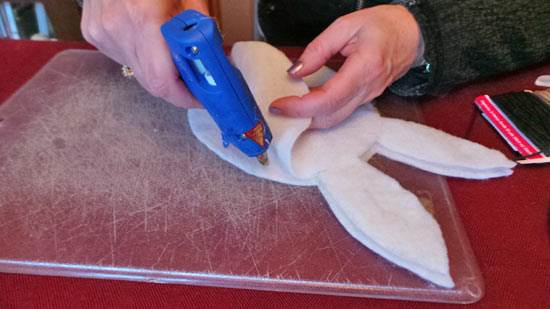
7. The next step is securing the back of the bunny face. Use hot glue and apply a thin line of glue around the bunny face up to about 1/2 inch from the ears. It is important to remember to leave a small hole at the top, so you can put candy and treats inside the bunny bag.
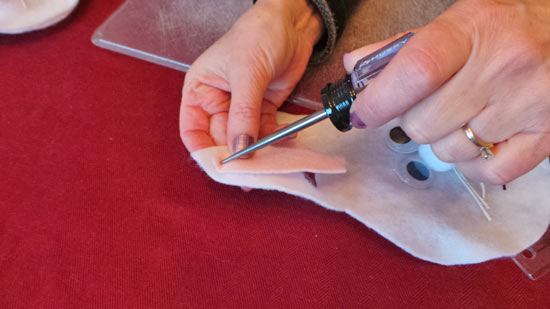
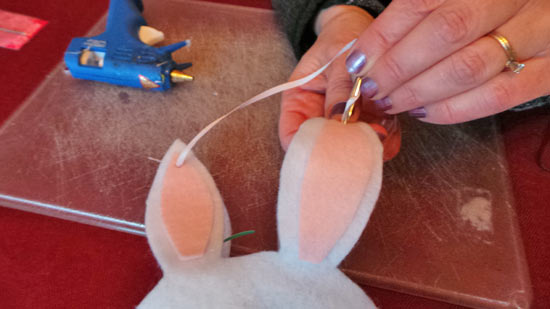
8. Use the awl and poke a hole in each ear. Attach a piece of ribbon to create a handle and tie it in a bow to finish the project.
