These Easter pouches add a darling handmade touch to your child’s Easter basket. They’re the perfect size to hold candy, stickers, or a note. Make several in different colors for a cute, unique Easter gift or make them with your kids for a fun springtime activity.
Difficulty level: Beginner
Time to complete: 10 minutes
Age range: 6 and up *Younger ages may need help with the needle and thread.
Things you’ll need:
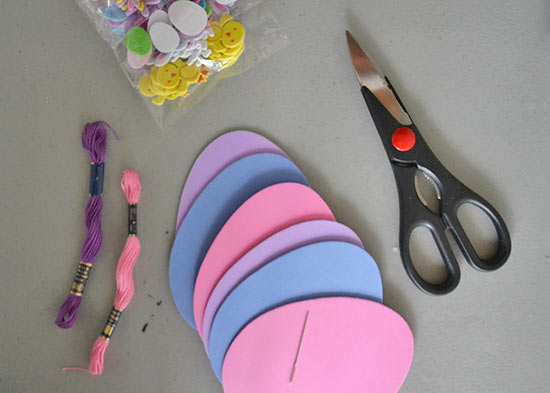
Foam eggs
Scissors
Needle
Embroidery thread
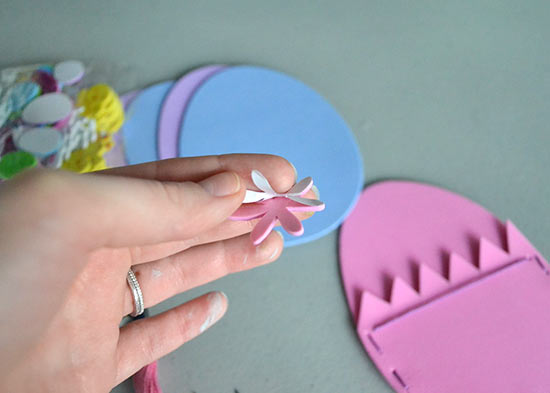
Foam stickers
Things to do:
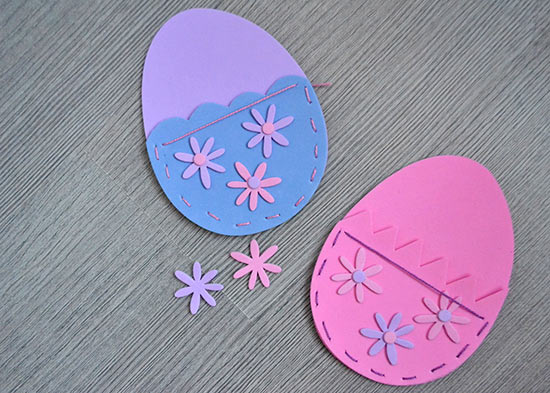
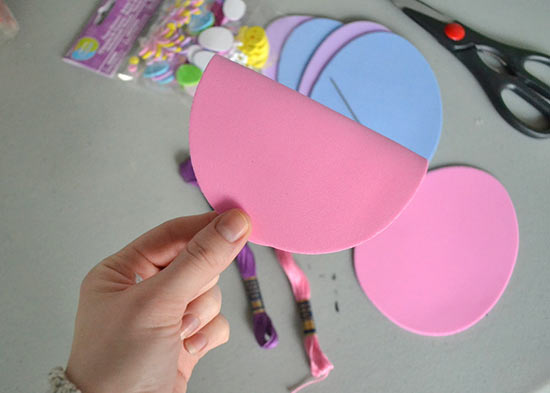
1. First, choose two eggs you want to use in your project. Use whatever color you’d like.
2. Fold one in half, creating a crease down the center.
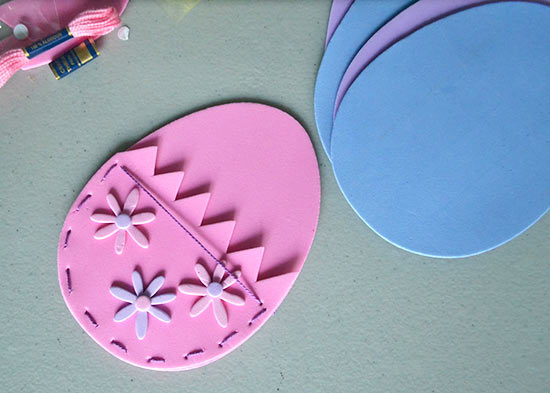
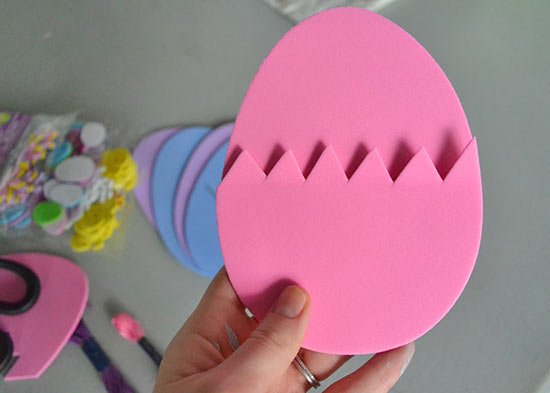
3. Cut along the fold, creating a playful pattern with the scissors.
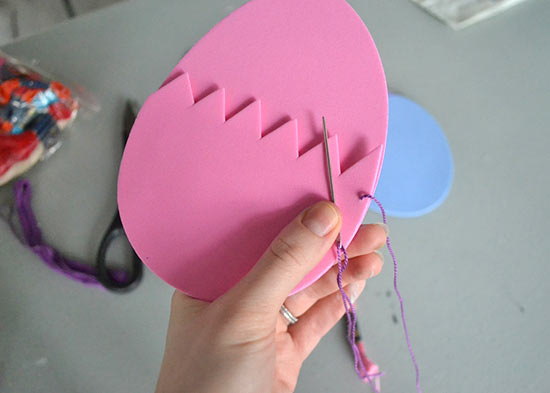
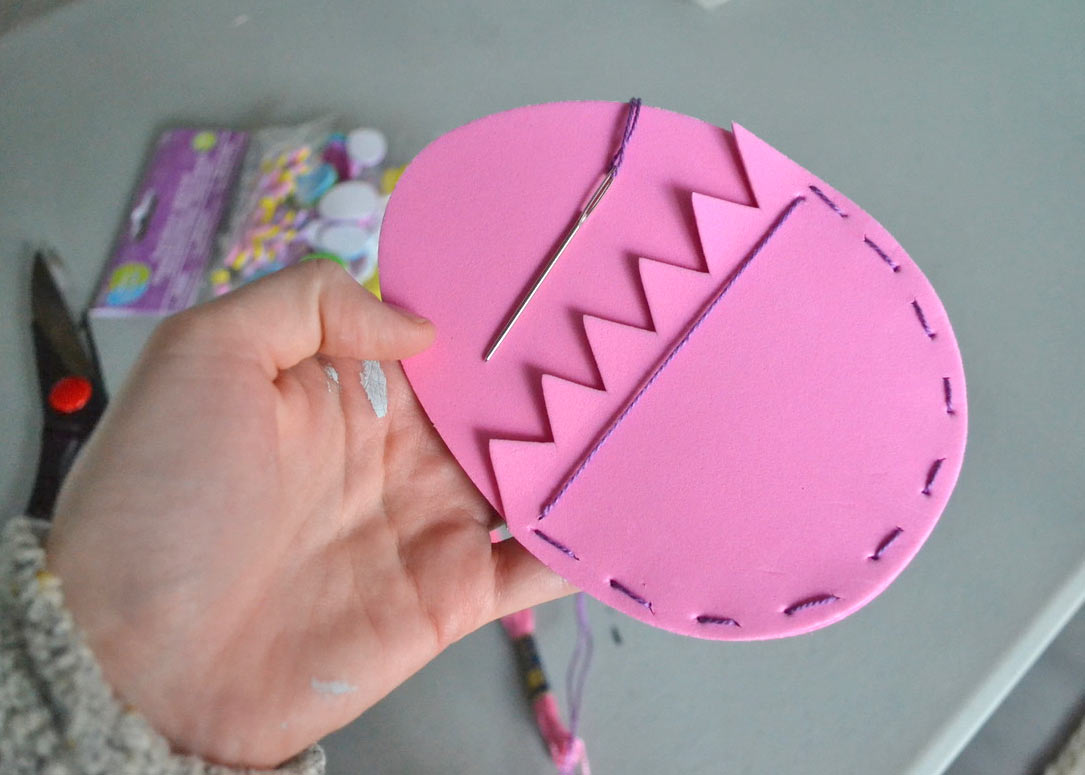
4. Use embroidery floss to sew the two eggs together.
5. Decorate the front of the pouch with Easter stickers.