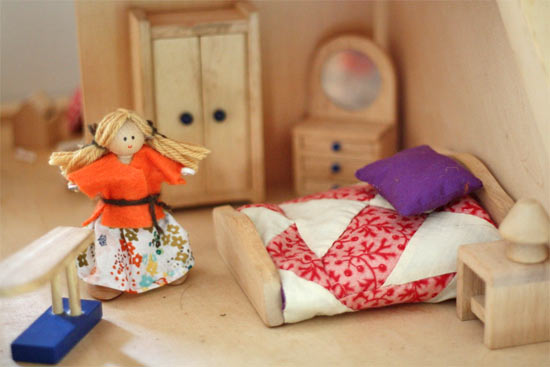
My daughter spends a lot of time playing with her dollhouse dolls. Every afternoon I hear her chattering away up in her room with them, taking them through life as only a four year old can see it. But because her dolls are so often played with, they also often disappear down the backs of shelves and between the edges of beds. So I’ve become adept at creating quick and sweet replacement dolls for her playtime.
Things you need:
Unfinished wooden doll bodies and feet (wood egg halves)
White or beige plastic wrapped electrical wire (available at hardware stores by the foot)
Cloth scraps
Hot glue gun and glue sticks
Fabric scraps (felt is great for this)
Yarn scraps
Scissors
Craft Glue
Multi-tool (or needle nose pliers and wire cutters)
Markers
Things to do:
1. Dab a few drops of glue into the arm and leg holes on the doll body. Cut 4 three-inch lengths of wire and insert into each hole.
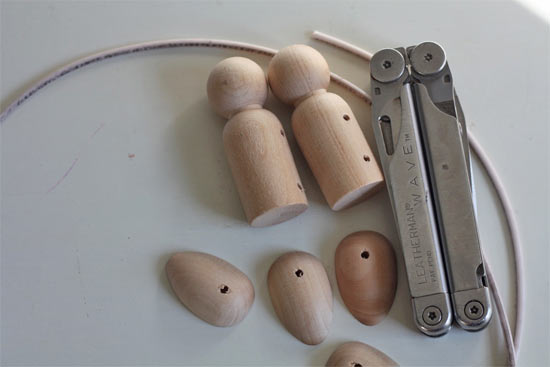
2. Once the glue is dry, trim the arms to 1-1/4 inch and use the tip of the needle nose pliers to curl in the ends to create hands”
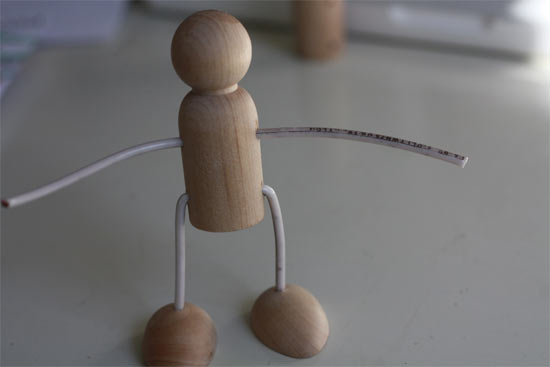
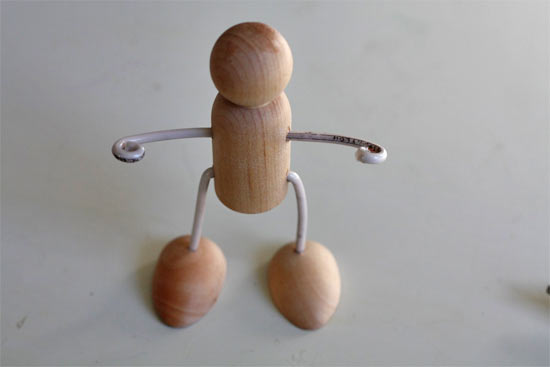
3. Trim the legs evenly to the length you want (longer for adult dolls, shorter for children) and insert into feel with a few drops of glue.
4. Make dolls hair by wrapping yarn around your fingers about twenty times. You’ll want to use two fingers for boy hair and four for girls. Cut the end of the yarn and tie a length of yarn through the loops and around loosely. Cut the opposite ends of the loops. Lay the bundle flat and apply a bead of glue under the tied yarn to help keep everything in place. Once this is dry, apply to the dolls head with more glue along the part line (this can be moved over for a side part of in the center for a middle part) and trim hair to length)
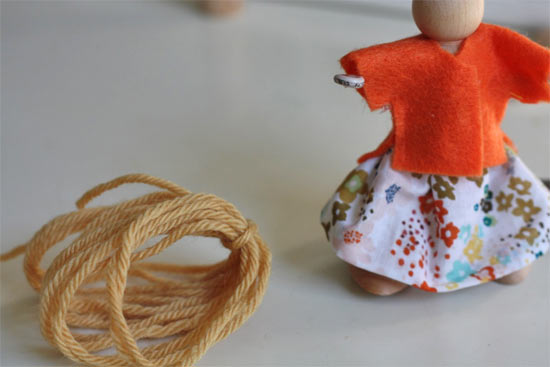
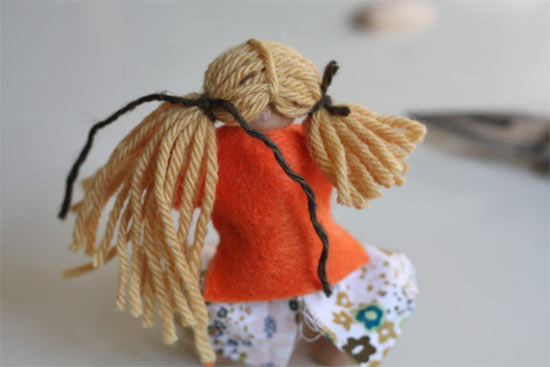
5. Cut simple clothing shapes, creating hems where needed with glue and attaching the clothing to the doll bodies with glue as well.
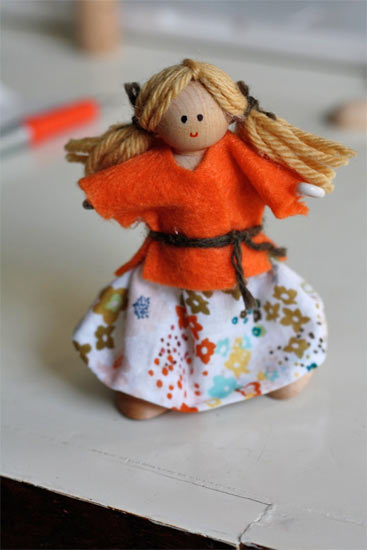
6. Draw a simple face with permanent markers.
4 Comments
These are adorable! Will they sit easily and stand without too much hassle?
Yes, they should be able to stand without much effort since their feet are flat and the legs are bendable.
These are completely adorable and have endless uses! I love this tutorial. Thanks so much for sharing. I will definitely be making these. -)
Thanks so much Mandy! I’m glad we could help inspire you! Please feel free to share with us on our Facebook page (www.facebook.com/factorydirectcraft), we always love to see others creations 🙂 Happy crafting!