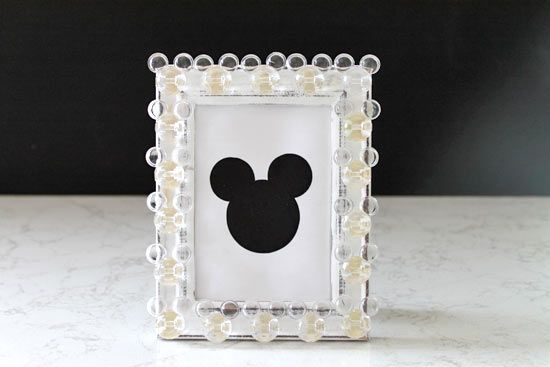
This craft is the perfect way to DIY your memories from Disney. Just use these beautiful clear acrylic Mickey Mouse beads to change any basic photo frame. When you are done crafting, insert your favorite Disney photograph into the frame and enjoy!
Difficulty level: Intermediate
Time required: 30 – 45 minutes (includes drying time)
Age range: 10 and up
Things you’ll need:
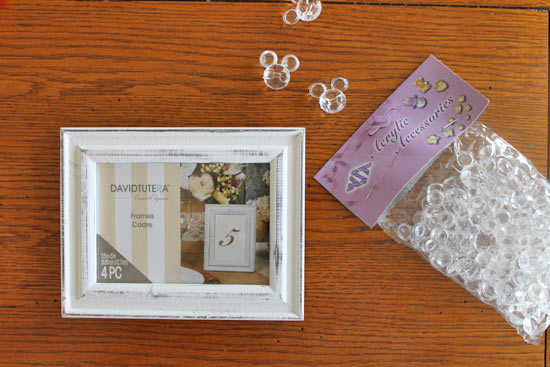
16 – Clear Acrylic Mickey Mouse Beads
Photo frame
E6000 Clear Glue
Newspaper
Things to do:
1. Lay newspaper down over your work area. This area should be well ventilated when using E6000 glue. Count out 16 clear beads for the project.

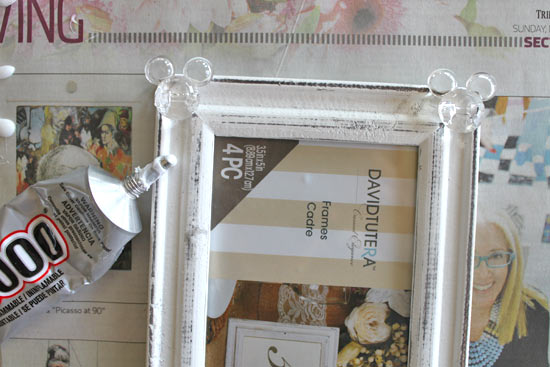
2. Add a small dab of glue to each corner and press 1 acrylic Mickey Mouse bead in each corner.

3. Add 3 more beads with E6000 glue to the top of the frame and 3 on the bottom of your frame. Press and hold until bead is firmly in place.
4. Add 4 more beads with E6000 glue to the left and right sides of your frame. Press and hold until bead is firmly in place.
5. Lay frame flat for 30 minutes until the glue is completely dry.
6. Remove back panel and insert a photo.