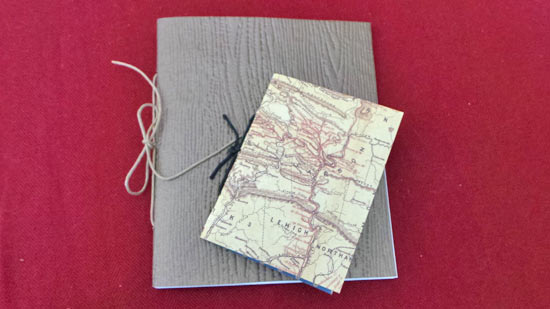
This craft makes a wonderful gift for a birthday or graduation. Not only is it beautiful, but also very practical. Have fun customizing paper combinations to create the perfect journal or booklet for anyone on your gift-giving list.
Time to complete: 10 Minutes
Age range: 12 and Up
Difficulty level: Beginner
Things you’ll need:
Thick Paper
Drawing Paper
Scissors
Ice Pick
Bone Folder
Hemp Cord
Yarn Needle
Ruler
Cardboard
Pencil
Things to do:
1. Before you start to make the book, you need to decide how large you want it to be. The size will be determined by the size of your internal pages. I decided to make a book that is 10×6 inches. The internal paper should be cut 1/4 inch smaller than the cover page.
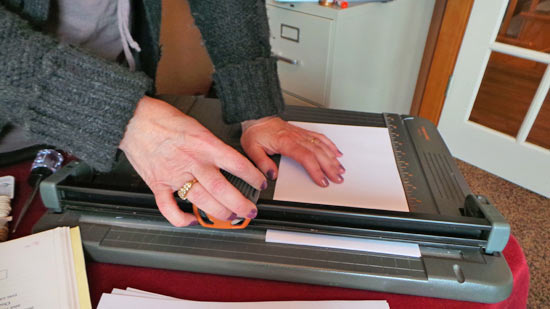
2. Cut out pages for your book using scissors or a paper cutter.
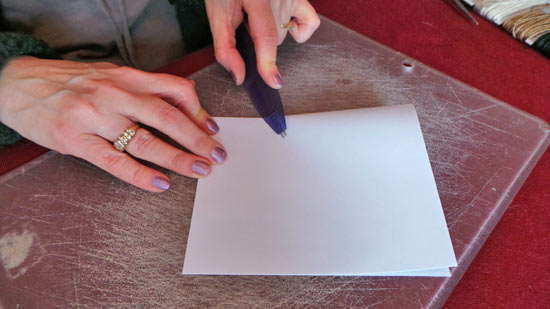
3. Fold the pages in half and perfectly straight. The tighter the fold is, the neater it will look.
4. Once you’ve folded the pages, place them inside the cover page.
5. Use the ruler to find the center of the cover page and mark it with a pencil. Make two additional marks on either side of the center mark.
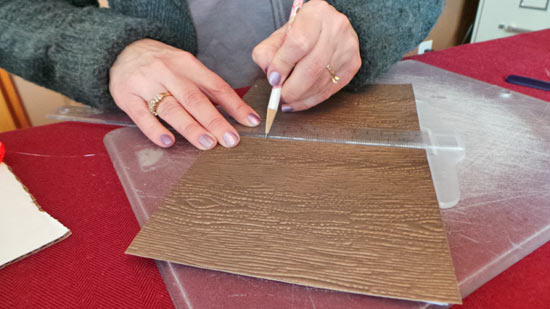
6. Use the ice pick to create holes in the book. Push and twist onto the marks that you made with the pencil. Be sure to place your book on a piece of cardboard for this step to protect the table space that you are working on.
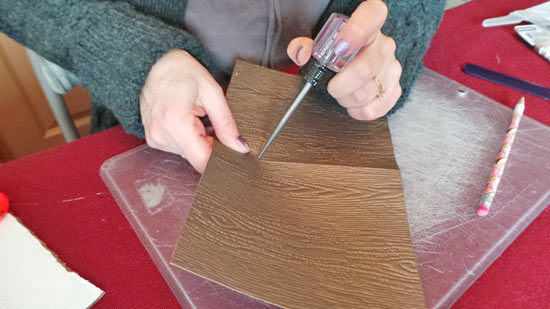
7. Cut a piece of hemp cord that is 3x longer than the height of the book.
8. Use the yarn needle and hemp cord to sew the pages of the book together.
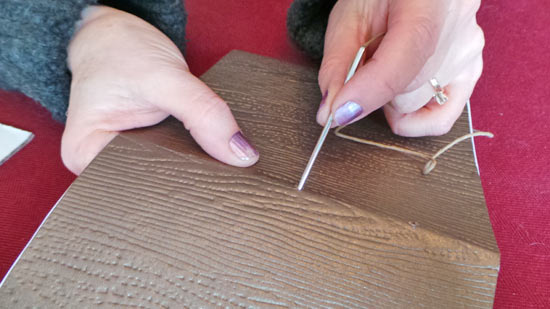
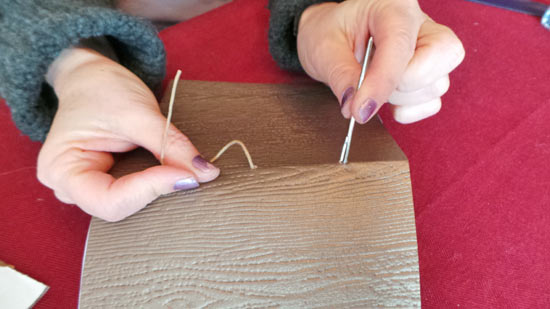
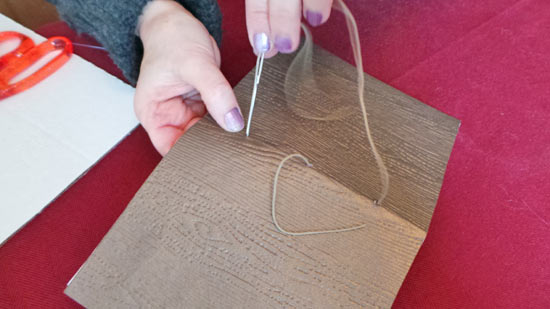
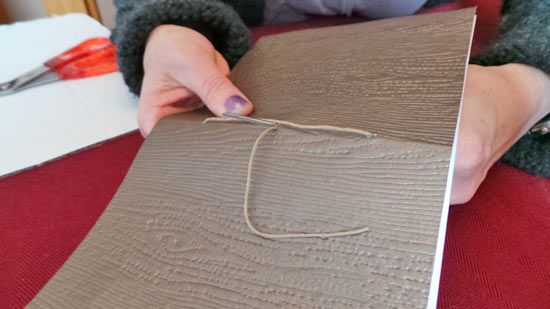
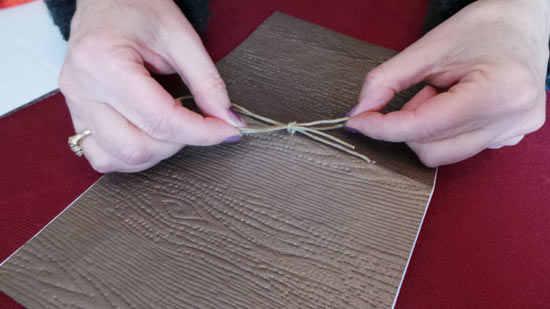
9. Tie the hemp cord into a knot or bow and enjoy the finished product!
